Introduksjon
This manual provides comprehensive instructions for the setup, operation, and maintenance of your Tesla Smart Pet Feeder (Model TSL-PC-BL4). Please read this manual thoroughly before using the device to ensure proper functionality and safety for your pet.
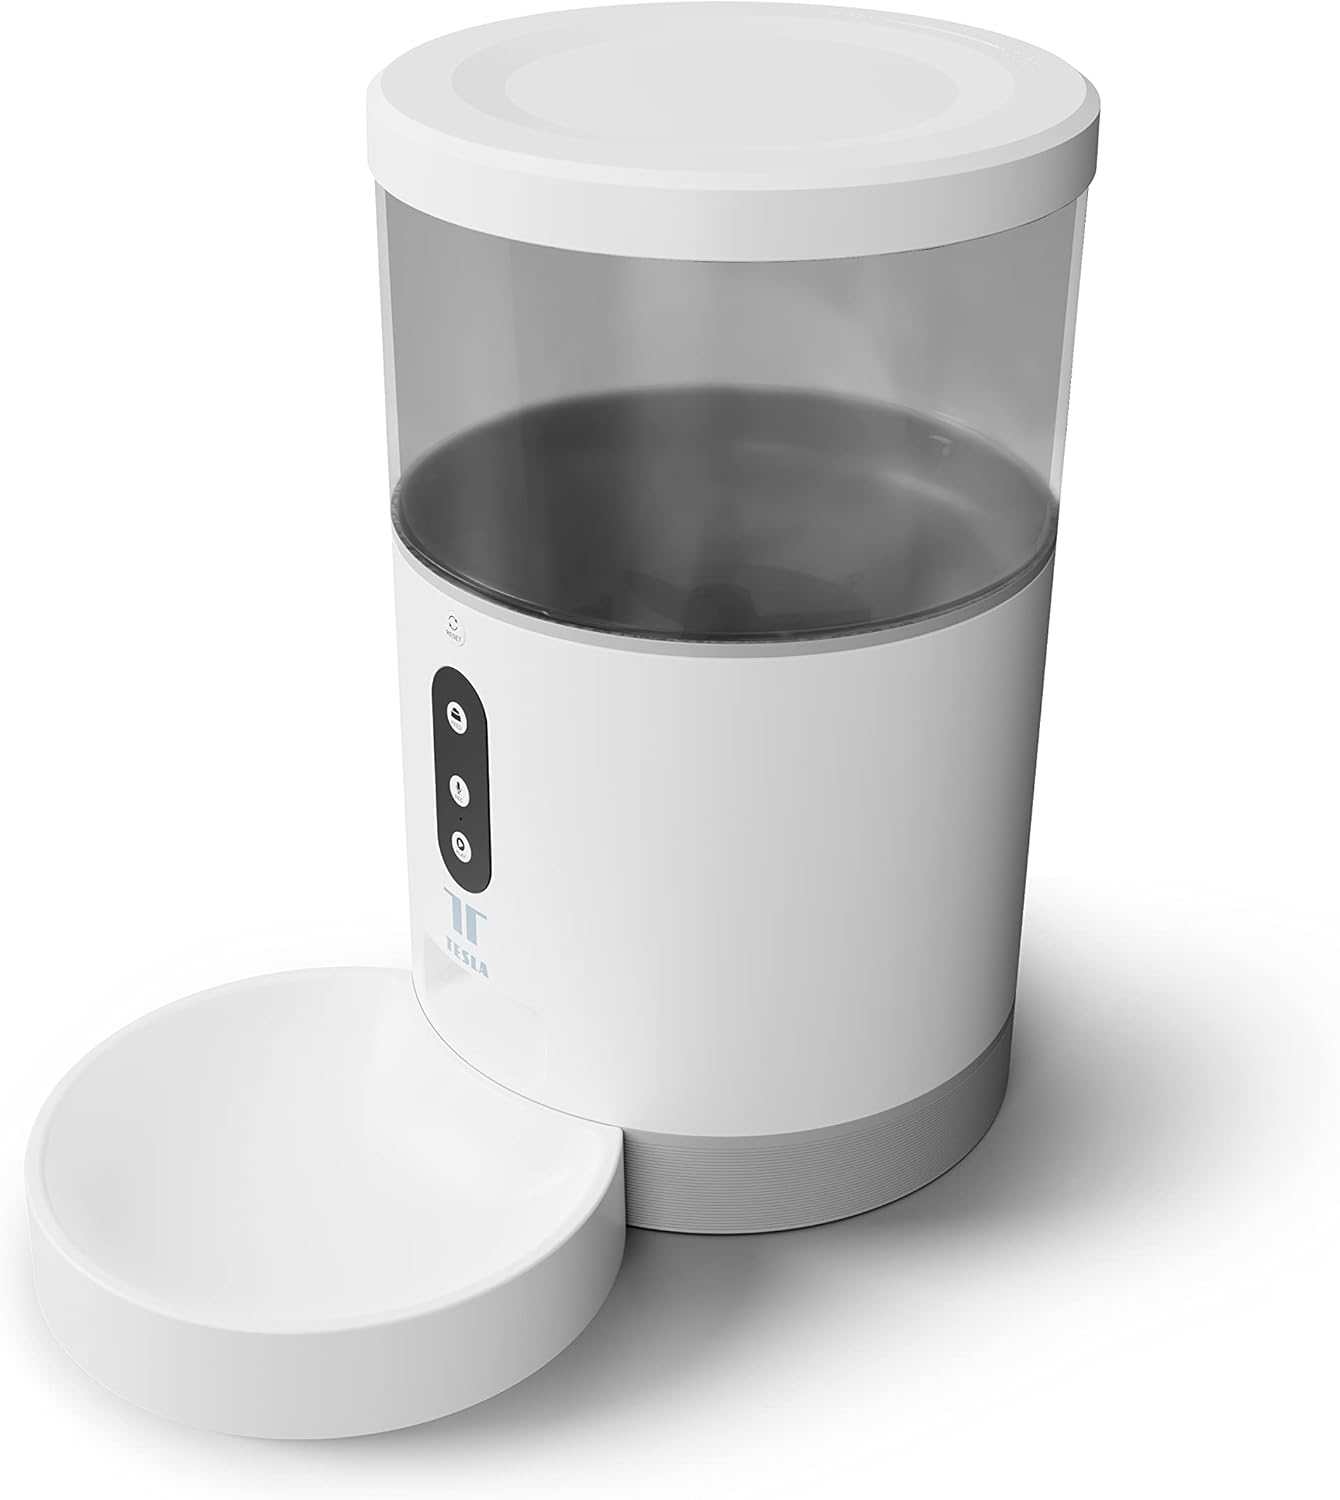
Bilde: Foran view of the Tesla Smart Pet Feeder, showing the main unit with a transparent food reservoir, control buttons, and an attached white food bowl.
Viktig sikkerhetsinformasjon
Vennligst følg følgende sikkerhetsregler for å forhindre skade eller skade på enheten:
- Ikke senk hovedenheten i vann eller andre væsker.
- Sørg for at materen er plassert på en stabil og jevn overflate.
- Keep out of reach of small children and pets when not in use or during assembly.
- Use only dry pet food with a kibble size up to 10 mm.
- Ikke forsøk å demontere eller reparere enheten selv. Kontakt kundestøtte for å få hjelp.
- Always unplug the feeder before cleaning.
Pakkeinnhold
Kontroller at alle komponentene er tilstede i pakken:
- Tesla Smart Pet Feeder Main Unit
- Matskål
- Strømadapter
- Brukerhåndbok (dette dokumentet)
Oppsettveiledning
1. Montering
- Plasser hovedmaterenheten på en flat og stabil overflate.
- Attach the food bowl to the designated slot at the base of the main unit. Ensure it clicks securely into place.

Bilde: Foran view of the feeder highlighting the control panel with feed, record, and play buttons.
2. Slå på enheten
- Vekselstrøm: Connect the power adapter to the feeder's power input port and plug it into a standard wall outlet.
- Batteribackup (valgfritt): For uavbrutt drift under strømbruddtages, insert three LR20 (D-cell) batteries into the battery compartment located at the bottom of the unit. Batterier er ikke inkludert og må kjøpes separat.

Bilde: Bak view of the Tesla Smart Pet Feeder, showing the power input and battery compartment location.
3. Fylle matbeholderen
- Remove the lid from the top of the feeder.
- Pour dry pet food into the transparent container. The feeder has a capacity of 4 liters. Ensure kibble size does not exceed 10 mm to prevent jamming.
- Sett lokket godt på plass.

Bilde: Et nærbilde view of dry pet food kibble in the feeder's bowl, demonstrating the type of food suitable for the device.
4. App Download and Wi-Fi Connection
- Download the Tesla Smart app from the App Store (iOS) or Google Play Store (Android).
- Open the app and follow the on-screen instructions to create an account and add your Tesla Smart Pet Feeder.
- Sørg for at Wi-Fi-nettverket ditt er 2.4 GHz for at tilkoblingen skal fungere.
Bruksanvisning
1. Scheduling Feeds via App
The primary method for controlling the feeder is through the Tesla Smart app. The app allows you to:
- Set feeding schedules: Define specific times for food dispensing.
- Adjust portion sizes: Control the amount of food dispensed per feeding. The feeder can dispense up to 10 portions per feeding.
- View feeding history.

Image: An orange cat resting beside the Tesla Smart Pet Feeder, illustrating the feeder in a home environment.
2. Manuell fôring
To dispense food manually, press the "Feed" button on the feeder's control panel. Each press will dispense one portion of food.
3. Stemmeopptak og avspilling
The feeder includes a built-in microphone and speaker, allowing you to record a short message to call your pet at feeding times.
- Rekord: Press and hold the "Record" button (microphone icon) on the control panel. Speak your message. Release the button to save.
- Spille: Press the "Play" button (speaker icon) to play your recorded message. The message will also play automatically at scheduled feeding times.
4. Smarthjemintegrasjon
The Tesla Smart Pet Feeder is compatible with Google Assistant and Amazon Alexa. You can control the feeder using voice commands after linking it through the respective smart home applications.
Vedlikehold og rengjøring
Regular cleaning ensures the longevity and hygienic operation of your pet feeder.
- Matskål: The food bowl can be detached and washed by hand with mild soap and water. Rinse thoroughly and dry completely before reattaching.
- Matbeholder: The transparent food container can be wiped clean with a damp klut. Sørg for at den er helt tørr før du fyller på med mat.
- Hovedenhet: Wipe the exterior of the main unit with a soft, dry cloth. Ikke bruk slipende rengjøringsmidler eller senk hovedenheten i vann.
- Matutsalg: Periodically check the food outlet for any blockages or food residue and clear as necessary.
Important: Always unplug the feeder from the power source before cleaning.
Feilsøking
| Problem | Mulig årsak | Løsning |
|---|---|---|
| Materen slår seg ikke på. | No power from outlet; batteries depleted or incorrectly installed. | Check power adapter connection and wall outlet. Replace or install D-cell batteries correctly. |
| Food not dispensing. | Food jammed; container empty; incorrect kibble size; feeder offline. | Check for food blockages in the outlet. Refill container. Ensure kibble is max 10mm. Check Wi-Fi connection and app status. |
| Kan ikke koble til Wi-Fi. | Feil Wi-Fi-passord; 5 GHz-nettverk; materen er for langt fra ruteren. | Verify Wi-Fi password. Ensure you are connecting to a 2.4 GHz network. Move feeder closer to router. Restart feeder and router. |
| Stemmeopptak fungerer ikke. | Microphone issue; recording procedure incorrect. | Ensure you are pressing and holding the record button correctly. Try restarting the feeder. |
Spesifikasjoner
| Trekk | Detalj |
|---|---|
| Modellnummer | TSL-PC-BL4 |
| Dimensjoner (L x B x H) | 30 x 30 x 20 cm |
| Vekt | 1.92 kilo |
| Materiale | Plast |
| Farge | Hvit |
| Kapasitet | 4 liter |
| Kibble størrelse | Opp til 10 mm |
| Strømkilde | AC Adapter, 3x LR20 (D-cell) batteries (not included) |
| Tilkobling | Wi-Fi (2.4 GHz) |
| Spesielle funksjoner | Wi-Fi and App Control, Voice Recording, Google Assistant/Amazon Alexa Compatible |
Garanti og støtte
For warranty information, technical support, or service inquiries, please refer to the official Tesla Smart webnettstedet eller kontakt kundeserviceavdelingen deres. Ta vare på kjøpskvitteringen som kjøpsbevis.
For den mest oppdaterte informasjonen og støtteressursene, besøk: www.teslasmart.com


