Invoering
This manual provides essential information for the safe and efficient operation, maintenance, and troubleshooting of your Sealey SAC5020A 50L Direct Drive Air Compressor. The compressor features an aluminium cylinder head with a cast iron cylinder for enhanced wear resistance, making it suitable for general-purpose workshop applications. Its pump head is directly coupled to a heavy-duty induction motor, ensuring reliable and quiet operation. The precision-welded receiver tank complies with the Pressure Vessel Directive. It is equipped with a fully automatic pressure cut-out switch and twin gauges to display both tank and working pressures. The unit is supplied with a 3-pin plug.
Veiligheidsinformatie
Neem altijd de volgende veiligheidsmaatregelen in acht om persoonlijk letsel of schade aan de apparatuur te voorkomen:
- Lees en begrijp alle instructies voordat u de compressor gebruikt.
- Ensure the compressor is placed on a level, stable surface in a well-ventilated area.
- Draag de juiste persoonlijke beschermingsmiddelen (PBM's), waaronder oogbescherming en gehoorbescherming.
- Do not operate the compressor in damp or wet conditions, or in the presence of flammable liquids or gases.
- Always disconnect the compressor from the power supply before performing any maintenance or adjustments.
- Richt de perslucht nooit op mensen of dieren.
- Regularly inspect the air tank for signs of corrosion or damage. Do not use a damaged tank.
- Zorg ervoor dat alle verbindingen goed vastzitten en lekvrij zijn voordat u het apparaat in gebruik neemt.
- Do not modify the compressor or its safety devices.
Uitpakken en installeren
Carefully remove the compressor from its packaging. Inspect the unit for any signs of shipping damage. If damage is found, contact your supplier immediately.
Componentidentificatie en afmetingen

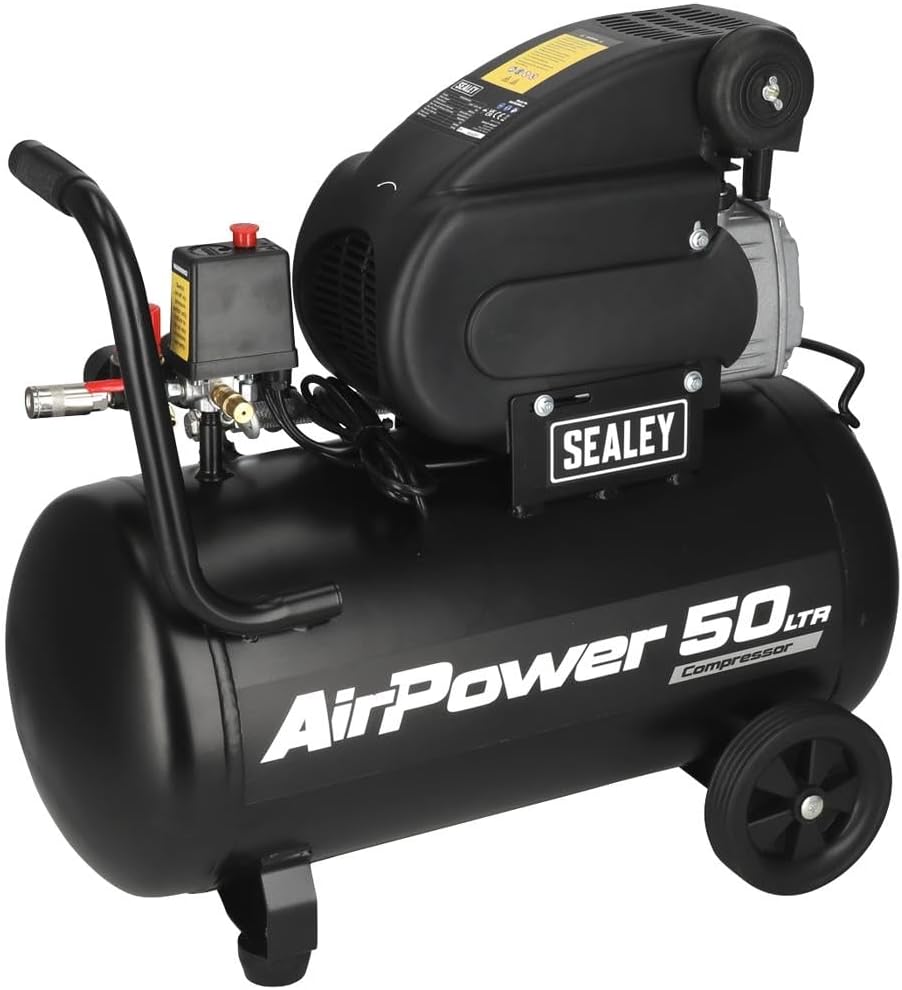
Figuur 1: Overall dimensions of the Sealey SAC5020A 50L Direct Drive Air Compressor. The image shows the compressor with its tank, motor, handle, wheels, and control panel, indicating a width of 705mm, a height of 600mm, and a depth of 300mm.
Familiarize yourself with the main components of your compressor. Refer to Figure 1 for an overview of the unit's dimensions and general layout.
Montage
- Wielen bevestigen: Securely attach the wheels to the compressor base using the provided hardware.
- Bevestig handvat: Mount the transport handle to the designated points on the compressor body.
- Positionering: Place the compressor on a firm, level surface. Ensure there is adequate space around the unit for ventilation.
Elektrische verbinding
Connect the compressor to a suitable grounded power outlet. Ensure the power supply matches the voltage and frequency specifications of the compressor (typically 230V, 50Hz for this model). The unit is fitted with a 3-pin plug.
Initial Run-in Procedure
Before first use, or after extended storage, perform a brief run-in:
- Open the air outlet valve completely to allow air to escape freely.
- Switch on the compressor and let it run for approximately 15-20 minutes without building pressure. This helps to lubricate internal components.
- Switch off the compressor and close the air outlet valve.
Gebruiksaanwijzing
Controls and Gauges

Figuur 2: Van dichtbij view of the twin pressure gauges. One gauge displays the tank pressure, and the other displays the regulated working pressure.
Figuur 3: The pressure cut-out switch (black box with yellow warning label) and the red pressure regulator knob, along with the quick-connect air outlet.
- Drukschakelaar: The black box (Figure 3) automatically turns the compressor on and off to maintain tank pressure.
- Tankdrukmeter: Displays the current pressure inside the air tank (Figure 2).
- Working Pressure Gauge: Displays the pressure of the air being supplied to your tools, adjustable via the regulator (Figure 2).
- Druk regelaar: The red knob (Figure 3) allows you to adjust the working pressure. Turn clockwise to increase pressure, counter-clockwise to decrease.
- Quick-Connect Air Outlet: For attaching air hoses and tools (Figure 3).
Het starten van de compressor
- Zorg ervoor dat de aftapkraan aan de onderkant van de tank gesloten is.
- Sluit de compressor aan op een geschikt stopcontact.
- Turn the main power switch to the "ON" position. The compressor will start to build pressure.
- Once the tank reaches its maximum pressure, the compressor will automatically shut off.
Connecting and Using Air Tools
- Connect your air hose to the quick-connect air outlet.
- Attach your air tool to the other end of the hose.
- Adjust the working pressure using the red regulator knob to suit the requirements of your air tool. Monitor the working pressure gauge.
- Begin using your air tool. The compressor will cycle on and off automatically to maintain pressure as needed.
Afsluiten
- Zet de hoofdschakelaar op "UIT".
- Disconnect the air hose and tools.
- Slowly open the drain valve at the bottom of the tank to release any condensed moisture and residual air pressure. Close the valve once the tank is empty.
Onderhoud
Regelmatig onderhoud zorgt voor een lange levensduur en een veilige werking van uw luchtcompressor.
Dagelijks/na elk gebruik
- Condensaat afvoeren: After each use, or daily if used frequently, open the drain valve at the bottom of the air tank to release accumulated moisture. This prevents rust and corrosion inside the tank.
Weekly/Monthly
- Controleer het luchtfilter: Check the air filter for dirt and debris. Clean or replace if necessary to ensure proper airflow to the pump.
- Controleer op lekken: Listen for any air leaks around fittings, hoses, and valves. Tighten connections as needed. A soapy water solution can help identify small leaks.
- Slangen en koppelingen inspecteren: Examine air hoses for cracks, cuts, or wear. Replace damaged hoses immediately. Ensure all quick-connect fittings are functioning correctly.
- Controleer het netsnoer: Check the power cord for any damage, fraying, or exposed wires.
Jaarlijks
- Tankinspectie: Visually inspect the air tank for any signs of external corrosion, dents, or damage. If any damage is found, do not use the compressor and seek professional inspection.
- Controle van de veiligheidsklep: Briefly pull the ring on the safety relief valve to ensure it operates freely and reseats properly.
For any maintenance beyond these basic steps, it is recommended to consult a qualified service technician.
Probleemoplossing
This section provides solutions to common issues you may encounter with your air compressor.
| Probleem | Mogelijke oorzaak | Oplossing |
|---|---|---|
| Compressor start niet. |
|
|
| De compressor draait continu of schakelt te vaak in en uit. |
|
|
| Lage luchtdruk bij de uitlaat. |
|
|
| Overmatig geluid of trillingen. |
|
|
Specificaties
| Functie | Detail |
|---|---|
| Merk | Zeeleeuwen |
| Modelnummer | SAC5020A |
| Energiebron | AC |
| Maximaal vermogen | 2 pk |
| Motorvermogen | 2 pk |
| Tankinhoud | 50 liter |
| Luchtstroomcapaciteit | 6.8 kubieke voet per minuut (CFM) |
| Artikelgewicht | 32980 gram (ongeveer 33 kg) |
| Speciale functie | Stille werking |
| Meegeleverde componenten | 50ltr Direct Drive Compressor 2hp |
| Aanbevolen toepassingen | Bolting, Drilling, Spraying, Sanding, Grinding, Tire Inflation |
Garantie-informatie
This Sealey product is covered by a manufacturer's warranty against defects in materials and workmanship. The specific terms and duration of the warranty may vary by region and purchase date. Please retain your proof of purchase for warranty claims.
For detailed warranty information, please refer to the warranty card included with your product or visit the official Sealey webplaats.
Ondersteuning en contact
Should you require technical assistance, spare parts, or have any questions regarding your Sealey SAC5020A air compressor, please contact Sealey customer support or your authorized dealer.
Sealey-functionaris Webwebsite: www.sealey.co.uk
Please have your model number (SAC5020A) and serial number (if applicable) ready when contacting support.