1. Introduzzjoni
This manual provides detailed instructions for the installation, operation, and maintenance of your Schlage F10 FLA 605 Flair Passage Door Lever. This high-quality door hardware is designed for interior hall and closet doors where a locking mechanism is not required. It can also be paired with a deadbolt for exterior door applications. The Flair lever combines distinctive design with reliable functionality.

Image 1.1: The Schlage F10 FLA 605 Flair Passage Door Lever in Bright Brass finish.
2. Karatteristiċi tal-prodott
- Użu Ideali: Designed for interior hall and closet doors where no locking function is needed. Can be used with a deadbolt on exterior doors.
- Installazzjoni faċli: Features self-aligning screw holes for a straightforward installation process. Can be installed on existing single bore hole doors with a screwdriver.
- Certified Durability: Constructed from premium metal with quality craftsmanship, meeting Grade 2/AAA BHMA ratings for security, durability, and finish.
- Hassle-Free Fit: Universal latch fits standard doors with 2-3/8" or 2-3/4" backset and door thickness from 1-3/8" to 1-3/4". Includes both radius and drive-in faceplates.
- Disinn Ambidestru: Suitable for both right and left-handed doors.

Image 2.1: The elegant Flair lever design, showcasing its ornate details and various available finishes.
3. Setup u Installazzjoni
The Schlage F10 FLA 605 Flair Passage Door Lever is designed for easy installation. A screwdriver is the only tool typically required.
Passi ta' Installazzjoni:
- Step 1: Remove Existing Hardware. Carefully remove any existing door hardware. Secure the new latch mechanism into the door edge with the provided screws.
- Step 2: Set the Levers in Place. Align and insert the lever assemblies into the door, ensuring the spindle engages correctly with the latch mechanism.
- Step 3: Secure the Levers. Hand-tighten the mounting screws to secure both lever assemblies to the door. Ensure the levers operate smoothly before fully tightening.
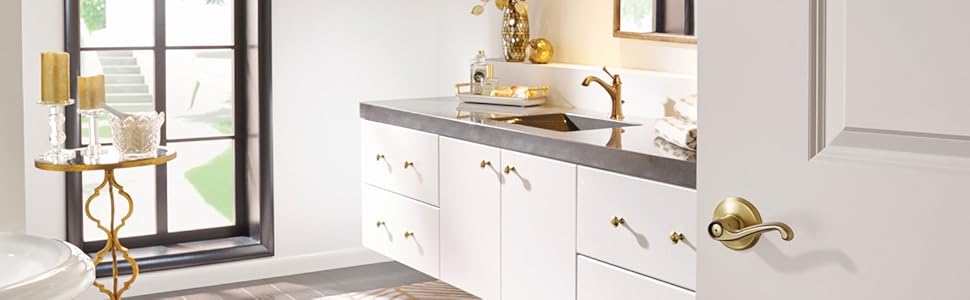
Image 3.1: Visual guide for the 3-step installation process: removing old hardware, setting levers, and securing screws.
For detailed visual instructions, please refer to the official Schlage installation video below.
Video 3.1: An official video from Schlage Lock Company demonstrating the quality and reliability of Schlage products, including installation aspects. This video highlights the ease of use and security features of Schlage door hardware.
4. Istruzzjonijiet Operattivi
The Schlage Flair Passage Door Lever is designed for simple and reliable operation. As a passage function lever, it does not include a locking mechanism.
- To open the door, simply depress the lever handle downwards.
- Release the lever to allow the latch to retract into the door, securing it in the closed position.
- The lever is ambidextrous, meaning it can be installed and operated on both left-handed and right-handed doors.
5. Manutenzjoni
Proper maintenance ensures the longevity and appearance of your Schlage Flair Passage Door Lever.
- Tindif: Naddaf il-lieva b'xibka ratba, damp cloth. Avoid abrasive cleaners, solvents, or polishing agents, as these can damage the finish.
- Lubrikazzjoni: If the lever mechanism feels stiff over time, apply a small amount of silicone-based lubricant to the latch bolt and internal moving parts. Do not use oil-based lubricants.
- Spezzjoni: Periodically check all screws and connections to ensure they are tight. Loose components can affect performance and durability.
6 Issolvi l-problemi
If you encounter issues with your Schlage Flair Passage Door Lever, consider the following common solutions:
- Lever is Stiff: Check for any obstructions around the lever or latch. Apply a silicone-based lubricant to the moving parts if needed.
- Il-Bieb Ma Jissakkarx Sewwa: Ensure the strike plate on the door frame is correctly aligned with the latch bolt. Adjust the strike plate if necessary. Verify that the latch bolt extends fully when the door is open.
- Loose Lever: Tighten the mounting screws that secure the lever assemblies to the door. Do not overtighten.
- Scratches or Finish Wear: While the finish is durable, minor wear can occur over time. Avoid harsh chemicals during cleaning.
If problems persist after attempting these steps, please contact Schlage customer support.
7. Speċifikazzjonijiet
| Speċifikazzjoni | Dettall |
|---|---|
| Numru tal-Mudell | F10FLA605 |
| Brand | SCHLAGE |
| Tip Lock | Passage Lock (Non-locking) |
| Materjal | Ram, metall |
| Kulur / Finish | Bright Brass (Polished) |
| Dimensjonijiet tal-Prodott | 5.38"T x 2.25"W |
| Piż tal-oġġett | 1.56 liri |
| Kompatibilità tal-Ħxuna tal-Bieb | 1-3/8" to 1-3/4" |
| Kompatibilità ta' Backset | 2-3/8" or 2-3/4" |
| Orjentazzjoni tal-Idejn | Ambidestru |
| Komponenti Inklużi | Ħardwer tal-Installazzjoni, Istruzzjonijiet tal-Installazzjoni |
| BHMA Rating | Grade 2/AAA (Security, Durability, Finish) |
8. Garanzija u Appoġġ
Your Schlage F10 FLA 605 Flair Passage Door Lever is backed by a comprehensive warranty to ensure your peace of mind.
- Garanzija Mekkanika u tal-Finitura: This product includes a limited lifetime mechanical and finish warranty.
- Garanzija tal-Elettronika: (Not applicable for this mechanical passage lever)
For full details regarding the warranty terms and conditions, please refer to the official Schlage warranty documentation or visit the Schlage website. For technical support or assistance with your product, please contact Schlage customer service.


