instructables Mini Shelf Created With Tinkercad

Have you ever wanted to display tiny treasures on a shelf, but couldn’t find a shelf small enough? In this Intractable, you can learn how to make a printable custom mini shelf with Tinkercad.
Supplies:
- A Tinkercad account
- A 3D printer (I use the MakerBot Replicator)
- PLA Filament
- Acrylic paint
- Sandpaper
Mounting
- Step 1: Back Wall
(Note: The imperial system is used for all dimensions.)
Select the box (or cube) shape from the Basics Shapes category, and make it 1/8 inches tall, 4 inches wide, and 5 inches long.

- Step 2: Side Walls
Next, take another cube, make it 2 inches tall, 1/8 inches wide, and 4.25 inches long, and place it within the edge of the back wall. Then, duplicate it by pressing Ctrl + D, and put the copy on the other side of the back wall.

- Step 3: Shelves
(Here the shelves are equally spaced, but can be adjusted to your preference.)
Select another cube, make it 2 inches tall, 4 inches wide, and 1/8 inches long, and place it at the top of the side walls. Next, duplicate it (Ctrl + D), and move it 1.625 inches below the first shelf. While keeping the new shelf selected, duplicate it, and the third shelf will appear below it.


- Step 4: Top Shelf
Select the wedge shape from Basic Shapes, make it 1.875 inches tall, 1/8 inches wide, and 3/4 inches long, place it on top of the back wall, and against the top of the rst shelf. Duplicate it, and put the new wedge on the opposite edge.


- Step 5: Decorate the Walls
Decorate the walls with the scribble tool from Basic Shapes to create swirls.
- Step 6: Grouping the Shelf
Once you’ve finished decorating the walls, group the entire shelf together by dragging the cursor across the design and pressing Ctrl + G.


- Step 7: Print Time
Now the shelf is all ready to be printed! Make sure to print it on its back to minimize the amount of supports used in the printing process. With this size, it took about 6.5 hours to print.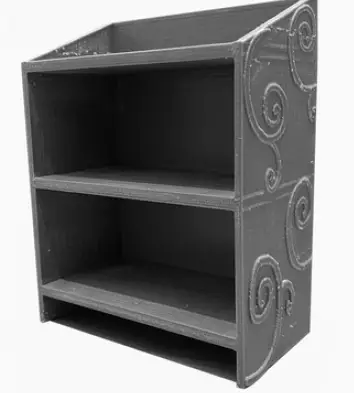
- Step 8: Sanding the Shelf
For a more polished look and easier painting job, I used sandpaper to smooth out the rough surfaces. - Step 9: Paint It
Finally, it is time to paint! You can use any color you prefer. I’ve found that acrylic paint works best. - Step 10: Finished Shelf
Now you can display your tiny treasures for your family and friends. Enjoy!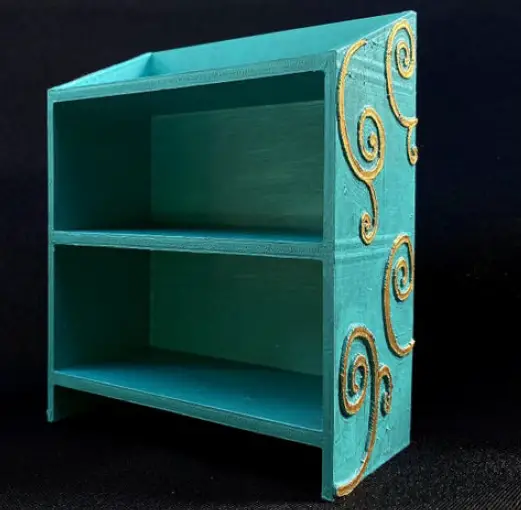
Documents / Resources
 |
instructables Mini Shelf Created With Tinkercad [pdf] Instruction Manual Mini Shelf Created With Tinkercad, Shelf Created With Tinkercad, Created With Tinkercad, Tinkercad |


