![]() Before we can use this LDSBus device, it must be configured.
Before we can use this LDSBus device, it must be configured.
Let’s Get Started!
BRT Sys LDSBus EC Sensor Adapter
Step 1.
Connect the LDSBus USB Adapter to the PC with a USB-C to USB-A Cable.
(Both to be purchased separately)
Step 2.
Connect one end of the cable provided to the LDSBus device if required.
Step 3.
Connect the other end of the cable to the LDSBus USB Adapter as shown in picture

Step 4.
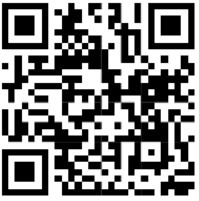
Scan the QR code or visit the link provided below:
Step 5.
Download the LDSBus Configuration Utility. Complete the installation instructions.

Follow the LDSBus Configuration Utility guide to configure the device name, device address and termination settings.
View the full information of this LDSBus device, application setup and installation guides for further Instructions.
Please visit or scan the QR code for warranty registration with the UUID and Product Key below
 https://brtsys.com/warranty
STICKER AREA
Documents / Resources
 |
BRT Sys LDSBus EC Sensor Adapter [pdf] Instructions LDSBus, LDSBus EC Sensor Adapter, EC Sensor Adapter, Sensor Adapter, Adapter |
 |
BRT Sys LDSBus EC Sensor Adapter [pdf] Instruction Manual LDSBus, LDSBus EC Sensor Adapter, EC Sensor Adapter, Sensor Adapter, Adapter |
