소개
This manual provides essential instructions for the safe and efficient operation of your Beautiful by Drew Barrymore Programmable Single-Serve Coffee Maker with Integrated Grinder, Model 19332. Please read all instructions carefully before first use and retain this manual for future reference.
중요한 안전 정보
전기 제품을 사용할 때는 화재, 감전 및/또는 인명 부상의 위험을 줄이기 위해 다음 사항을 포함한 기본적인 안전 예방 조치를 항상 따라야 합니다.
- 모든 지침을 읽으세요.
- 뜨거운 표면을 만지지 마십시오. 손잡이나 손잡이를 사용하십시오.
- 감전 사고를 방지하기 위해 전원 코드, 플러그 또는 커피 메이커를 물이나 기타 액체에 담그지 마십시오.
- 어린이가 가전제품을 사용하거나 어린이 근처에서 사용할 때는 면밀한 감독이 필요합니다.
- 사용하지 않을 때와 세척하기 전에는 콘센트에서 플러그를 뽑으세요. 부품을 끼우거나 떼기 전에 식힌 후, 그리고 기기를 세척하기 전에 식히세요.
- 코드나 플러그가 손상된 경우 또는 기기가 오작동하거나 어떤 식으로든 손상된 경우에는 기기를 작동하지 마십시오.
- 기기 제조업체에서 권장하지 않는 부속품을 사용하면 화재, 감전 또는 부상이 발생할 수 있습니다.
- 옥외에서는 사용하지 마십시오.
- 코드가 테이블이나 카운터 가장자리에 걸려 있거나 뜨거운 표면에 닿지 않도록 하세요.
- 뜨거운 가스나 전기 버너 근처 또는 가열된 오븐에 두지 마십시오.
- 항상 제품에 플러그를 먼저 꽂은 후, 코드를 벽면 콘센트에 꽂으세요. 전원을 끊으려면 모든 조절기를 "끔"으로 돌린 후 벽면 콘센트에서 플러그를 뽑으세요.
- 본 제품을 본래 용도 외에는 사용하지 마십시오.
- 커피를 끓이는 동안 뚜껑을 열면 화상을 입을 수 있습니다.
패키지 내용
아래 나열된 모든 품목이 패키지에 포함되어 있는지 확인하세요.
- Beautiful by Drew Barrymore Single-Serve Coffee Maker with Integrated Grinder
- 2-in-1 Cleaning Brush with Measuring Scoop
- Charcoal Filter and Holder
- 재사용 가능한 커피 필터
- 사용 설명서(본 문서)
제품 끝view
커피메이커의 구성 요소를 숙지하세요.

그림 1: 전면 view of the Beautiful by Drew Barrymore Single-Serve Coffee Maker, showing the control panel, brew spout, and drip tray.

그림 2: 상단 view of the coffee maker with the lid open, revealing the integrated burr grinder and bean hopper. The hopper can hold enough beans for up to 16 cups of coffee.

Figure 3: Illustration of the reusable gold-tone coffee filter being placed into the brew basket. This filter eliminates the need for disposable paper filters or pods.
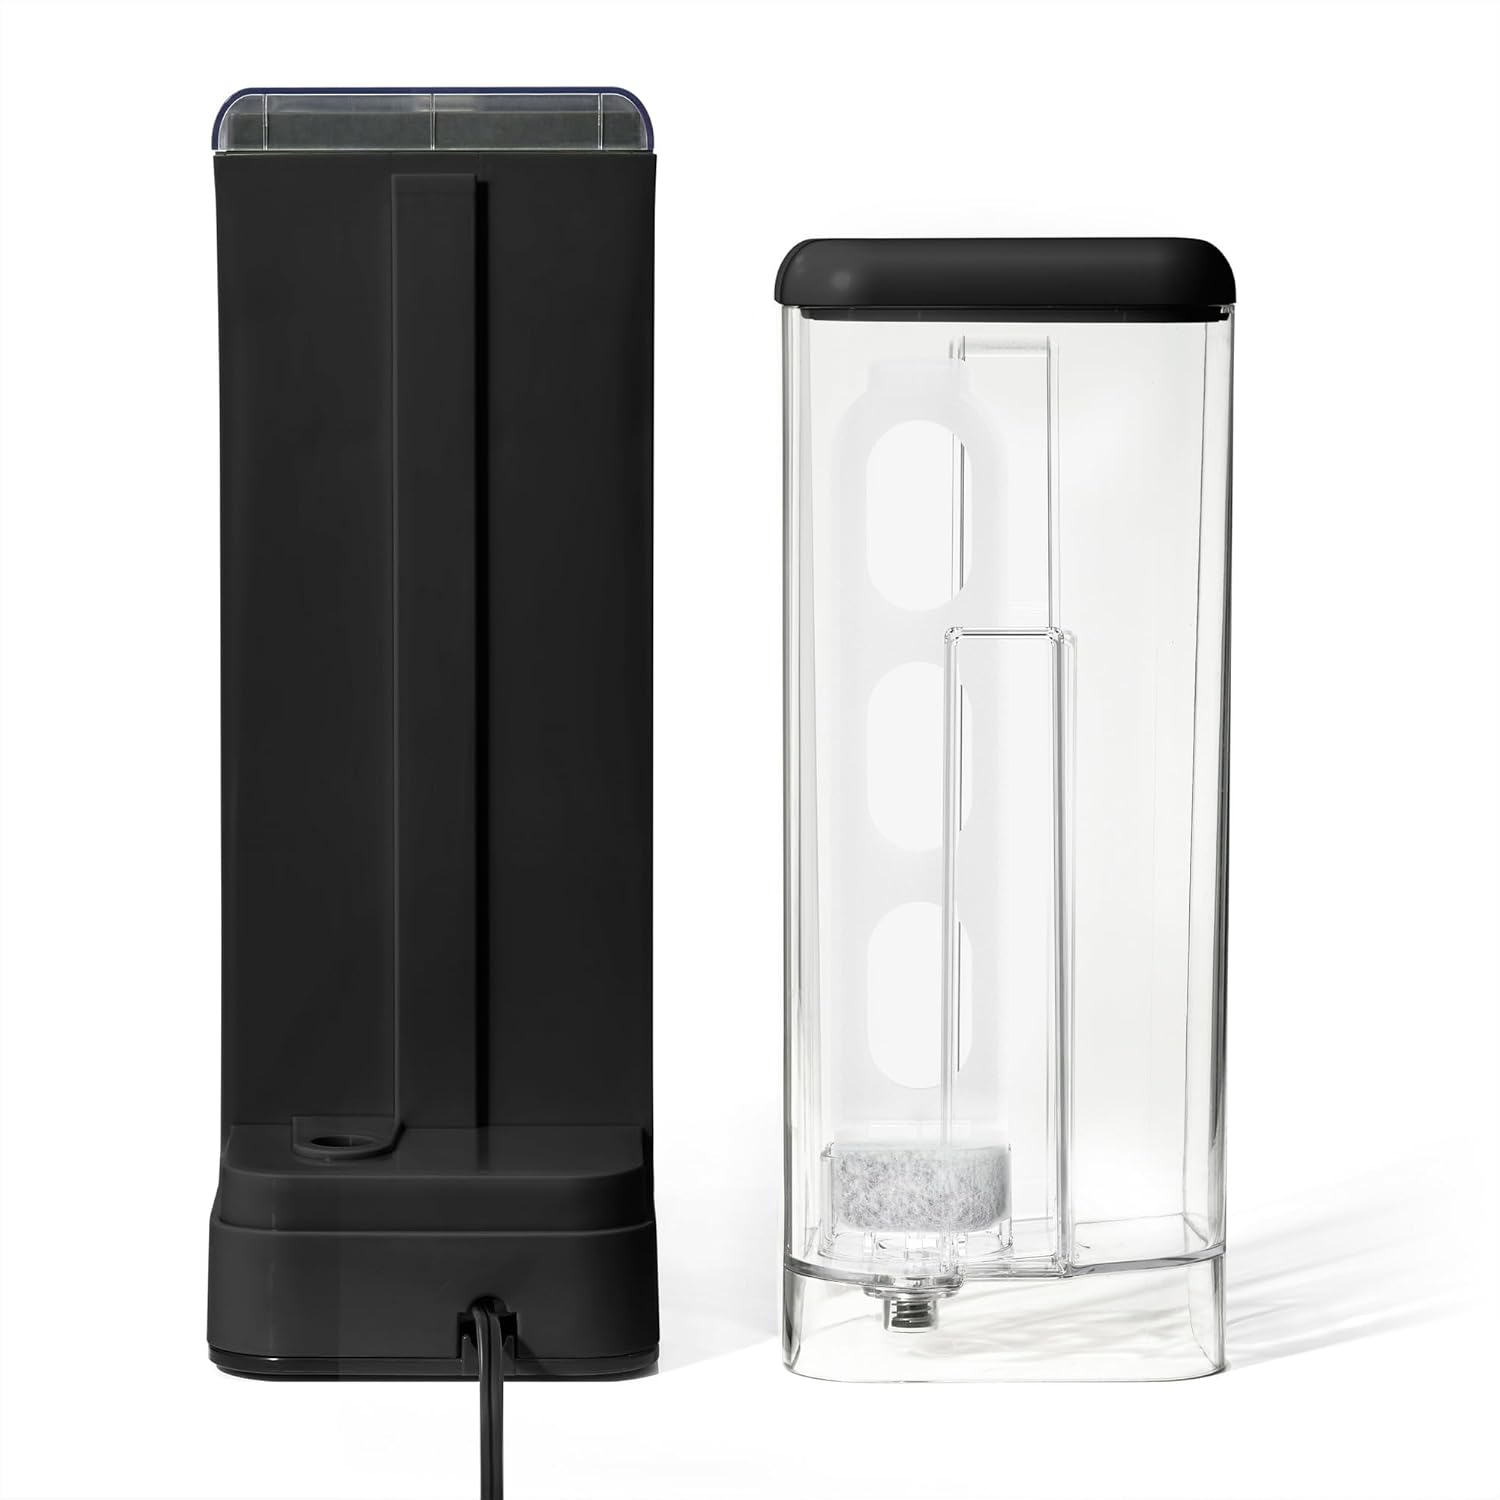
Figure 4: The detachable 14 oz water reservoir, shown with the charcoal filter and holder. The reservoir is designed for single-serve brewing.
설정
첫 사용 전
- Unpack the coffee maker and all accessories. Remove any packaging materials and labels.
- Wash the reusable coffee filter, water reservoir, and drip tray in warm, soapy water. Rinse thoroughly and dry.
- Insert the charcoal filter into its holder, then place it into the water reservoir.
- 물통에 깨끗하고 차가운 물을 MAX 표시선까지 채우세요.
- Perform a cleaning cycle:
- Ensure the reusable filter is empty and correctly seated.
- 물받이 트레이에 큰 머그컵이나 용기를 올려놓으세요.
- Press the "Brew Size" button to select 14 oz.
- Press the "Brew On" button to start a water-only cycle.
- 뜨거운 물은 버리세요. 이 과정을 한 번 더 반복하세요.
Placing the Coffee Maker
Place the coffee maker on a flat, stable, heat-resistant surface near a power outlet. Ensure there is adequate clearance around the unit for ventilation and access to the water reservoir and bean hopper.
작동 지침
Brewing a Single Cup of Coffee
- 저수지 채우기: Remove the water reservoir and fill it with fresh, cold water to your desired brew size (6, 8, 10, or 14 oz). Reattach the reservoir securely.
- 커피콩 추가: Open the lid to the bean hopper. Add whole coffee beans. The integrated burr grinder will automatically grind the precise amount needed for your selected brew.
- 양조 크기 선택: Press the "Brew Size" button repeatedly to cycle through the available cup sizes (6, 8, 10, 14 oz).
- Adjust Brew Strength (Optional): Press the "Bold" button to select a stronger brew if desired. The indicator light will illuminate.
- 머그잔 놓기: Position your mug or travel cup on the drip tray. For taller travel mugs, the drip tray can be removed.
- 양조 시작: Press the "Brew On" button. The coffee maker will grind the beans, then begin the brewing process.
- 즐기다: Once brewing is complete, carefully remove your mug. The coffee maker will automatically shut off.
Using the Programmable Auto-Start Timer
You can program your coffee maker to start brewing at a specific time.

Figure 5: The control panel displaying time and various function buttons, including "Delay Menu", "Hour", and "Minute" for setting the auto-start timer.
- 현재 시간 설정: Press and hold the "Hour" button until the display flashes. Use "Hour" and "Minute" buttons to set the current time. Press "Delay Menu" to confirm.
- 맥주 양조 준비: Follow steps 1-5 from "Brewing a Single Cup of Coffee" (fill water, add beans, select brew size, adjust strength, place mug).
- 지연 시간 설정: Press the "Delay Menu" button. The display will flash. Use "Hour" and "Minute" buttons to set your desired brew start time.
- Activate Delay Brew: Press "Delay Menu" again to confirm. The "Delay" indicator light will illuminate, and the coffee maker will start brewing at the set time.
Brewing "Over Ice" Coffee
This feature is designed to brew a concentrated coffee over ice for a refreshing iced beverage.

Figure 6: The coffee maker brewing a concentrated coffee directly over ice in a glass, utilizing Exact Xtract technology for enhanced flavor.
- 저수지 채우기: Fill the water reservoir with fresh, cold water according to the desired iced coffee volume.
- 커피콩 추가: 원두커피를 호퍼에 넣으세요.
- 얼음을 준비하세요: Fill your serving glass with ice cubes.
- Select "Over Ice": Press the "Over Ice" button. The indicator light will illuminate. The coffee maker will automatically adjust the brew settings for iced coffee.
- 양조 시작: Press the "Brew On" button.
- 제공하다: Once brewing is complete, stir and enjoy your iced coffee.
유지관리 및 청소
정기적으로 청소하면 최적의 성능을 보장하고 커피 메이커의 수명을 연장할 수 있습니다.
매일 청소
- 플러그를 뽑다: 청소하기 전에는 항상 커피 메이커의 플러그를 뽑으세요.
- 재사용 가능한 필터: Remove the reusable filter, discard used coffee grounds, and rinse thoroughly under running water. Use the cleaning brush if necessary.
- 드립 트레이: Remove and empty the drip tray. Wash with warm, soapy water and rinse.
- 물 저장고: 물통을 깨끗한 물로 헹굽니다.
- 외부: 광고로 커피메이커 외부 닦기amp 옷감. 연마성 세제나 수세미를 사용하지 마십시오.
그라인더 세척
Periodically clean the integrated burr grinder to prevent clogs and maintain grind consistency.
- Ensure the coffee maker is unplugged and cooled.
- 호퍼에 남아 있는 커피 원두를 모두 제거합니다.
- Use the provided 2-in-1 cleaning brush to gently brush away any coffee grounds from the burrs and the grinder chute.
- Wipe the inside of the bean hopper with a dry cloth.
스케일 제거
물속의 미네랄 침전물은 시간이 지남에 따라 쌓여 커피 머신의 성능에 영향을 미칠 수 있습니다. 커피 머신은 2~3개월에 한 번씩, 또는 경수가 많은 지역에서는 더 자주 석회질을 제거해 주세요.
- Prepare a descaling solution: Mix 1 part white vinegar with 2 parts water, or use a commercial descaling solution according to its instructions.
- 물통에 석회질 제거 용액을 채우십시오.
- 물받이에 큰 머그를 놓습니다.
- 커피 가루 없이 추출 과정을 진행하세요.
- After the cycle, let the coffee maker sit for 30 minutes with the solution inside.
- Run another brew cycle to empty the reservoir.
- Rinse thoroughly by running 2-3 cycles with fresh, clean water.
문제 해결
일반적인 문제와 해결 방법은 이 섹션을 참조하세요.
| 문제 | 가능한 원인 | 해결책 |
|---|---|---|
| 커피가 추출되지 않습니다. | No water in reservoir; unit not plugged in; brew cycle not initiated. | Fill reservoir; ensure power cord is securely plugged in; press "Brew On" button. |
| 연한 커피. | Insufficient coffee beans; incorrect brew strength selected; descaling needed. | Add more beans; select "Bold" brew strength; descale the unit. |
| 분쇄기가 작동하지 않습니다. | No beans in hopper; grinder clogged; unit not powered. | Add beans; clean grinder burrs with brush; ensure power. |
| 커피가 넘친다. | Mug too small; brew basket clogged. | Use a larger mug; clean the reusable filter and brew basket. |
| "Clean" indicator light is on. | Indicates descaling is recommended. | 유지 관리 섹션에 설명된 대로 스케일 제거 주기를 수행하십시오. |
명세서
- 모델 이름: RP19332
- 품목 모델 번호: 19332
- 상표: 드류 배리모어의 뷰티풀
- 색상: 검은 참깨
- 제품 크기: 12.95인치 깊이 x 12.14인치 너비 x 5.11인치 높이
- 품목 무게: 7.73파운드
- 저수지 용량: 14 온스
- 특별 기능: Brew Strength Control, Built-In Conical Burr Grinder, Programmable Auto-Start Timer, Reusable Coffee Filter, Single-Serve Design (6, 8, 10, or 14 oz mugs)
- 포함된 구성 요소: 2-in-1 cleaning brush with measuring scoop, charcoal filter, and holder
보증 및 지원
For warranty information or technical support, please refer to the warranty card included with your product or contact the manufacturer's customer service. Keep your purchase receipt as proof of purchase.


