1. 중요한 안전 정보
Read this instruction manual carefully before using the appliance and save it for future reference. Always follow basic safety precautions when using electrical appliances to reduce the risk of fire, electric shock, and personal injury.
- 전기 안전: 볼륨을 확보하세요tag기기에 표시된 e는 해당 지역의 주 전원에 해당합니다.tage before connecting. Do not operate the appliance with a damaged cord or plug.
- 증기 위험: The steamer produces hot steam. Keep hands and face away from the steam nozzle during operation. Do not direct steam at people or pets.
- 수조: Only fill the water tank with clean tap water. Do not add perfumes, vinegar, starch, descaling agents, or other chemicals, as these can damage the appliance or cause stains.
- 안정: Always place the steamer on a stable, flat surface. Ensure the poles are securely locked in place.
- 어린이들: 본 기기는 어린이가 사용하도록 고안되지 않았습니다. 제품과 코드를 어린이의 손이 닿지 않는 곳에 보관하십시오.
- 유지: Unplug the appliance before cleaning or performing any maintenance. Allow it to cool completely.
2. 제품 오버view
Familiarize yourself with the components of your Philips 1000 Series Stand Steamer.

그림 2.1: 이상view of the Philips 1000 Series Stand Steamer components, including the adjustable double pole, large plastic plate, 3 steam settings dial, 36g/min continuous steam nozzle, detachable 1.8L water tank, and calc clean feature.
- A. Steam Nozzle: Delivers continuous steam for wrinkle removal.
- B. Steam Hose: Connects the base unit to the steam nozzle.
- C. Adjustable Double Pole: Provides stability and allows height adjustment for various garment lengths.
- D. Integrated Hanger: For conveniently hanging garments during steaming.
- E. Water Tank: Detachable 1.8L capacity for extended steaming sessions.
- F. Steam Settings Dial: Allows selection of three custom steam settings for different fabric types.
- G. Power Button/Indicator: Turns the appliance on/off and indicates operational status.
- H. De-Calc/Easy Rinse Knob: For performing the descaling function.
- I. Base Unit: 발열체와 물통이 포함되어 있습니다.
- J. Fabric Brush: (Included accessory) Helps to open fabric weave for better steam penetration on thicker fabrics.
- K. Protective Glove: (Included accessory) For hand protection during steaming.
3. 설치 및 조립
Follow these steps to assemble your stand steamer before first use.
- 구성 요소 풀기: 포장에서 모든 부품을 조심스럽게 꺼냅니다.
- 기둥 조립: Insert the adjustable double poles into the designated slots on the base unit until they click into place. Ensure they are stable.
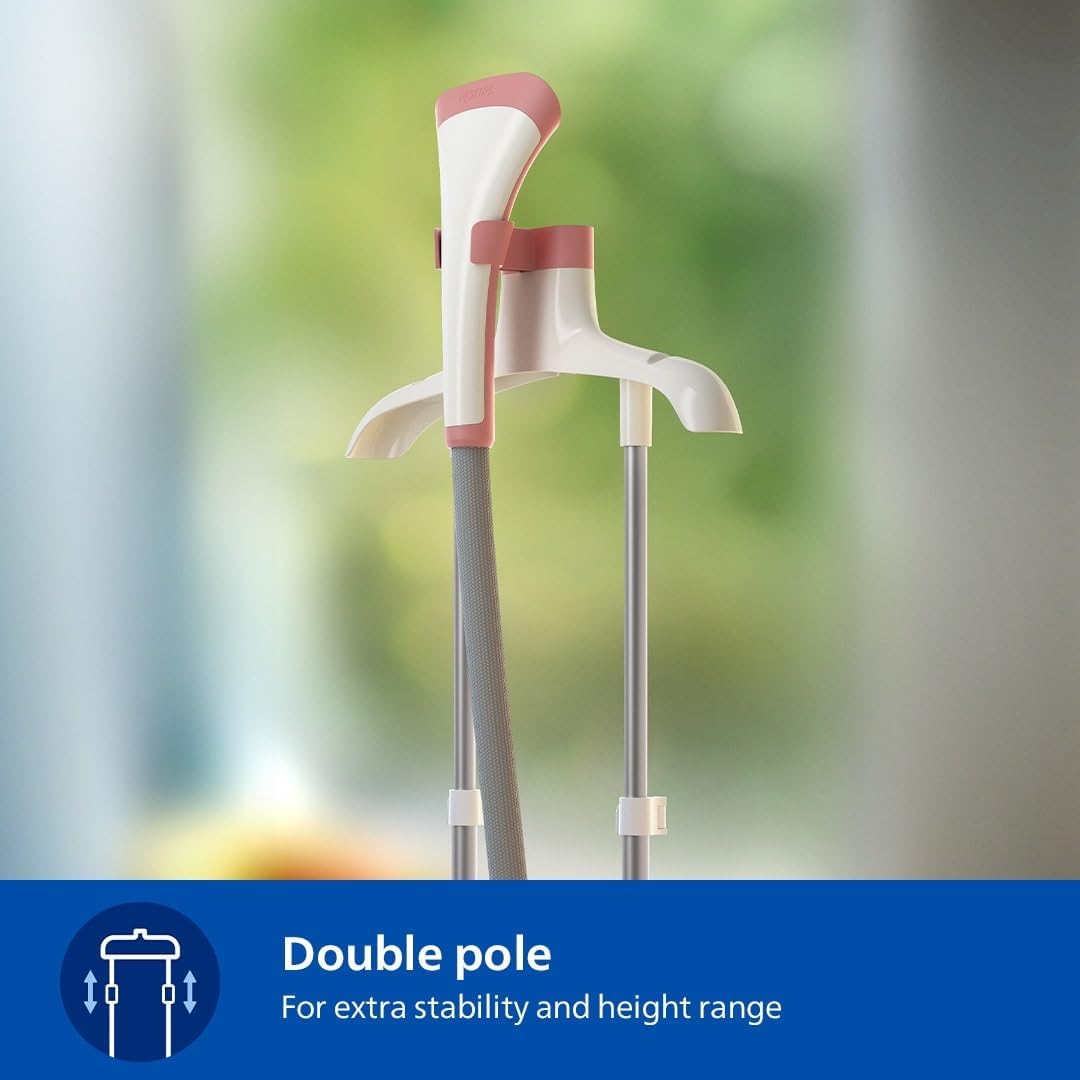
Figure 3.1: The double pole system provides stability and allows for height adjustment.
- 행거 부착: Slide the integrated garment hanger onto the top of the poles.
- 스팀 호스를 연결하세요: Securely attach the steam hose to the steam outlet on the base unit.
- 물 탱크 채우기: Remove the detachable 1.8L water tank from the base. Open the cap, fill with clean tap water, and close the cap securely. Reinsert the water tank into the base unit.

Figure 3.2: The large 1.8L detachable water tank minimizes the need for frequent refills.
- 위치 스팀기: Place the assembled steamer on a stable, level surface, away from walls or furniture that could be damaged by steam.
4. 사용 설명서
Learn how to effectively use your Philips Stand Steamer for optimal results.
4.1 전원 켜기 및 가열
- 물탱크가 가득 차 있고 올바르게 설치되었는지 확인하십시오.
- 전원 코드를 접지된 콘센트에 꽂으세요.
- Press the power button. The indicator light will illuminate, and the steamer will begin to heat up. It heats up in approximately 45 seconds.
- Once ready, steam will start to emit from the nozzle.
4.2 Selecting Steam Settings
The steamer offers three custom steam settings to suit various fabric types.

Figure 4.1: The steam settings dial allows you to choose the appropriate steam level for your fabric.
- 낮은 증기: For delicate fabrics like silk, synthetics, and cashmere.
- 중간 증기: For lightweight fabrics such as cotton shirts and dresses.
- 높은 증기: For thick fabrics like denim, wool, and coats, providing a powerful 36g/min continuous steam output.

Figure 4.2: The steamer delivers a continuous steam output of 36g/min for effective de-wrinkling.
Rotate the steam settings dial to select your desired steam level.
4.3 의류 찜질
- Hang the garment on the integrated hanger.
- Hold the steam nozzle close to the fabric, but do not press it directly against delicate materials.
- Move the nozzle slowly downwards over the fabric. For stubborn wrinkles, gently stretch the fabric with your free hand (using the protective glove for safety).
- For thicker fabrics, attach the fabric brush accessory to the steam nozzle to help open the weave and allow steam to penetrate deeper.
- The hot steam also helps to kill 99.9% of bacteria and remove odors, refreshing your clothes.

Figure 4.3: Steaming helps to sterilize fabrics, eliminating 99% of bacteria and dust mites.
- The large steam plate allows for fewer strokes, making the process more efficient.

Figure 4.4: The steamer features a large steam plate for efficient wrinkle removal.
- The steamer is safe for use on all ironable fabrics, including delicate materials.

Figure 4.5: The steamer is safe for use on a wide range of ironable fabrics, from delicate to heavy.
4.4 Finishing Steaming
- 완료되면 전원 버튼을 눌러 기기를 끄세요.
- 콘센트에서 전원 코드를 뽑으세요.
- 보관하기 전에 제품을 완전히 식히십시오.
5. 유지관리 및 청소
정기적인 유지 관리는 최적의 성능을 보장하고 스팀기의 수명을 연장합니다.
5.1 Descaling (Easy Rinse Function)
To prevent limescale buildup and maintain strong steam output, regularly use the Easy Rinse descaling function. The frequency depends on water hardness and usage.
- 기기의 플러그를 뽑고 완전히 식었는지 확인하세요.
- 물탱크를 제거하세요.
- Place the steamer over a sink or basin.
- Locate the De-Calc/Easy Rinse knob on the base unit. Turn the knob to the "unlock" position and pull it out to drain the water from the base.
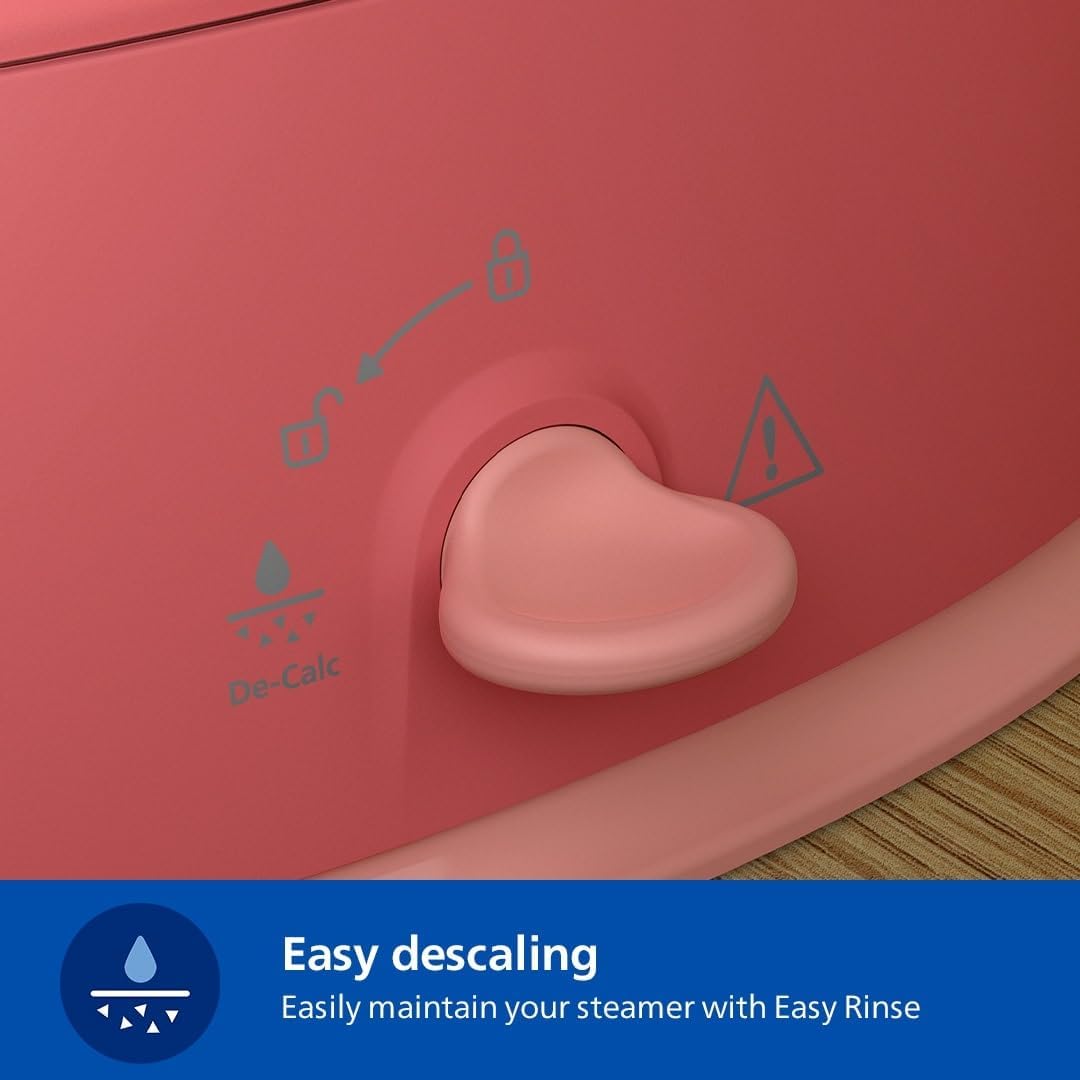
Figure 5.1: The Easy Descaling knob allows for simple maintenance to remove calcium deposits.
- Rinse the base unit with clean water, shaking gently, until no more scale particles come out.
- Reinsert and lock the De-Calc/Easy Rinse knob.
- Refill the water tank and perform a short steaming cycle to flush out any remaining residue.
5.2 스팀기 청소
- 부드러운 천으로 기기 외부를 닦고 damp 옷감.
- Clean the steam nozzle plate with a damp 옷감. 연마성 세척제를 사용하지 마십시오.
- If the steam hose becomes clogged, gently stretch it to dislodge any mineral buildup.
6. 문제 해결
일반적인 문제와 해결 방법은 이 섹션을 참조하세요.
| 문제 | 가능한 원인 | 해결책 |
|---|---|---|
| 증기가 전혀 나오지 않거나 아주 약하게 나옵니다. | Water tank is empty or not properly inserted. Limescale buildup. Steamer not heated sufficiently. | Refill water tank and ensure it's correctly seated. Perform descaling (Easy Rinse). Allow 45 seconds for heating. |
| 노즐에서 물이 새고 있습니다. | Condensation in the hose. Steamer not hot enough. | Allow the steamer to heat up fully before use. Hold the nozzle higher than the hose to allow condensation to drain back into the base. |
| 기기가 켜지지 않습니다. | 플러그가 꽂혀 있지 않습니다. 전원 콘센트 문제입니다. | 전원 코드가 정상적으로 작동하는 콘센트에 단단히 꽂혀 있는지 확인하세요. 회로 차단기를 확인하세요. |
| Garments remain wrinkled. | Incorrect steam setting. Steaming too quickly. Fabric type. | Select a higher steam setting for thicker fabrics. Move the nozzle slower. For very stubborn wrinkles, consider using an iron. |
7. 사양
Key technical details of the Philips 1000 Series STE1020/40 Stand Steamer.
- 모델: STE1020/40
- 힘: 1800 와트
- 지속적인 증기 출력: 35g/min (as per product specifications)
- 물탱크 용량: 1.8리터
- 권tage: 220 볼트
- 제품 크기: 43.4L x 30.3W x 168.2H 센티미터
- 품목 무게: 2.95 킬로그램
- 포함된 구성 요소: Fabric brush, Protective glove, Integrated hanger
- 색상: 부드러운 빨간색
8. 보증 및 지원
For warranty information and product support, please refer to the official Philips web사이트를 방문하거나 고객 서비스에 문의하세요.
- 보증: This product comes with a standard manufacturer's warranty. Please retain your proof of purchase for warranty claims. Specific warranty terms and duration may vary by region.
- 고객 지원: For technical assistance, spare parts, or service, visit the official Philips website or contact their local customer support center. You can find contact details on the Philips website or in the warranty booklet provided with your product.
- 온라인 리소스: Additional FAQs, troubleshooting guides, and product registration may be available on the Philips support web대지.


