소개
The CATEYE Velo Wireless bike computer provides essential ride data in a compact and user-friendly design. This manual will guide you through the setup, operation, and maintenance of your device, ensuring accurate tracking of your cycling activities.
Key features include current, maximum, and average speed, total distance, trip distance, elapsed time, calorie consumption, pace arrow, and clock. It also features a programmable odometer and automatic start/stop functionality.
포함된 구성 요소
패키지에 다음 구성 요소가 모두 포함되어 있는지 확인하십시오.
- CATEYE Velo Wireless Computer Unit
- Analog Wireless Speed Sensor
- Universal Wheel Magnet
- Zip-Tie Bracket for Handlebar/Stem Mounting
- Sensor Rubber Mount
- 케이블 타이 4개
- 2 x CR2032 Batteries (one for computer, one for sensor)

Figure 1: All components included with the CATEYE Velo Wireless Bike Computer.
설정 및 설치
1. 배터리 설치
The computer unit and speed sensor each require one CR2032 battery. Ensure correct polarity when inserting.

Figure 2: Battery installation for the computer unit and speed sensor.
For the computer unit, gently pry open the battery cover on the back. For the sensor, twist the cover to unlock and remove. Insert the CR2032 batteries with the positive (+) side facing up. Replace covers securely.
2. 컴퓨터 본체 장착
Attach the zip-tie bracket to your handlebar or stem. Position the bracket so the computer unit will be easily visible. Secure it firmly using the provided zip-ties. The computer unit slides onto the bracket and locks into place with a click.

Figure 3: Computer unit mounted on a bicycle stem using the zip-tie bracket.
Ensure the computer is securely attached and does not obstruct steering or other controls.
3. Mounting the Speed Sensor and Magnet
The speed sensor should be mounted on the front fork, and the wheel magnet on a spoke. The sensor and magnet must be aligned and within 5mm of each other for proper operation. Use the sensor rubber mount and zip-ties to secure the sensor to the fork. Attach the magnet to a spoke, ensuring it passes directly in front of the sensor's marked detection area.
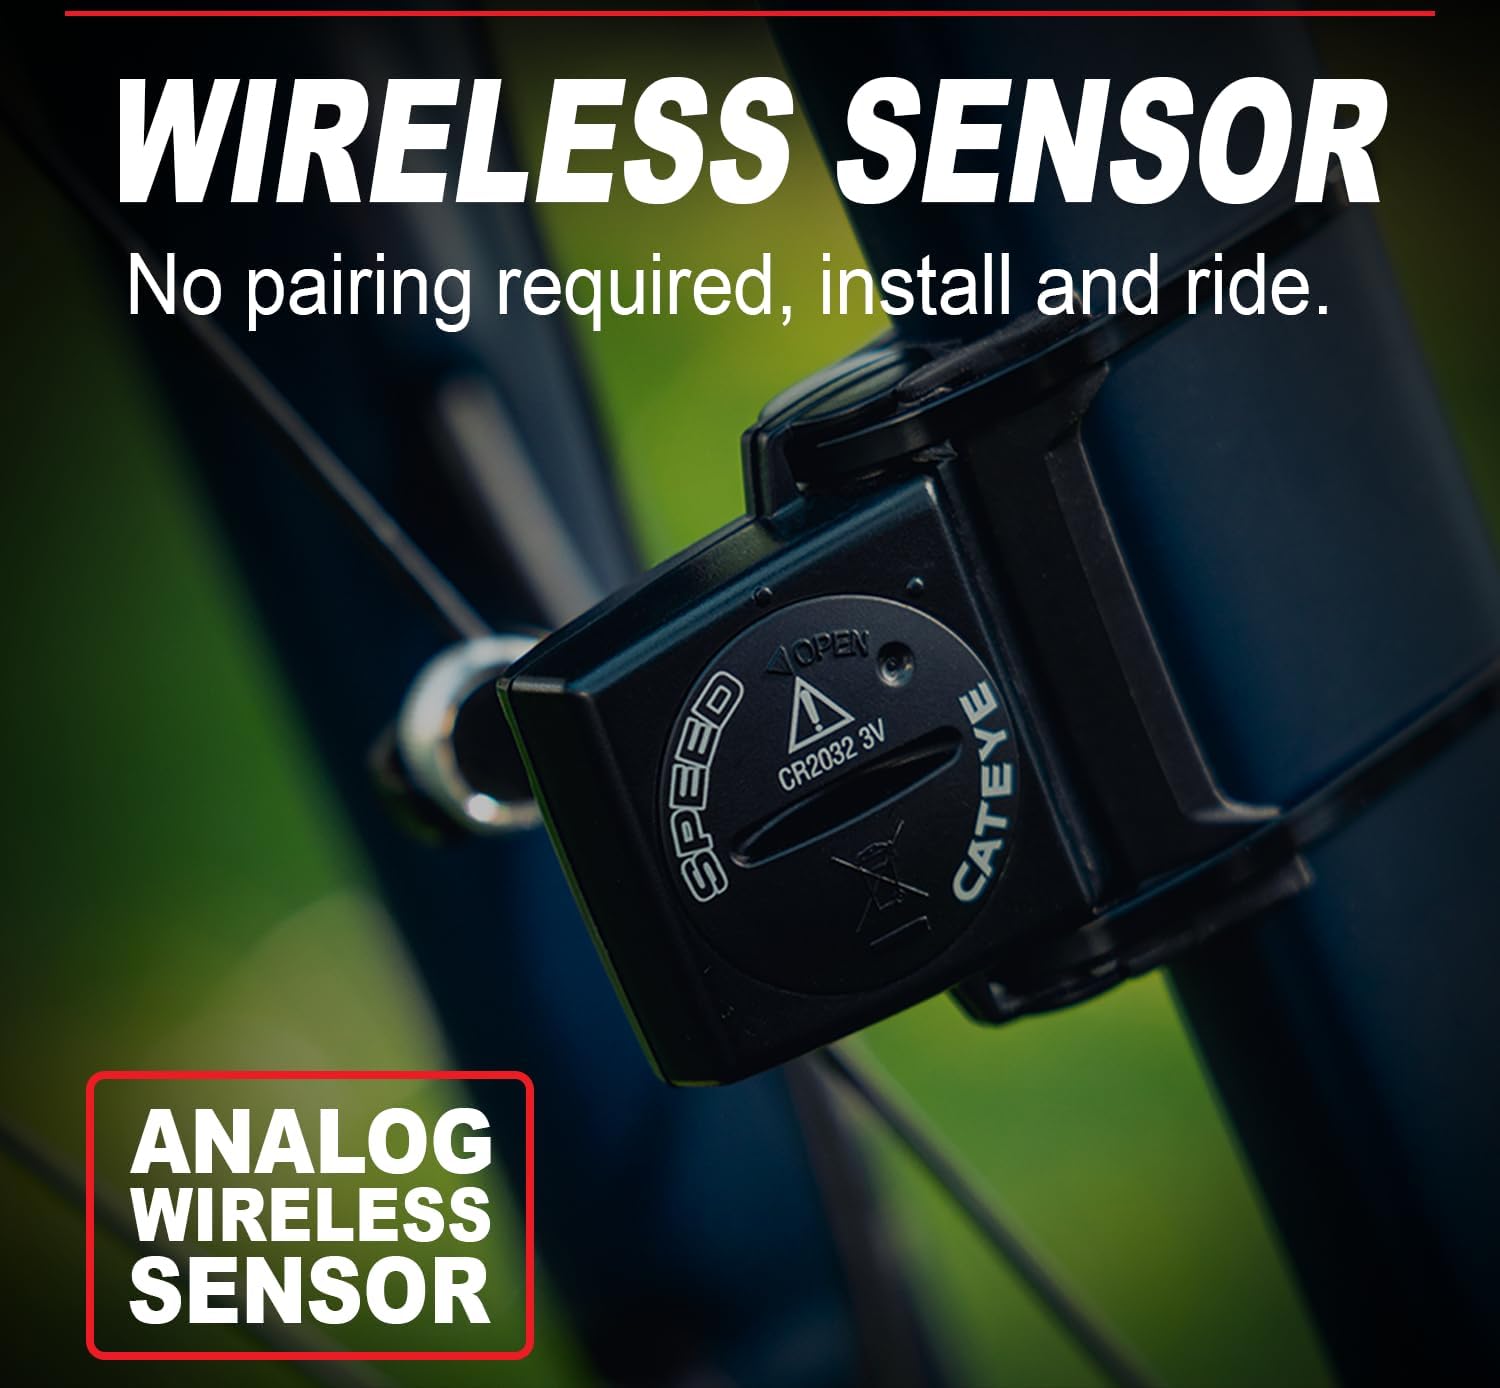
Figure 4: Proper alignment of the speed sensor and wheel magnet.
Verify that the magnet does not strike the sensor during wheel rotation.
4. Initial Settings (Wheel Size, Units, Odometer)
After installation, you will need to configure the computer. Press the MODE button to cycle through settings. Set your wheel circumference for accurate speed and distance readings. The manual provides a chart for common wheel sizes. You can also select units (km/h or mph) and program the odometer to match previous mileage if desired.

그림 5: 예ample of tire size settings for the computer.
작동 지침
1. Power On/Off and Auto Start/Stop
The Velo Wireless features an automatic start/stop function. The computer will automatically begin recording when it detects wheel movement and pause when stationary. To manually power off, press and hold the MODE button until the display turns off. It will automatically power on when movement is detected again.
2. 디스플레이 모드
Press the MODE button to cycle through the various display functions. The available data includes:
- SPD : 현재 속도
- 서머타임: 여행 거리
- 유명인 : 평균 속도
- MX : 최대 속도
- 티엠: 경과 시간
- 오도: 총 거리(주행거리계)
- CAL : 칼로리 소비
- 시계: 현재 시간
- Pace Arrow: Indicates if current speed is above or below average speed.

그림 6: 이상view of the 8 unique data modes.
3. Programmable Odometer
The odometer can be manually set, which is useful when replacing batteries or transferring the unit to another bike. Refer to the detailed instructions in the full user manual for specific steps on programming the odometer.
유지
1. 배터리 교체
Both the computer unit and the speed sensor use CR2032 batteries. Battery life is approximately 1 year for the computer and 10,000 km (6,250 miles) for the sensor. Replace batteries when the display becomes dim or erratic. Always replace both batteries at the same time for optimal performance.
Figure 7: Battery compartment for CR2032 batteries.
2. 청소
컴퓨터와 센서를 부드러운 천으로 닦으세요.amp cloth. Do not use abrasive cleaners or solvents, as these can damage the unit. The unit is waterproof (IP65 rated), but avoid submerging it for extended periods or using high-pressure water jets.

Figure 8: The Velo Wireless is designed to be waterproof.
문제 해결
- No Speed Display: Check the alignment and distance between the speed sensor and wheel magnet. Ensure both have fresh batteries and are correctly installed. The gap should be less than 5mm.
- 불규칙한 판독값: This can be caused by interference from other electronic devices (e.g., powerful lights, mobile phones). Try repositioning the computer or sensor slightly. Ensure the magnet is securely attached and not slipping.
- 화면이 흐릿하거나 아무것도 표시되지 않습니다. 컴퓨터 본체의 CR2032 배터리를 교체하십시오.
- 설정을 변경할 수 없습니다: Ensure the unit is not in recording mode. Press the MODE button to enter setting mode.
명세서
| 특징 | 세부 사항 |
|---|---|
| 모델명 | Velo Wireless |
| 모델 번호 | 1604350 |
| 제품 치수 | 1.46"L x 0.65"W x 2.19"H (Computer Unit) |
| 품목 무게 | 0.2 파운드 |
| 화면 크기 | 10센티미터(대각선) |
| 디스플레이 유형 | 액정표시장치 |
| 센서 유형 | Speed Sensor (Analog Wireless) |
| 연결 기술 | 독자적인 무선 기술 |
| 국제 보호 등급 | IP65 (방수) |
| 장착 유형 | Handlebar/Stem Mount (Zip-Tie) |
| 전원 | CR2032 Battery (x2, one for computer, one for sensor) |
| 재료 | 플라스틱 |
제품 비디오
CATEYE - Velo Wireless Bike Computer Overview
영상 9: 공식 오버view of the CATEYE Velo Wireless Bike Computer.
CatEye Velo Wireless-CC-VT230 Cycle Computers - Product Showcase
Video 10: A brief showcase of the CatEye Velo Wireless-CC-VT230 Cycle Computer.
보증 및 지원
The CATEYE Velo Wireless Bike Computer comes with a 2-year warranty. For warranty claims, technical support, or further assistance, please refer to the official CATEYE web사이트를 방문하거나 고객 서비스에 직접 문의하세요. 보증 확인을 위해 구매 증빙 자료를 보관하세요.
Official CATEYE Web대지: Visit the CAT EYE Store on Amazon


