1. Өнім аяқталдыview
The Lutron Maestro MS-OPS6M2N-DV-WH is an advanced occupancy/vacancy sensor switch designed to automatically control lighting in a room. This device utilizes passive infrared (PIR) technology to detect human motion and presence, ensuring lights are only on when needed. It combines the functionality of a standard light switch with an integrated motion sensor, offering convenience and energy savings.
Негізгі ерекшеліктері:
- Passive infrared motion detection with Lutron XCT technology for fine motion sensing.
- 180-degree sensor field-of-view for comprehensive room coverage.
- Requires a neutral wire for installation.
- Occupancy version supports both auto-on/auto-off and manual-on/auto-off modes.
- Vacancy version is available to comply with CA Title 24 requirements.
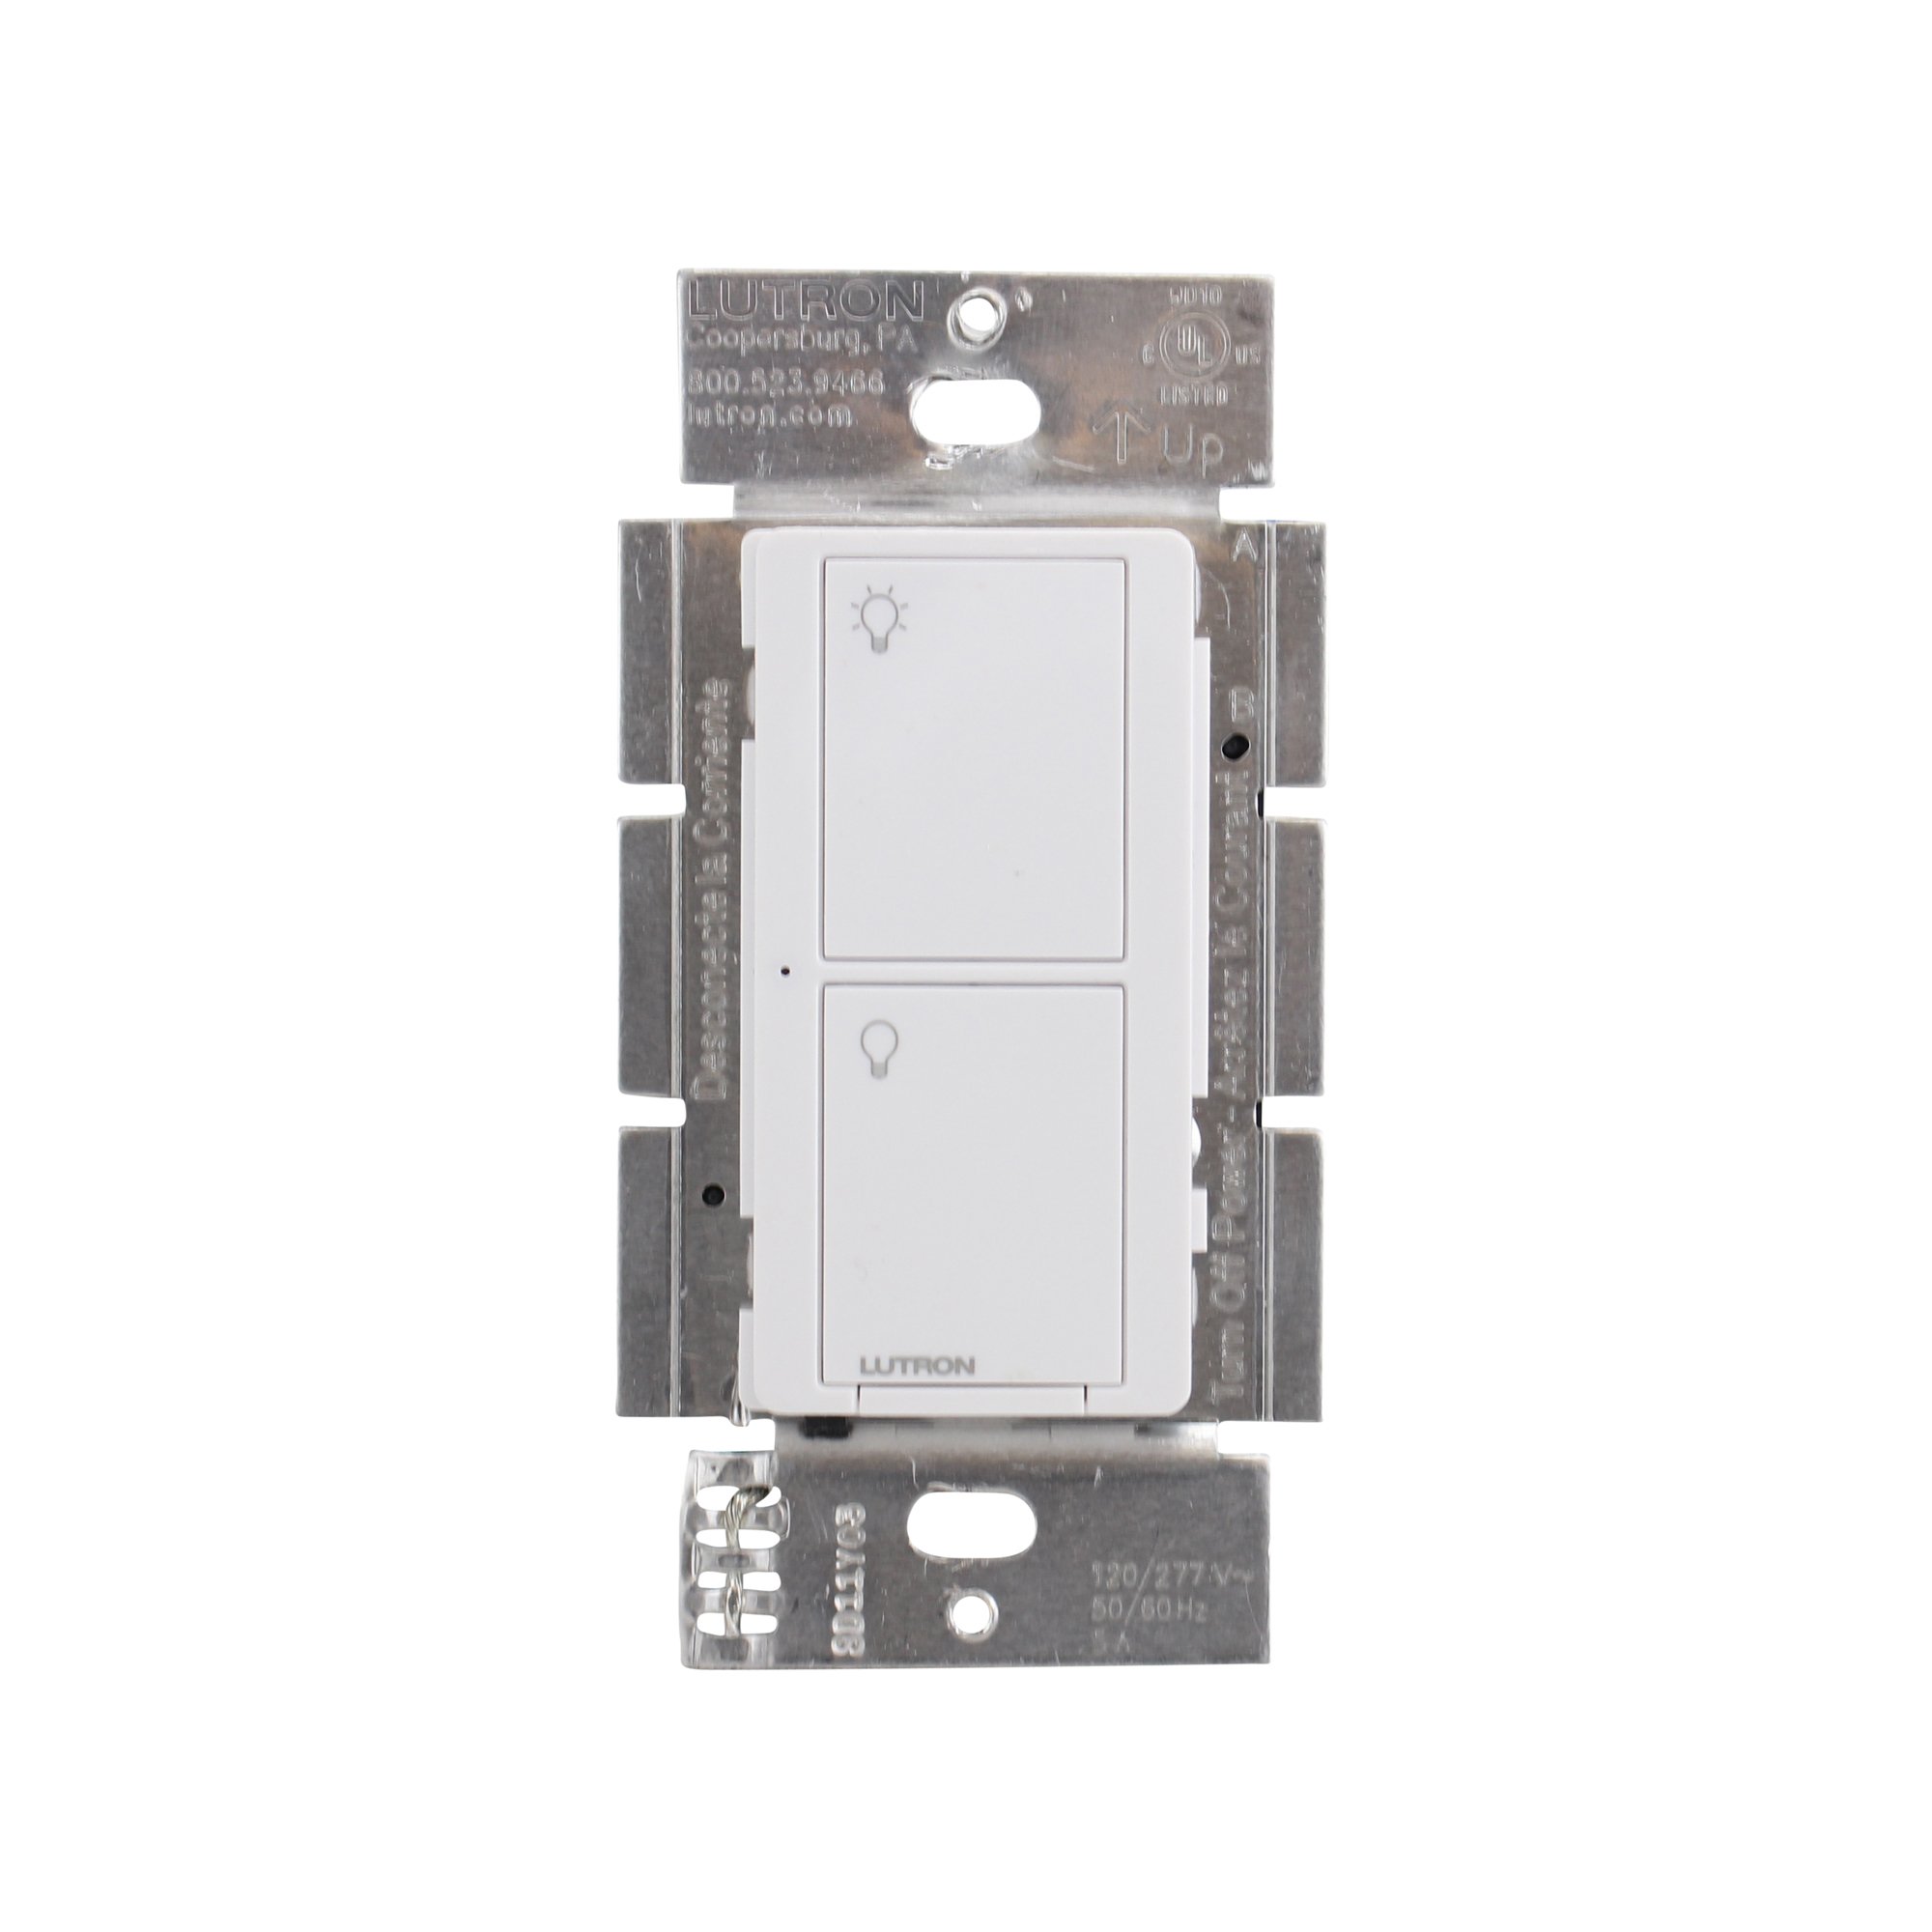
1-сурет: Алдыңғы view of the Lutron Maestro MS-OPS6M2N-DV-WH sensor switch.
2. Орнату және орнату
Қауіпсіздік туралы маңызды ақпарат: Before beginning installation, turn off power at the circuit breaker or fuse box. Incorrect installation can lead to electrical shock or fire. If you are unsure about any part of these instructions, consult a qualified electrician.
Қажетті құралдар: Screwdriver (Phillips and flathead), wire strippers, electrical tape.
2.1 Сымдарды қосу нұсқаулары
- Қуатты өшіру: Ауыстырылып жатқан қосқышты басқаратын автоматты ажыратқышты тауып, оны ӨШІРІҢІЗ. Қуат өшірілгенін вольтметрмен тексеріңіз.tagэлектронды тексеруші.
- Бар қосқышты жою: Carefully remove the wall plate and unscrew the existing switch from the wall box. Disconnect the wires from the old switch.
- Сымдарды анықтау:
- Hot (Line) Wire: Әдетте қара түсті, автоматты ажыратқыштан қуат алады.
- Жүктеме сымы: Typically black, connects to the light fixture.
- Бейтарап сым: Typically white, required for this switch.
- Жер сымы: Әдетте жалаңаш мыс немесе жасыл.
Note: If you are replacing a 3-way switch, you will also have traveler wires. This model supports 3-way circuits. Refer to the detailed wiring diagram for 3-way installations.
- Connect Wires to Maestro Switch:
- қосыңыз жерге сым from the wall box to the green ground wire on the Maestro switch.
- қосыңыз бейтарап сым from the wall box to the white neutral wire on the Maestro switch.
- қосыңыз hot (line) wire және жүктеме сымы from the wall box to the two black wires on the Maestro switch. If the light does not function correctly, swap these two black wires.
- For 3-way applications, connect the traveler wires as per the specific 3-way wiring diagram provided with the product packaging.
- Қауіпсіз қосқыш: Carefully push the wired switch into the wall box, ensuring wires are not pinched. Screw the switch into place.
- Қабырға тақтасын орнату: Attach the decorative wall plate.
- Қуатты қалпына келтіру: Ажыратқышта қуатты қайта қосыңыз.

2 -сурет: Мысалыample wiring diagram for a single-pole installation. Consult the included manual for 3-way wiring.
3. Пайдалану нұсқаулары
The Maestro sensor switch offers flexible operation modes to suit various needs.
3.1 Жұмыс режимдері
- Occupancy Mode (Auto-On/Auto-Off): In this mode, the lights automatically turn ON when motion is detected and automatically turn OFF after a set time delay when no motion is detected. This is ideal for high-traffic areas where hands-free operation is desired.
- Vacancy Mode (Manual-On/Auto-Off): In this mode, the lights must be manually turned ON by pressing the switch button. They will then automatically turn OFF after a set time delay when no motion is detected. This mode is often used to meet energy codes and provides more control over when lights are initially activated.
3.2 Параметрлерді реттеу
The Maestro sensor switch typically has small buttons or dip switches behind the wall plate for adjusting settings such as:
- Уақытты кешіктіру: How long the lights remain on after the last detected motion (e.g., 1, 5, 15, 30 minutes).
- Сезімталдық: The level of motion required to trigger the sensor.
- Жұмыс режимі: Switching between Occupancy (Auto-On) and Vacancy (Manual-On) modes.
Refer to the detailed instructions included with your product for specific steps on how to access and adjust these settings.
4. Техникалық қызмет көрсету
The Lutron Maestro sensor switch requires minimal maintenance to ensure optimal performance.
- Тазалау: To clean the surface of the switch, use a soft, damp шүберек. Абразивті тазартқыштарды, еріткіштерді немесе қатты химиялық заттарды пайдаланбаңыз, өйткені олар әрлеуді немесе ішкі құрамдастарды зақымдауы мүмкін.
- Сенсор кедергісі: Ensure the sensor lens is not obstructed by furniture, curtains, or other objects that could block its field of view. A clear path to the sensor is crucial for accurate motion detection.
- Шаңның жиналуы: Periodically wipe the sensor lens to prevent dust accumulation, which can reduce sensitivity.
5. Ақаулықтарды жою
If you encounter issues with your Maestro sensor switch, refer to the following common troubleshooting steps:
- Lights do not turn ON automatically (Occupancy Mode):
- Verify the sensor's field of view кедергі болмайды.
- Check the sensitivity setting; it might be too low.
- Ensure the switch is in Occupancy (Auto-On) mode.
- Confirm power is supplied to the switch.
- Lights do not turn OFF:
- Ensure there is no continuous motion within the sensor's range.
- Уақыт кідірісі параметрін тексеріңіз; ол тым ұзақ уақытқа орнатылған болуы мүмкін.
- Verify the switch is correctly wired, especially the load wire.
- Lights flicker or behave erratically:
- Confirm that a neutral wire is properly connected. This switch requires a neutral wire for stable operation.
- Барлық сым қосылымдарының қауіпсіз екеніне көз жеткізіңіз.
- If in a 3-way setup, ensure compatible companion switches are used and wired correctly.
- Switch is unresponsive:
- Turn off power at the circuit breaker for 15 seconds, then restore power. This can reset the switch.
- Check all wiring connections for looseness or incorrect placement.
If these steps do not resolve the issue, contact Lutron customer support for further assistance.
6. Техникалық сипаттамалар
| Ерекшелік | Мәлімет |
|---|---|
| Үлгі нөмірі | MS-OPS6M2N-DV-WH |
| Бренд | Лутрон |
| Жұмыс режимі | Автоматты түрде |
| Байланыс түрі | Әдетте ашық |
| Қосқыш түрі | Бұрандалы терминалдар |
| Терминал | Бұрандалы |
| Элемент өлшемдері (L x W x H) | 2.2 x 2.2 x 4.5 дюйм |
| Тізбек түрі | 3 жақты |
| Жетек түрі | Басу түймесі |
| Байланыс материалы | Мыс |
| Халықаралық қорғау рейтингі | IP54 |
| Бақылау әдісі | түртіңіз |
| Қосылу протоколы | Инфрақызыл |
| Түс | Ақ |
| Элемент салмағы | 3.52 унция |
| Бейтарап сым қажет | Иә |
7. Өнім бейнелері
7.1 Lutron Maestro Sensor Switch Overview
1-бейне: аяқталдыview of the Lutron Maestro sensor switch features and benefits. This video provides a general introduction to the product's capabilities.
7.2 Advanced Features and Configuration
Video 2: A detailed look into the advanced features and configuration options of the Lutron Maestro sensor switch, including setting adjustments.
8. Кепілдік туралы ақпарат
Lutron products typically come with a limited warranty covering defects in materials and workmanship. For specific warranty terms and conditions applicable to your MS-OPS6M2N-DV-WH sensor switch, please refer to the warranty card included in the product packaging or visit the official Lutron webсайт. Кепілдік шағымдары үшін сатып алуды растайтын құжатты сақтаңыз.
9. Тұтынушыларға қолдау көрсету
For technical assistance, troubleshooting, or product inquiries, please contact Lutron customer support. You can find contact information on the official Lutron webсайтында немесе өнім құжаттамасында.
Онлайн ресурстар:
- Ресми тұлғаға барыңыз Lutron Store on Amazon қосымша өнімдер мен ақпарат алу үшін.
- Refer to the comprehensive FAQs and support documents available on the Lutron corporate webсайт.