Milleteknik CEO3 V2.1 Output Control Module Motherboard 
PACKAGING CONTENTS
- x1 – nose section
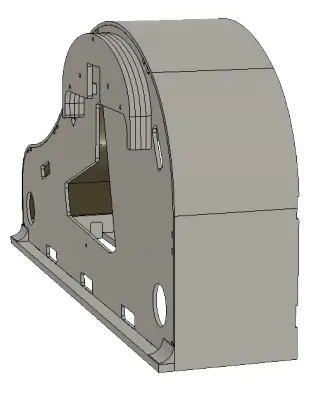
- x1 – keybed section
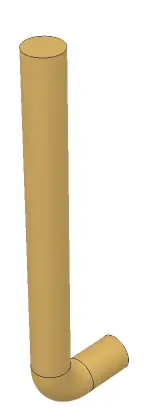
- x3 – Leg

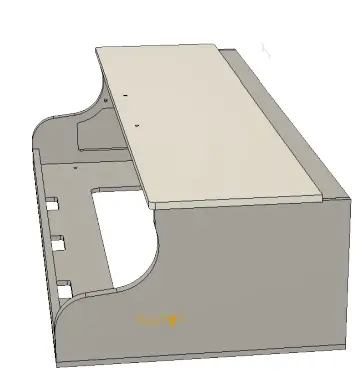
- x1 – Top

- x1 – Lid

- x6 – Leg Hardware ‘-
3/8″-18 x 1.5″ long wing screw

- x2 – Hinge Pin
Assembly Instructions
- Begin with the keybed section of the piano upside down.
Attach two legs using the leg hardware.

- Tip the keybed section to the orientation shown

- Place the nose section onto the keybed section being careful to align the corners.

- Use the toggle clamps (4) to anchor the nose section to the keybed section.

- This is a good time to attach the pedal lyre – optional (see pedal lyre manual for instructions)

- Place lid in position and line up the , hinges.

- Insert the hinge pins.

- This is the best time to install the keyboard and run wires.

- Place top in position.

Assembly is complete!

Documents / Resources
 |
Keyhole Shells SplitKey Piano Shell [pdf] User Manual SplitKey Piano Shell, Piano Shell, Shell |


