製品終了view
The Lorex 2K Wired WiFi Smart Video Doorbell Camera provides comprehensive front-door security with advanced features. Enjoy crystal-clear 2K video resolution, enhanced night vision, intelligent motion detection, and convenient two-way communication. This manual will guide you through the installation, setup, and operation of your new smart doorbell.
箱の中身
Your Lorex 2K Wired WiFi Smart Video Doorbell Camera package includes the following items:
- ビデオドアベル
- 標準取り付けブラケット
- 15° Horizontal Bracket
- 5° Vertical Bracket
- USBケーブル
- 2アンカー
- ネジ2本
- 3 Wire Caps
- チャイムキット
- 2ワイヤーエクステンダー
- 15/64 "ドリルビット
- リリースピン

ビデオ: Unboxing the Lorex 2K Wired Video Doorbell. This video demonstrates the contents of the product packaging, including the doorbell unit, mounting hardware, and accessories.
製品構成
Familiarize yourself with the different parts of your Lorex 2K Wired WiFi Smart Video Doorbell Camera.

画像: フロント view of the Lorex 2K Wired WiFi Smart Video Doorbell Camera. This image highlights the camera lens at the top and the illuminated doorbell button at the bottom.
フロントパネル: Camera lens, microphone, status indicator, and call button.
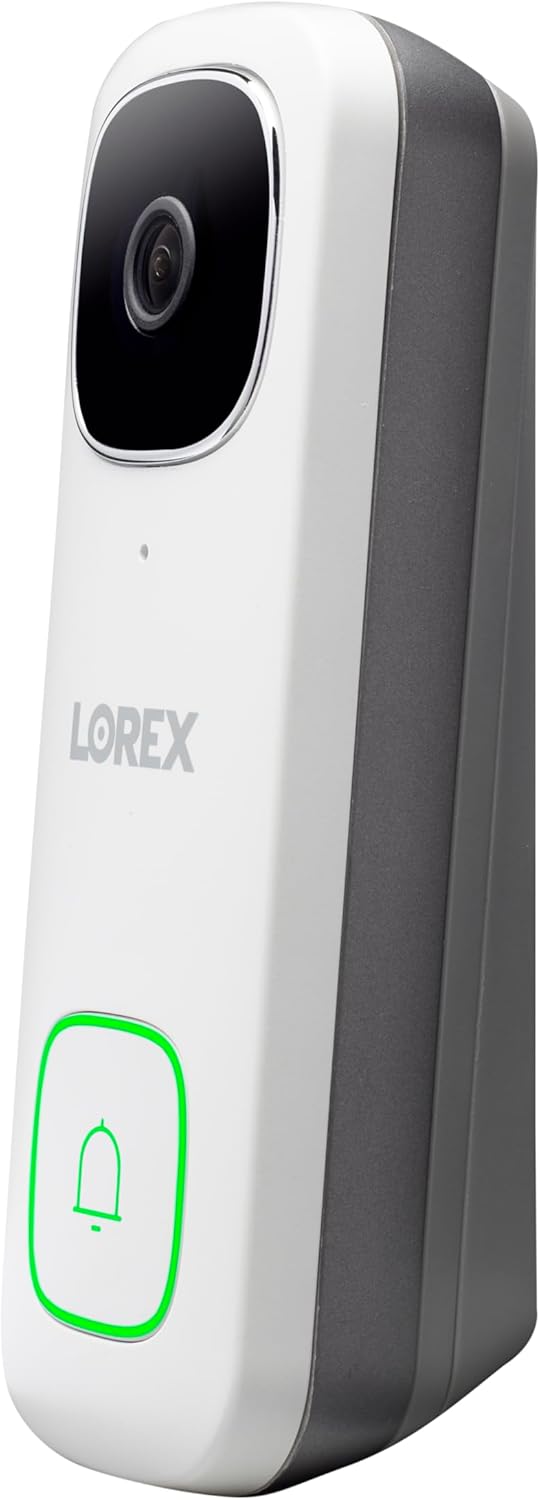
画像: 側 view of the Lorex 2K Wired WiFi Smart Video Doorbell Camera, showing its slim profile and the mounting bracket attachment points.
サイドプロfile: Slim design for easy installation next to your door frame.

画像: 戻る view of the Lorex 2K Wired WiFi Smart Video Doorbell Camera. This image displays the Micro USB port, MicroSD card slot, Reset button, and power ports for wiring.
背面パネル: Micro USB Port, MicroSD Card Slot, Reset Button, and Power Ports for wiring.

画像: 底 view of the Lorex 2K Wired WiFi Smart Video Doorbell Camera. This image shows the warning/night light and the speaker grille.
底: Warning/Night Light and Speaker.
セットアップとインストール
電力要件
The Lorex 2K Wired WiFi Smart Video Doorbell Camera requires a 16-24V AC power supply. Ensure your existing doorbell wiring meets this requirement. If not, a compatible doorbell transformer (16-24V AC) may be needed, or consult a licensed electrician.
チャイムキットの取り付け
Before proceeding, turn off power to your existing doorbell and chime box at the circuit breaker. Test by pressing the doorbell button; there should be no chime sound. Determine if you have a mechanical (ding-dong sound) or electronic (melody sound) chime. The chime kit installation process is similar for both, but ensure wires do not interfere with moving parts in mechanical chimes.
- 既存のドアホン チャイム ボックスのカバー パネルを取り外します。
- Loosen the screws labeled 'Front' and 'Trans' on your chime. Do not remove the screws.
- Detach any connected wiring from these screws.
- Connect the wiring from the chime kit to the 'Front' and 'Trans' connectors in the chime. Note: You may connect either wire to either connector.
- Mount the chime kit to the inside of your chime box along the cover plate using the included double-sided tape. Ensure the chime kit and wires are not touching the chimes or any of the moving components inside the chime box.
ドアホンの取り付け
The doorbell comes with a standard mounting bracket and optional horizontal (15°) and vertical (5°) brackets to adjust the viewing angle. The up arrow on the bracket indicates correct orientation.
- Fit the existing doorbell wiring through the middle hole of the mounting bracket.
- Mark the screw holes according to the bracket.
- For concrete, stucco, or brick, use the supplied 15/64" drill bit to drill holes. Insert the supplied anchors and screws to secure the mounting bracket. For wood, drywall, or soft surfaces, use a Phillips head screwdriver and the supplied mounting screws directly.
- Loop the power wires underneath the power port screws of the doorbell and tighten the power port screws to secure the power wires. If existing wiring is too short, use the supplied wire extenders.
- Align the ends of your existing wiring and extra wires. Place the wire cap over the exposed wiring and twist clockwise to tighten.
- Insert the two tabs from the mounting bracket into the doorbell and push down. A click sound indicates the doorbell is locked in.

画像: A Lorex 2K Wired WiFi Smart Video Doorbell Camera installed on a brick wall next to a door. The doorbell is white with a black camera lens and a square button.

画像: A finger pressing the illuminated doorbell button of the Lorex 2K Wired WiFi Smart Video Doorbell Camera, which is installed on a wooden surface.

画像: A Lorex 2K Wired WiFi Smart Video Doorbell Camera installed on a white textured wall next to a door. The doorbell is white with a black camera lens and a square button.
ビデオ: This official Lorex installation guide demonstrates the step-by-step process of installing the Lorex 2K QHD Wired Video Doorbell, including wiring and mounting.
アプリの設定
- AppStoreまたはGooglePlayストアから無料のLorexHomeアプリをダウンロードしてインストールします。
- Tap the Lorex Home app to launch the app. Tap 'Sign up' and follow the on-screen prompts to create an account. Record your account details in a secure location.
- Tap the '+' sign and scan the QR code located on the back of your device. You may also manually enter your Device ID.
- The app will connect your mobile device to the doorbell's hotspot.
- Create a secure password for the doorbell.
- Select your Wi-Fi network from the list, then enter the Wi-Fi password to connect your doorbell to the internet.
- Tap 'Next' to add the doorbell to your Lorex Home account.
- Set a name for the doorbell, then tap 'Complete'.
操作手順
ライブ View と双方向トーク
ライブにアクセス view of your doorbell camera through the Lorex Home app. You can take snapshots, record video, and listen in on audio. The two-way talk feature allows you to speak directly to visitors at your door.
- 双方向トーク: Allows you to hear and speak directly through the doorbell to anyone at your front door.
- クイックレスポンス: If you're busy, have Quick Response answer for you with pre-recorded messages.

画像: A person speaking through the Lorex 2K Doorbell app on a smartphone, with a delivery person visible at the door. Speech bubbles indicate a two-way conversation.

画像: A smartphone displaying the Lorex 2K Doorbell app interface, showing a live video feed of a person at the door. Icons for 2K resolution, 4:3 aspect ratio, and HDR are visible, highlighting video quality features.
動き検出と夜間視力
The doorbell features advanced motion detection and superior night vision capabilities.
- Built-in Person Detection: Receive instant notifications from the Lorex Home app when motion from a person is detected.
- カラーナイトビジョン: See clearly day and night with night vision, nightlight, and low light capabilities. The LED light can be programmed to turn on at a selected time or activated by motion.
- 2K Video Resolution (HDR): Optimal video image quality with a 4:3 aspect ratio and a 164-degree view角度。

画像: Two dogs playing in a grassy yard, with one dog zoomed in to demonstrate the 2K Quad HD video and digital zoom capabilities of the Lorex doorbell.

画像: A split image showing a backyard scene at night. The left side displays 'Infrared Night Vision' in black and white, while the right side shows 'Color Night Vision' with vibrant colors, highlighting the doorbell's enhanced night vision.

画像: A hand holding a smartphone displaying a notification from the Lorex Home app: 'Someone was detected by Front Door Doorbell'. This illustrates the smart AI motion detection feature.
Local Storage and Smart Home Integration
The Lorex 2K Doorbell offers secure local storage and integrates with popular smart home platforms.
- 月額料金なし: Keep video secure with free local storage via a MicroSD card (32GB included).
- スマートホーム互換性: Amazon Alexa および Google Assistant と互換性があり、音声制御やスマートホーム エコシステムへの統合が可能です。

画像: A MicroSD card and an open hard drive resting on a wooden surface, illustrating the concept of free local storage for video recordings without monthly fees.
メンテナンス
To ensure optimal performance and longevity of your Lorex 2K Wired WiFi Smart Video Doorbell Camera, regular maintenance is recommended.
- クリーニング: カメラのレンズとドアベルの表面を柔らかくて乾いた布で優しく拭いてください。amp 布で埃や汚れを拭き取ってください。研磨剤入りの洗剤は使用しないでください。
- 耐候性: The doorbell is IP65 weatherproof, designed to withstand rain or shine. However, avoid directly facing it towards direct sunlight, glass windows, or areas with excessive rain/snow hitting the lens for optimal image performance.
- ファームウェアの更新: Regularly check the Lorex Home app for firmware updates to ensure your device has the latest features and security enhancements.
トラブルシューティング
If you encounter issues with your Lorex 2K Wired WiFi Smart Video Doorbell Camera, refer to the following common troubleshooting tips:
- 電源なし/断続的な電源: Ensure your doorbell wiring provides 16-24V AC. Some older doorbell systems with 16V 30W transformers may not provide sufficient power, leading to reboots. A 24V 30W or 24V 50VA transformer might be necessary.
- Delayed Notifications/App Issues: Check your Wi-Fi signal strength. A strong, stable Wi-Fi connection (2.4GHz/5GHz dual-band) is crucial. Ensure the Lorex Home app is updated to the latest version.
- ビデオ品質が悪い: Verify the power supply is adequate. Ensure the camera lens is clean and free from obstructions. Avoid direct sunlight or overly bright/dim areas.
- ドアベルが鳴らない: Ensure the chime kit is correctly installed and wires are not touching moving parts. If you have an electronic chime, ensure it is compatible with 24V if you upgraded your transformer.
- ドアベルの取り外し: To remove the doorbell from its mounting bracket, insert the supplied release pin into the hole at the bottom of the mounting bracket until the inner latch is reached. Then slide the doorbell up and remove it.
仕様
| 特徴 | 詳細 |
|---|---|
| モデル番号 | 2K Wired Doorbells |
| ビデオ解像度 | 2K (2560x1920p) HDR |
| View角度 | 164 Degrees (4:3 aspect ratio) |
| ナイトビジョン | Color Night Vision, Nightlight |
| モーション検出 | Built-in Person Detection |
| オーディオ | 2-Way Talk, Quick Response |
| ストレージ | MicroSDカード(最大32GBまで付属) |
| 接続性 | Wired, Wi-Fi (2.4GHz/5GHz) |
| 電源 | Corded Electric (16-24V AC) |
| 耐候性 | IP65耐候性 |
| スマートホーム統合 | Amazon Alexa、Google アシスタント |
保証とサポート
The Lorex 2K Wired WiFi Smart Video Doorbell Camera typically comes with a 1-year limited warranty. For detailed warranty information, product support, or to contact customer service, please visit the official Lorex webサイトを参照するか、製品パッケージに同梱されている保証カードを参照してください。
For additional resources, including FAQs and video tutorials, please visit the Lorex support page.