1. はじめに
The Weintek MT8100iE is a 10.2-inch Human Machine Interface (HMI) designed for industrial automation applications. It features an 800 x 480 TFT industrial-grade LCD and is built to fully support major PLCs such as Rockwell, Siemens, Mitsubishi, and Omron. This manual provides essential information for the proper installation, operation, and maintenance of your MT8100iE HMI.
2. 安全情報
Please read and understand all safety instructions before operating the device. Failure to comply may result in injury or damage to the equipment.
- インストールやメンテナンスを行う前に、必ず電源を切ってください。
- この装置の設置およびメンテナンスは、資格のある担当者のみが行う必要があります。
- Do not expose the device to excessive moisture, dust, or extreme temperatures.
- Verify correct wiring and connections to prevent electrical hazards.
- The front panel is NEMA4/IP65 compliant, but ensure proper sealing during installation to maintain this rating.
3. パッケージ内容
パッケージにすべてのアイテムが揃っていることを確認します。
- MT8100iE HMI Unit
- 取り付けブラケット(4個)
- 電源コネクタ
- ユーザーマニュアル(このドキュメント)
- CD-ROM with EasyBuilder Pro Software (or download link)
4.製品オーバーview
Familiarize yourself with the components and interfaces of the MT8100iE HMI.
4.1フロント View

図4.1: 前面 view of the MT8100iE HMI, showing the 10.2-inch TFT LCD touchscreen and the power indicator LED at the top left.
4.2 サイド View
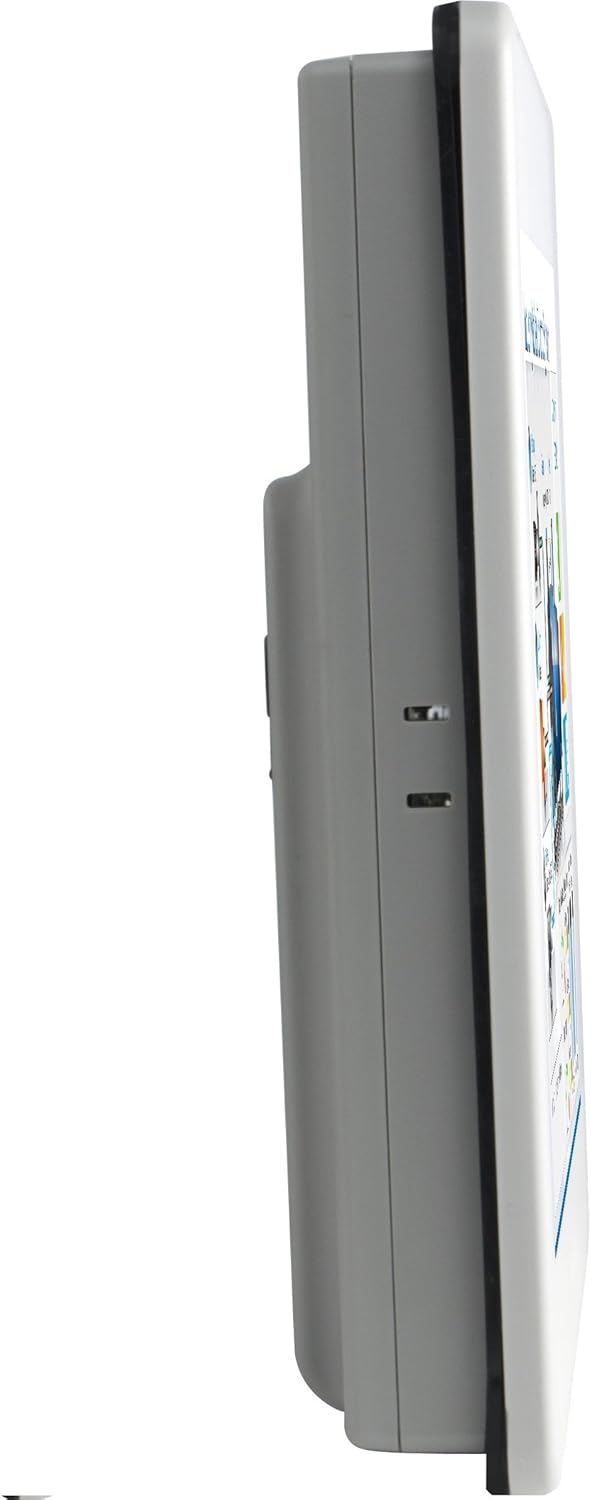
図4.2: サイドプロfile of the MT8100iE, illustrating its compact form factor suitable for panel mounting.
4.3 リア View

図4.3:背面 view of the MT8100iE, highlighting the mounting holes for panel installation, the fuse holder for power protection, and the system reset button.
4.4 通信ポート

図4.4:下 view of the MT8100iE, detailing the various communication ports including USB, Ethernet, COM1 (RS-232), and COM2 (RS-485 2W/4W).
5. セットアップ
5.1 パネルマウント
- Cut an opening in the control panel according to the dimensions provided in the installation guide (refer to the separate installation template for precise measurements).
- Insert the MT8100iE HMI into the cutout from the front.
- From the rear of the panel, insert the four mounting brackets into the slots on the HMI unit.
- Tighten the screws on the mounting brackets evenly until the HMI is securely fastened to the panel. Do not overtighten.
5.2電源接続
- Connect a 24V DC power supply to the power input terminal block on the rear of the HMI.
- 正しい極性(+ と -)を確認してください。
- Secure the connection firmly.
5.3 通信接続
- シリアルポート: Use the COM1 (RS-232) and COM2 (RS-485 2W/4W) ports to connect to PLCs or other serial devices. Refer to your PLC's documentation for specific wiring diagrams.
- イーサネットポート: Connect an Ethernet cable to the RJ45 port for network communication with PLCs or for remote access.
- USB ポート: Use the USB host ports for connecting USB flash drives for project transfers or other peripherals.
6. 操作手順
6.1電源オン
Once all connections are secure, apply power to the HMI. The power indicator LED will illuminate, and the HMI will boot up, displaying the configured project.
6.2 Project Download
To load a new project or update an existing one:
- Create or modify your HMI project using the EasyBuilder Pro software on a PC.
- Connect the PC to the HMI via Ethernet or USB.
- In EasyBuilder Pro, use the 'Download' function to transfer the project to the HMI.
- The HMI will restart with the new project loaded.
6.3 タッチスクリーン操作
The MT8100iE features a resistive touchscreen. Use your finger or a non-sharp stylus to interact with the on-screen elements such as buttons, input fields, and displays.
6.4 PLC Communication
The HMI is designed to communicate with various PLCs. Ensure the communication settings (protocol, baud rate, station ID, etc.) configured in your EasyBuilder Pro project match those of your connected PLC.
7. メンテナンス
Regular maintenance ensures optimal performance and longevity of your HMI.
- クリーニング: 柔らかくてamp cloth to clean the screen and casing. Do not use abrasive cleaners or solvents. Ensure no liquid enters the device.
- ファームウェアの更新: Periodically check the Weintek website for firmware updates to ensure your HMI has the latest features and bug fixes.
- ヒューズの交換: If the HMI does not power on, check the fuse located on the rear panel. Replace it with a fuse of the same type and rating if necessary. Always disconnect power before replacing the fuse.
- 環境条件: 損傷を防ぐために、動作環境が指定された温度と湿度の範囲内であることを確認してください。
8。 トラブルシューティング
このセクションでは、発生する可能性のある一般的な問題に対する解決策を示します。
| 問題 | 考えられる原因 | 解決 |
|---|---|---|
| HMI does not power on. | 電源が供給されていない、配線が間違っている、ヒューズが切れている。 | Check power connection, verify wiring polarity, replace fuse if blown. |
| タッチスクリーンが反応しません。 | Screen calibration issue, hardware fault. | Perform screen calibration (refer to EasyBuilder Pro documentation), contact support if issue persists. |
| Cannot communicate with PLC. | Incorrect communication settings, wrong cable, PLC offline. | Verify communication protocol, baud rate, and station ID in EasyBuilder Pro. Check cable connections. Ensure PLC is powered on and running. |
| Project download fails. | Network issue, incorrect IP address, firewall blocking. | Check network cable, verify HMI and PC IP addresses are in the same subnet. Temporarily disable firewalls for testing. |
9. 仕様
| 特徴 | 説明 |
|---|---|
| モデル番号 | eMT3070A1WK |
| 画面サイズ | 10.2インチ |
| 解決 | 800×480 |
| アスペクト比 | 1.66:1 |
| スクリーン表面 | 光沢のある |
| メモリ | 128 MBフラッシュメモリ内蔵 |
| リアルタイムクロック(RTC) | はい |
| フロントパネルの定格 | NEMA4/IP65 Compliant |
| シリアルポート | COM1 RS-232 / COM2 RS-485 (2W/4W) |
| メール通知 | Status e-Mail notification feature |
10. 保証とサポート
Weintek products are manufactured to high quality standards. For warranty information and technical support, please refer to the official Weintek web当サイトをご覧いただくか、正規販売店にお問い合わせください。保証請求の際は、購入証明としてレシートを保管してください。
For software downloads, drivers, and additional resources, visit the official Weintek support portal.


