1. מידע בטיחות חשוב
Please read this manual thoroughly before operating the ABBREE AR-M7 CB Radio. Retain this manual for future reference.
- ספק כוח: Use only the specified 13.8V DC power supply. Incorrect voltage יכול לגרום נזק ליחידה ולבטל את האחריות.
- אַנטֶנָה: Ensure the antenna is properly connected before transmitting to prevent damage to the radio's final ampחיים יותר.
- הַתקָנָה: Install the radio in a secure location, away from direct sunlight, excessive heat, dust, and moisture.
- מִבצָע: אין להפעיל את הרדיו בזמן נהיגה אם הדבר מסיח את דעתך מתפעול בטוח של הרכב.
- תַחזוּקָה: Do not attempt to open or repair the unit yourself. Refer all servicing to qualified technicians.
2. תכולת החבילה
ודא שכל הפריטים נמצאים בחבילה שלך:
- ABBREE AR-M7 CB Radio Unit
- מיקרופון ידיים
- כבל מתח DC
- תושבת הרכבה
- Screw and Accessory Kit
- מדריך למשתמש (מסמך זה)

איור 2.1: תכולת החבילה הכלולה
If any items are missing or damaged, please contact your retailer or ABBREE customer support.
3. המוצר נגמרview
The ABBREE AR-M7 is a compact, dual-mode AM/FM CB radio designed for reliable communication. It features a full-color LCD display and essential functions for various mobile applications.
3.1 Front Panel Controls and Connectors

Figure 3.1: Front Panel Layout and Functions
- ממשק מיקרופון: Connects the hand microphone.
- כפתור הפעלה: Press to turn the radio on or off.
- MT/LOCK Button: Mute function / Keypad lock.
- תצוגת LCD: Shows channel, frequency, mode, and other status indicators.
- SQ/M1 Button: Squelch function / Store memory channel function button.
- VOX/M2 Button: Voice Operated Exchange function / Store memory channel function button.
- ASQ/M3 Button: Automatic Squelch Control / Store memory channel function button.
- כפתור ערוץ: Rotate to select channels.
- CH/M3 Button: Channel switch / Store memory channel function button.
- A/F Button: Modulation switch (AM/FM).
- TSQ/M4 Button: CTCSS/DCS function / Store memory channel function button.
- לחצן סריקה: Scan channel function button.
- EMG Button: Emergency channel button (CH9/19).
3.2 מחברי לוח אחורי
- ממשק אנטנה: Connects to the external CB antenna.
- יציאת כבל חשמל: Connects the DC power cable.
- שקע רמקול חיצוני: לחיבור רמקול חיצוני אופציונלי.
4. התקנה והתקנה
4.1 הרכבת הרדיו
Use the provided mounting bracket and screws to secure the radio in a suitable location within your vehicle. Ensure the location allows for proper ventilation and easy access to controls.
4.2 חיבור מתח
Connect the supplied DC power cable to the radio's power port and to your vehicle's 13.8V DC power source. Ensure correct polarity (red to positive, black to negative) to prevent damage.
4.3 חיבור אנטנה
Connect your CB antenna to the antenna interface on the rear of the radio. Ensure the connection is secure. Never transmit without a properly connected antenna.
4.4 חיבור מיקרופון
Plug the hand microphone into the microphone interface on the front panel. Ensure it clicks into place securely.

Figure 4.1: Connecting the Hand Microphone
5. פעולה בסיסית
5.1 הפעלה/כיבוי
לחץ והחזק את כּוֹחַ button to turn the radio on or off. The LCD display will illuminate upon power-on.
5.2 בקרת עוצמת הקול
סובב את ה כפתור ערוץ (when not in channel selection mode) or use the UP/DOWN buttons on the microphone to adjust the audio volume.
5.3 בחירת ערוצים
סובב את ה כפתור ערוץ to select your desired operating channel (1-40). Alternatively, use the UP/DOWN buttons on the microphone.

איור 5.1: קיבולת של 40 ערוצים
5.4 בקרת סקוולץ' (SQ/ASQ)
Squelch eliminates background noise when no signal is present.
- משתיק קול ידני (SQ): הקש על SQ/M1 button. Rotate the Channel Knob to adjust the squelch level. A higher number means stronger squelch.
- משתיק קול אוטומטי (ASQ): הקש על ASQ/M3 button to activate or deactivate automatic squelch. This feature automatically adjusts the squelch level for optimal reception.
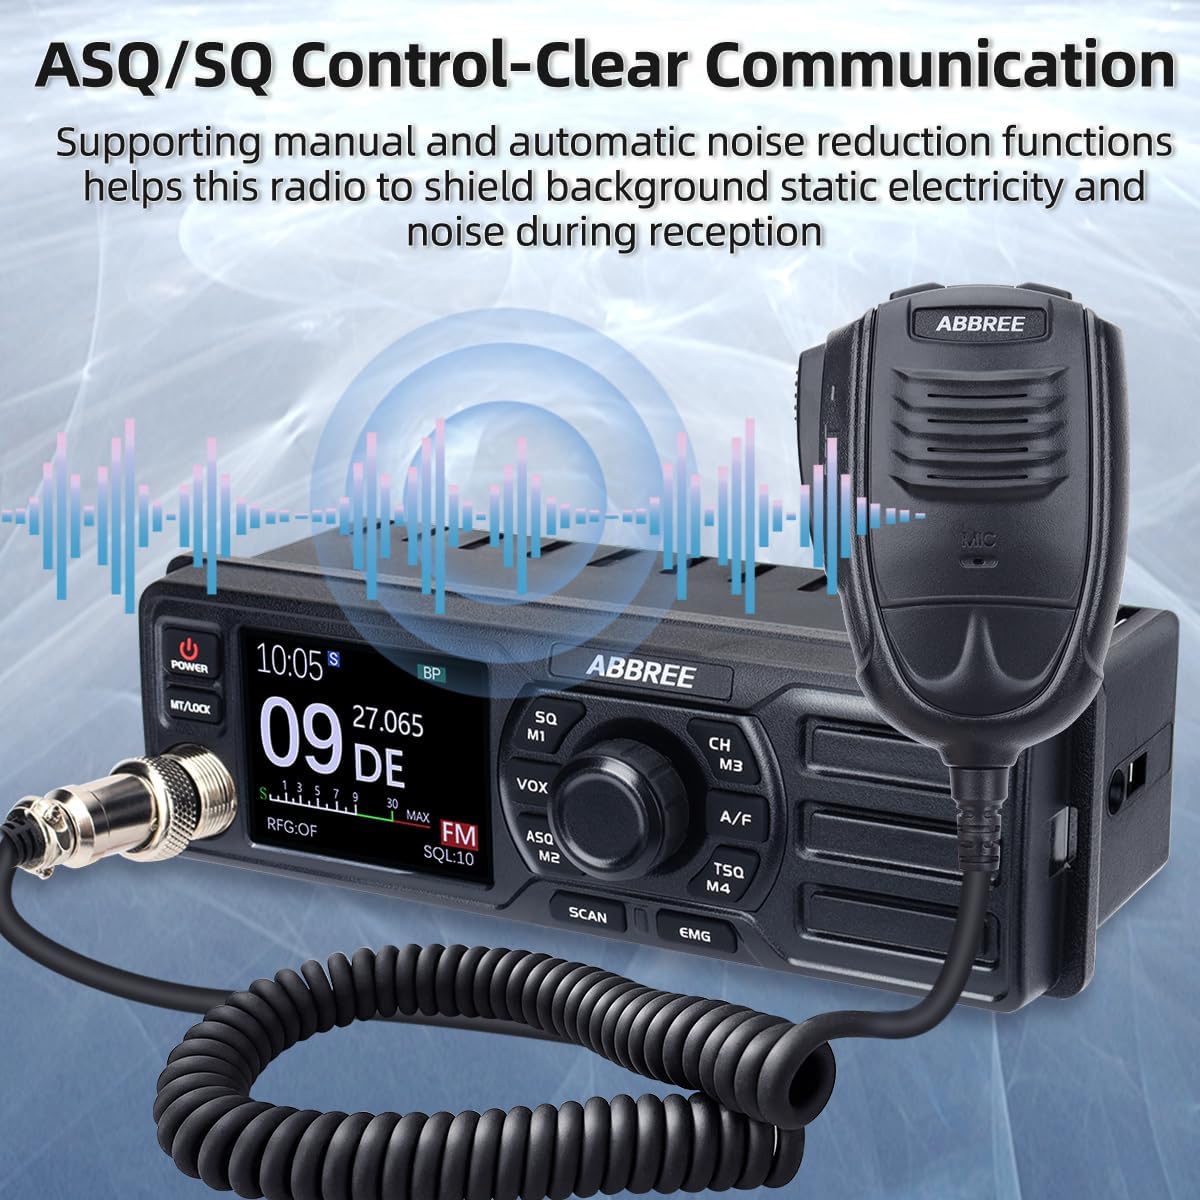
Figure 5.2: ASQ/SQ Control for Clear Communication
6. תכונות מתקדמות
6.1 בחירת מצב AM/FM
הקש על A / F button to switch between AM (Amplitude Modulation) and FM (Frequency Modulation) modes. The selected mode will be displayed on the LCD.
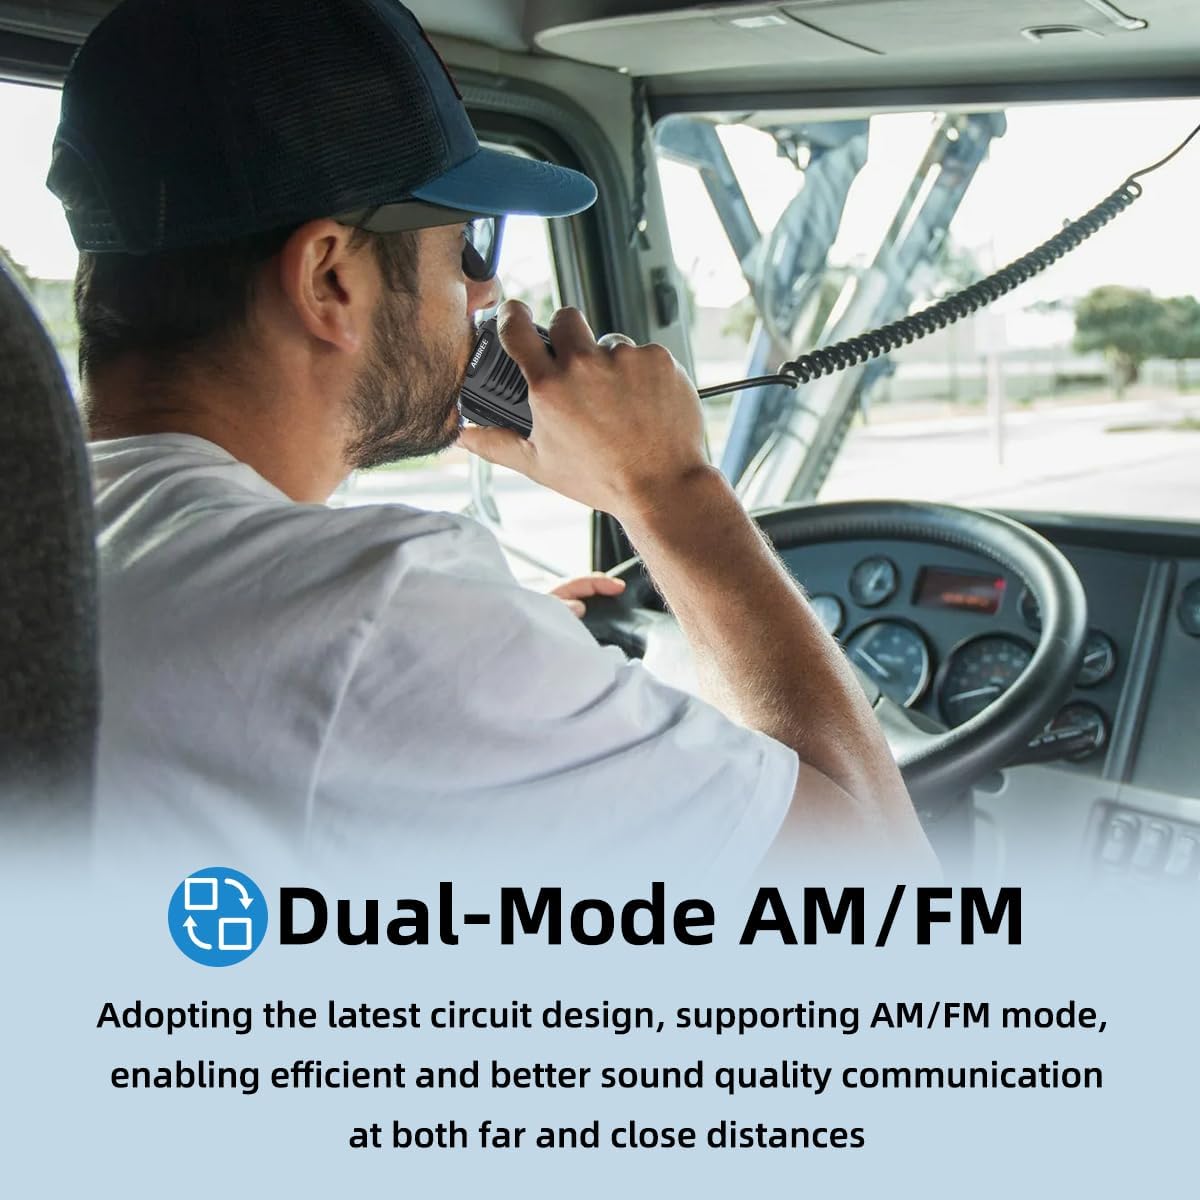
Figure 6.1: Dual-Mode AM/FM Operation
6.2 Emergency Channels (CH9/19)
הקש על EMG button for instant access to emergency channels. Channel 9 is typically used for emergency communications, and Channel 19 for truck drivers. Press again to return to the previous channel.

Figure 6.2: Instant Access to Emergency Channels
6.3 פונקציית VOX (מרכזית קולית)
The VOX function allows hands-free transmission. When activated, the radio will transmit automatically when it detects your voice.
- הקש על VOX/M2 button to activate or deactivate VOX.
- Adjust VOX sensitivity through the menu settings (refer to the full manual for detailed menu navigation).

Figure 6.3: Hands-Free Communication with VOX
6.4 פונקציית סריקה
הקש על לִסְרוֹק button to initiate channel scanning. The radio will scan through active channels and stop when a signal is detected. It will resume scanning after a short delay or when the signal disappears.
6.5 CTCSS/DCS (השתקת צלילים)
CTCSS (Continuous Tone-Coded Squelch System) and DCS (Digital Coded Squelch) are used to filter out unwanted conversations.
- הקש על TSQ/M4 button to access CTCSS/DCS settings.
- Select the desired tone or code from the available options.
6.6 TOT (טיימר פסק זמן)
The Time-Out Timer limits the duration of a single transmission to prevent accidental long transmissions and channel hogging. If the transmission exceeds the set time, the radio will stop transmitting automatically.
6.7 RFG (RF Gain)
RF Gain adjusts the sensitivity of the receiver. Lowering the RF Gain can help reduce background noise from weak signals or distant stations, improving clarity for stronger, closer signals.
7. תחזוקה
Proper maintenance ensures the longevity and optimal performance of your AR-M7 CB Radio.
- ניקוי: השתמשו במטלית רכה ויבשה לניקוי החלק החיצוני של הרדיו. אין להשתמש בחומרי ניקוי שוחקים או ממסים.
- סְבִיבָה: הרחק את הרדיו מטמפרטורות קיצוניות, אור שמש ישיר ולחות מוגזמת.
- חיבורים: בדקו מעת לעת את כל חיבורי הכבלים (חשמל, אנטנה, מיקרופון) לאבטחה וסימני בלאי.
8. פתרון תקלות
If you experience issues with your AR-M7 CB Radio, refer to the following common problems and solutions:
| בְּעָיָה | סיבה אפשרית | פִּתָרוֹן |
|---|---|---|
| הרדיו לא נדלק. | No power connection; incorrect voltagה; נתיך שרוף. | Check power cable connection; ensure 13.8V DC supply; check vehicle's fuse box. |
| No reception or poor reception. | Antenna not connected; squelch too high; incorrect channel/mode. | Ensure antenna is connected; adjust squelch level (SQ/ASQ); verify channel and AM/FM mode. |
| לא ניתן לשדר. | Microphone not connected; antenna issue; TOT activated. | Check microphone connection; ensure antenna is properly connected; wait for TOT to reset or reduce transmission time. |
| רעשי רקע מוגזמים. | Squelch too low; RF Gain too high; electrical interference. | Increase squelch level; adjust RF Gain; check for nearby electrical interference sources. |
If the problem persists after attempting these solutions, please contact ABBREE customer support for assistance.
9. מפרטים
| תכונה | מִפרָט |
|---|---|
| דֶגֶם | AR-M7 |
| טווח תדרים | 26.965-27.405 מגה-הרץ |
| ערוצים | 40 ערוצי CB |
| מצב אפנון | AM/FM |
| כוח פלט | 4 וואט |
| קלט כרךtage | 13.8V DC |
| מידות (B x H x D) | 7.3 x 3 x 2.2 אינץ' (כ-185 x 76 x 56 מ"מ) |
| מִשׁקָל | משוער. 2.92 פאונד (1.32 ק"ג) |
| דירוג הגנה בינלאומי | IP65 |

Figure 9.1: Compact Dimensions of the AR-M7
10. אחריות ותמיכה
ABBREE products are designed for reliability and performance. For warranty information, technical support, or service inquiries, please contact your authorized ABBREE dealer or visit the official ABBREE webאֲתַר.
Please have your model number (AR-M7) and purchase information ready when contacting support.


