1. Introduzione
Thank you for choosing the Arregui Activa Electronic Surface-Mounted Safe. This manual provides essential information for the correct installation, operation, and maintenance of your safe. Please read these instructions carefully before using the product to ensure optimal performance and security.
The Arregui Activa safe is designed to provide secure storage for your valuables, featuring an electronic locking system and a robust construction for surface mounting.
2. Impostazione
2.1 Disimballaggio
- Estrarre con cautela la cassaforte dall'imballaggio.
- Check that all components are present: safe unit, emergency keys, instruction manual, and mounting hardware.
- Conservare l'imballaggio per eventuali trasporti o immagazzinamenti futuri.
2.2 Installazione della batteria
- Individuare il vano batteria, solitamente all'interno dello sportello della cassaforte.
- Aprire il coperchio della batteria.
- Insert four (4) AA 1.5V alkaline batteries, ensuring correct polarity (+/-).
- Close the battery cover securely. The safe will emit a beep, indicating successful battery installation.
2.3 Montaggio della cassaforte
The Arregui Activa safe is designed for surface mounting to a wall or floor. Choose a secure and discreet location.
- Position the safe in the desired location and mark the drilling points through the pre-drilled holes in the back or bottom of the safe.
- Drill holes in the wall or floor using an appropriate drill bit for the mounting surface.
- Insert the provided wall anchors (if applicable) into the drilled holes.
- Align the safe with the holes and secure it using the provided screws or bolts. Tighten all fasteners firmly.
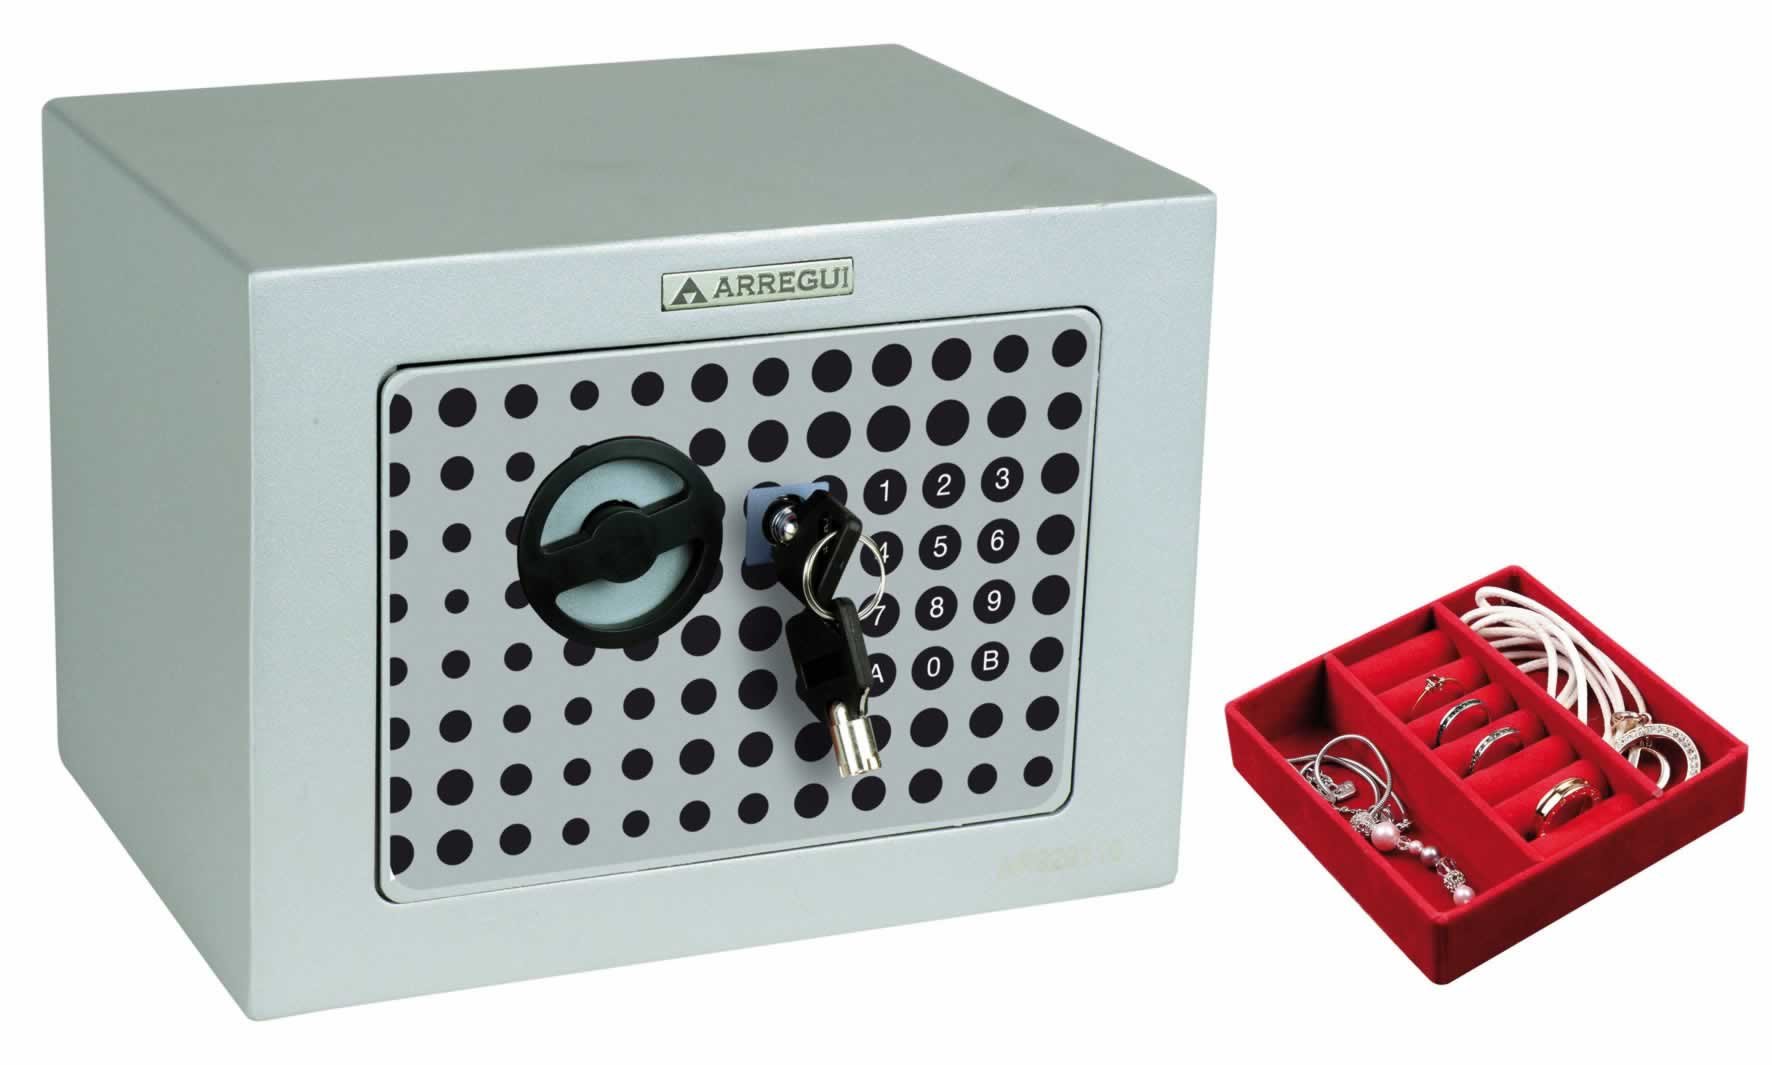
Image 1: Arregui Activa Electronic Safe, illustrating its compact design suitable for surface mounting.
3. Istruzioni per l'uso
3.1 Impostazione del codice iniziale
Al primo utilizzo sarà necessario impostare il codice di accesso personale.
- With the safe door open, press the red reset button located on the inside of the door (usually near the hinge). The yellow indicator light on the keypad will illuminate.
- Enter a new personal code (3-8 digits) on the keypad.
- Confirm the code by pressing the 'A' or '#' button. The safe will beep, and the yellow light will turn off, indicating the code has been successfully set.
- Prova il nuovo codice con la porta aperta prima di chiuderla.
3.2 Apertura della cassaforte
- Inserisci il tuo codice personale sulla tastiera.
- Press the 'A' or '#' button. The green indicator light will illuminate, and you will hear a click.
- Within 5 seconds, turn the knob or handle clockwise to open the door.
3.3 Chiusura della cassaforte
- Chiudere bene la porta della cassaforte.
- Turn the knob or handle counter-clockwise to engage the locking bolts. The safe is now secured.
3.4 Modifica del codice utente
- Apri la cassaforte utilizzando il tuo codice attuale.
- Press the red reset button on the inside of the door. The yellow indicator light will illuminate.
- Enter your new personal code (3-8 digits).
- Confirm the new code by pressing the 'A' or '#' button. The safe will beep, and the yellow light will turn off.
- Prova il nuovo codice con la porta aperta prima di chiuderla.
3.5 Emergency Opening (with Key)
In case of battery failure or forgotten code, you can use the emergency key.
- Individuare la serratura di emergenza, solitamente nascosta dietro una piccola copertura sul pannello della tastiera.
- Togliere il coperchio.
- Inserire la chiave di emergenza e ruotarla in senso orario, ruotando contemporaneamente la maniglia per aprire la cassaforte.
- Once open, replace the batteries if necessary and reset your code. Keep emergency keys in a secure location away from the safe.
4. Manutenzione
4.1 Sostituzione della batteria
When the batteries are low, the red indicator light will flash or the safe will emit a warning sound when you attempt to open it. Replace all four batteries promptly to ensure continued operation.
- Follow the steps in section 2.2 for battery installation.
- Utilizzare sempre batterie alcaline nuove e di alta qualità. Non mischiare batterie vecchie e nuove o tipi di batterie diversi.
4.2 Pulizia
- Pulisci l'esterno della cassaforte con un panno morbido eamp stoffa.
- Non utilizzare detergenti abrasivi o solventi, poiché potrebbero danneggiare la finitura o i componenti elettronici.
5. Risoluzione Dei Problemi
| Problema | Possibile causa | Soluzione |
|---|---|---|
| La cassaforte non si apre con il codice. | Codice inserito errato; batterie scariche; malfunzionamento della tastiera. | Re-enter code carefully; Replace batteries (Section 4.1); Use emergency key (Section 3.5). |
| La tastiera non risponde. | Batterie scariche; collegamento della batteria allentato. | Replace batteries (Section 4.1); Ensure batteries are correctly inserted. |
| Red light flashes or beeps continuously. | Avviso di batteria scarica. | Replace batteries immediately (Section 4.1). |
| La porta non si chiude correttamente. | Ostruzione; Disallineamento. | Check for items blocking the door or bolts; Ensure safe is mounted level. |
6. Specifiche
| Numero modello: | Numero di telefono: 1832D80 |
| Dimensioni esterne (AxLxP): | Dimensioni: 230 x 170 x 170 mm |
| Meccanismo di bloccaggio: | Electronic keypad with emergency key override |
| Fonte di energia: | 4 batterie AA da 1.5 V |
| Tipo di montaggio: | Surface-mounted (wall or floor) |
7. Informazioni sulla garanzia
Arregui products are manufactured to high-quality standards and are guaranteed against manufacturing defects for a period specified by local consumer protection laws from the date of purchase. This warranty does not cover damage caused by improper installation, misuse, unauthorized modifications, or normal wear and tear. Please retain your proof of purchase for warranty claims.
8. Supporto
For technical assistance, spare parts, or warranty inquiries, please contact your retailer or the Arregui customer service department. Refer to the contact information provided with your purchase documentation or visit the official Arregui websito per i dettagli del supporto.
Websito: www.arregui.es


