![]()
Draco vario SNMPv3 Module
Add-on Module
474-SNMPv3-R1
QUICK SETUP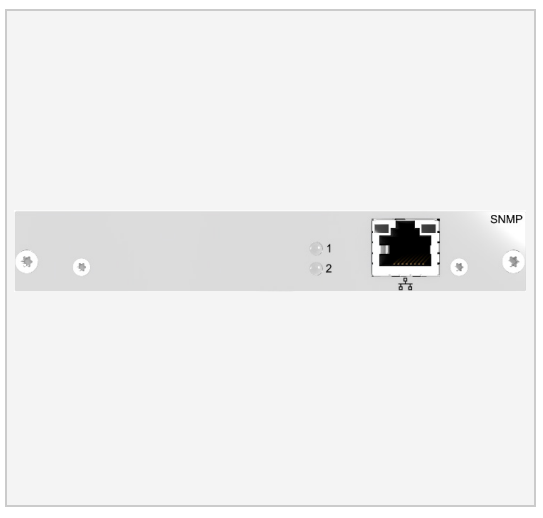
Scope of Delivery
Package Contents
Please check if your package contains following items:
- 1x 474-SNMPv3-R1
- Quick Setup
![]() If anything is missing, please contact your dealer.
If anything is missing, please contact your dealer.
System Setup
![]() The SNMPv3-R1 module can only be installed in specified slots of 6-slot or 21-slot chassis with internal backplane: BODY6 (slot 5), BODY21 (slot 21).
The SNMPv3-R1 module can only be installed in specified slots of 6-slot or 21-slot chassis with internal backplane: BODY6 (slot 5), BODY21 (slot 21).
![]() First-time users are recommended to set up the system in a test environment that is limited to a single room. This makes it easier to identify and solve any cabling problems, and experiment with your system more conveniently.
First-time users are recommended to set up the system in a test environment that is limited to a single room. This makes it easier to identify and solve any cabling problems, and experiment with your system more conveniently.
SNMPv3 Module Installation
- Mount the SNMPv3 module in the specified slot of the chassis.
- Connect the chassis containing the SNMPv3 module to the power supply.
- Download the current version of the Draco tera Tool (see the following page).
Setting Advanced Configuration in the Draco tera Tool
- Install the Draco tera Tool (see manual).
- Connect the SNMPv3 module to the TCP/IP network it should be used with via network cable.
- Start the tool and connect to the SNMPv3 module.
The default IP address is 192.168.100.99, the username is admin, and the password is admin. - Select System > Network > SNMP in the task area of the Draco tera Tool.
- Configure the SNMPv3 module with the desired IP address and the parameters to be monitored and then restart the SNMPv3 module
 After the advanced configuration of the system it is recommended to save the configuration under Remote Save…and then restart the SNMPv3 module by selecting Device > Advanced Service > Restart SNMP Board.
 After changing the IP address, the new IP address is required to connect to the Draco tera Tool after restart.
 - Integrate the SNMPv3 module into your existing SNMP infrastructure by using the provided MIB file.
In case you do not have the MIB file available, please contact your distributor.
System Overview
Example 474-BODY21/4U

1 474-SNMPv3-R1 module (slot 21)
Example 474-BODY6BP

1 474-SNMPv3-R1 module (slot 5)
Technical Support
Prior to contacting support, please ensure you have read this manual, and then installed and set-up your device as recommended.
Support Checklist
To efficiently handle your request, it is necessary that you complete a support request checklist:
ihse.com/checklist
Please have the following information available before you call:
- Company, name, phone number and e-mail address
- Type and serial number of the device (see rear side of device)
- Date and number of sales receipts, name of dealer if necessary
- Issue date of the existing manual
- Nature, circumstances, and duration of the problem
- Involved components (such as graphic source/CPU, OS, graphic card, monitor, USB HID/USB 2.0 devices, interconnect cable) including manufacturer and model number
- Results from any testing you have done
Shipping Checklist
- To return your device, please contact your dealer to obtain an RMA number (Return-Material-Authorization).
- Package your devices carefully, preferably using the original box. Add all pieces which you received originally.
- Please note your RMA number visibly on your shipment.
![]() Please understand that devices which are sent in without an RMA number cannot be accepted. The shipment will be sent back without being opened; postage unpaid.
Please understand that devices which are sent in without an RMA number cannot be accepted. The shipment will be sent back without being opened; postage unpaid.
Download
Manual
We continue to develop and improve our products, adding new functions and features on a regular basis, so we want you to always have the latest manual. For this reason, we do not include a manual in an electronic or printed form but kindly ask you to download the latest manual using the following link:
ihse.com/manual
Tera Tool
The Tera Tool provides following functions:
- Advanced configuration
- Extended monitoring options
- System update (firmware update)
- Local backup option
- Documentation
Please download the Tera Tool from the following download link:
ihse.com/software
| IHSE Headquarters IHSE GmbH Benzstrasse 1 88094 Oberteuringen Germany |
phone +49 7546 9248-43 techsupport@ihse.de www.ihse.de |
| Support hours: Monday – Thursday Friday |
CET 8.00 am to 6.00 pm 8.00 am to 5.00 pm |
| IHSE USA IHSE USA LLC 1 Corporate Drive NJ 08512 Cranbur USA |
phone +1 732 738 8780 info@ihseusa.com www.ihseusa.com |
| Support hours: Monday – Friday |
EST 9.00 am to 5.00 pm |
| IHSE Asia IHSE GmbH Asia Pacific Pte Ltd 158 Kallang Way 349245 Singapore Singapore Support hours: Monday – Friday |
phone +65 6841 4707 sales@ihseapac.com www.ihseapac.com SGT 9.00 am to 6.00 pm |
| IHSE China IHSE China Co., Ltd. Room 814, Building 3, Kezhu RoadNo. 233 Huangpu District Guangzhou PRC Support hours: Monday – Friday |
phone +86 189 888 381 techsupport-cn@ihse.com www.ihse.com.cn CST 9.00 am to 6.00 pm |
Documents / Resources
 |
ihse 474-SNMPv3-R1 Draco vario SNMPv3 Add-on Module [pdf] User Guide Series 474, 474-SNMPv3-R1 Draco vario SNMPv3 Add-on Module, 474-SNMPv3-R1, Draco vario SNMPv3 Add-on Module, SNMPv3 Add-on Module, Add-on Module, Module |