1. Okwu mmalite
This manual provides instructions for the safe and effective use of your iJoy Disney Stitch Disco Party Bluetooth Over-Ear Headphones. Please read this manual thoroughly before operating the device and retain it for future reference.

Foto 1.1: N'ihu view of the iJoy Disney Stitch Disco Party Bluetooth Over-Ear Headphones.
2. Ihe ngwugwu
Chọpụta na ihe niile dị na ngwugwu:
- iJoy Disney Stitch Disco Party Bluetooth Over-Ear Headphones
- Igwe nchaji USB
- USB Audio inyeaka
- Akpa na-ebu nchekwa
- Akwụkwọ ntuziaka onye ọrụ
3. Ngwaahịa gafereview
Familiarize yourself with the headphone components and controls.
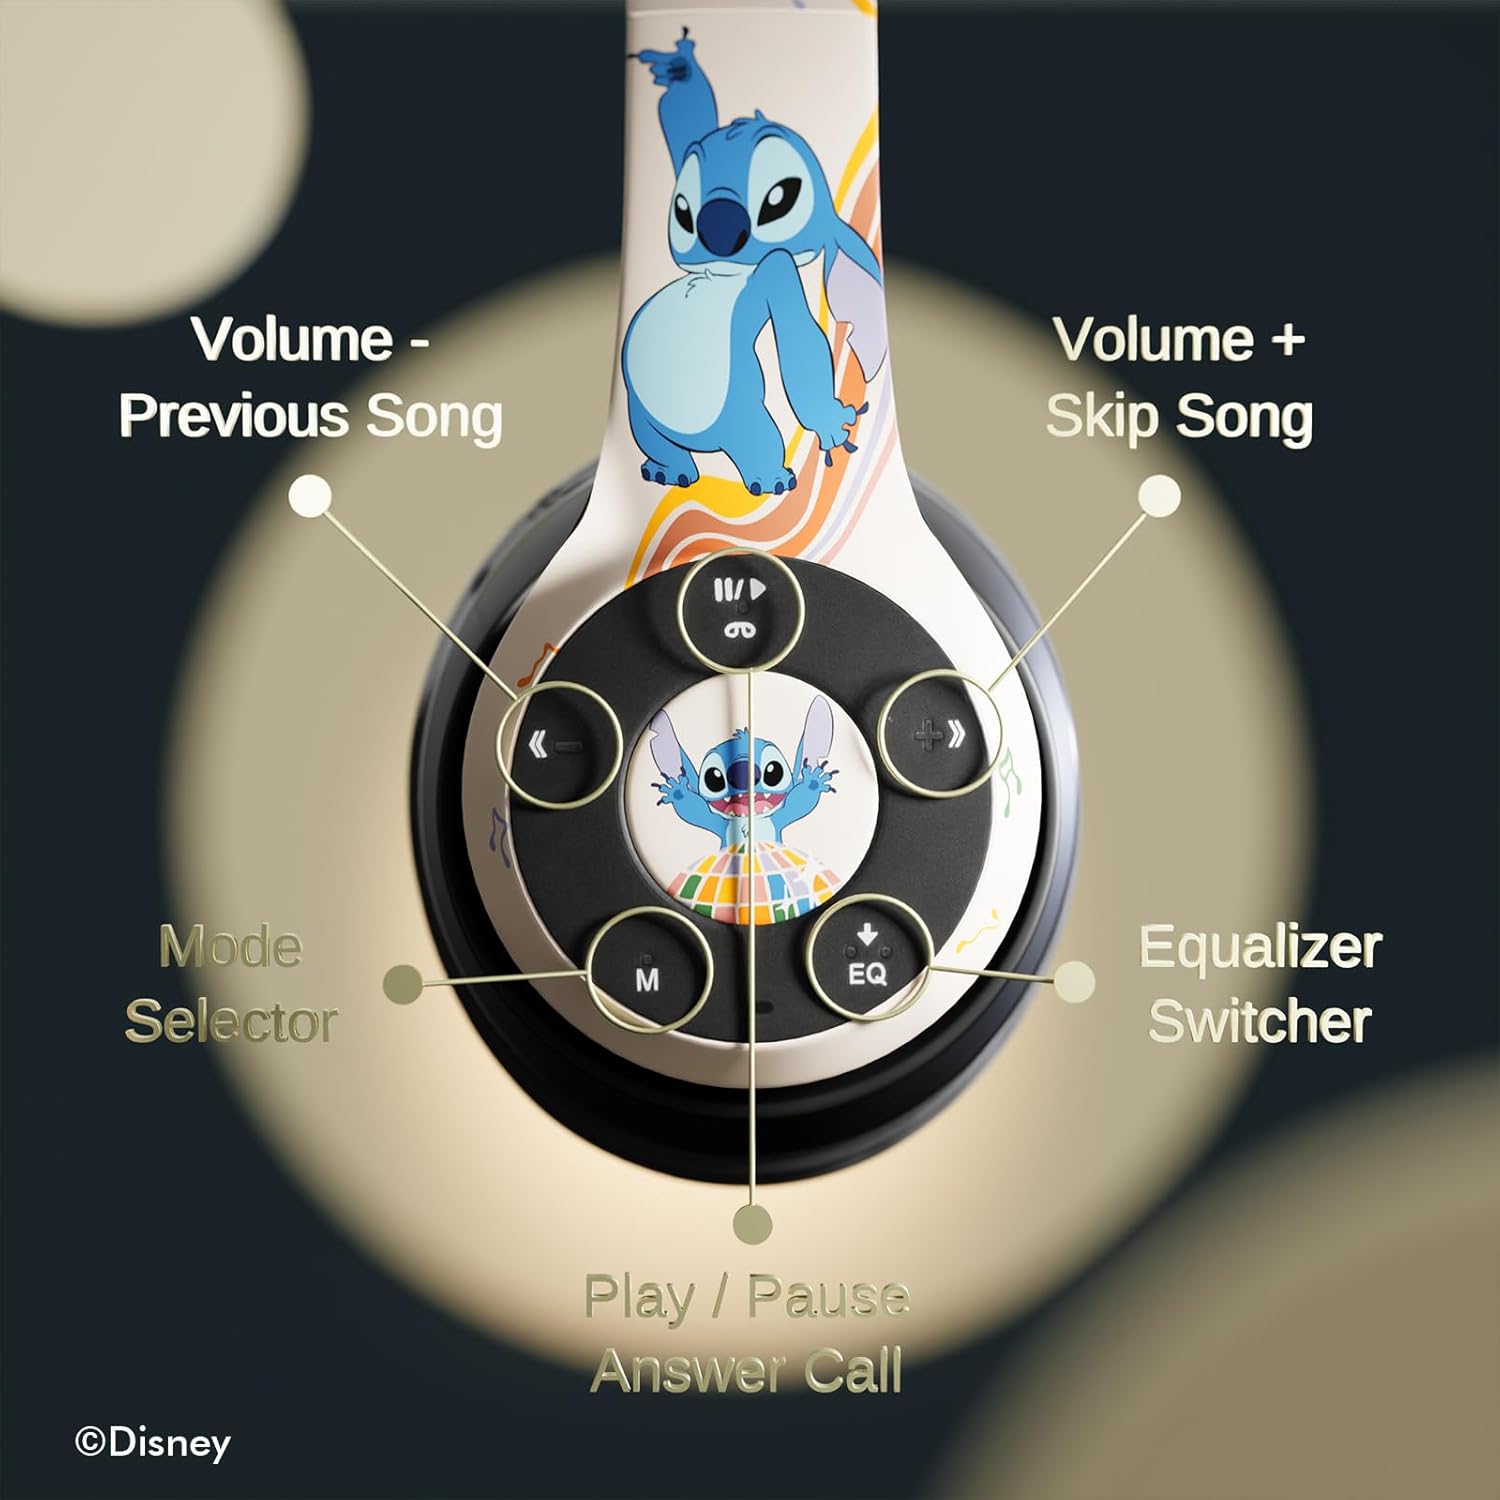
Foto 3.1: Zuru ezu view of the control buttons on the right earcup.
Ọrụ njikwa:
- Volume - / Previous Song: Pịa obere oge maka mbelata olu, pịa ogologo oge maka egwu gara aga.
- Volume + / Skip Song: Pịa mkpirisi maka ibuli olu, ogologo pịa maka egwu ọzọ.
- Play / Pause / Answer Call: Short press to play/pause music or answer/end a call. Long press to reject a call.
- Mode Selector (M): Press to switch between Bluetooth, Micro SD, and FM Radio modes.
- Equalizer Switcher (EQ): Press to cycle through available equalizer presets.
- Ihe ngosi LED: Displays power, charging, and Bluetooth connection status.
- Igwe okwu arụnyere n'ime ya: Maka oku na-enweghị aka.
- Oghere kaadị Micro SD: For direct audio playback from a Micro SD card.
4. Nhazi
4.1. Ịchaji ekweisi
Before initial use, fully charge the headphones. Connect the supplied USB charging cable to the charging port on the headphones and to a USB power source (e.g., computer USB port, wall adapter). The LED indicator will illuminate during charging and change color or turn off when charging is complete. A full charge provides approximately 15 hours of playtime.

Image 4.1: The headphones offer up to 15 hours of audio playback on a single charge.
4.2. Njikọ Bluetooth
- Hụ na ekweisi ndị ahụ agbanyụrụ ma gbanyụọ ha.
- Pịa ma jide bọtịnụ Ike ruo mgbe ihe ngosi LED na-enwu, na-egosi ụdị njikọ.
- Na ngwaọrụ gị (smartphone, tabletị, wdg), gbanye Bluetooth wee chọọ ngwaọrụ dịnụ.
- Select "iJoy Stitch Headphones" from the list of found devices.
- Ozugbo ejikọtara ya, ihe ngosi LED ga-akwụsị ịmị ọkụ ma nọgide na-adị ike.

Image 4.2: The headphones are compatible with various Bluetooth-enabled devices.
4.3. Micro SD Card Usage
Insert a Micro SD card (not included) into the Micro SD card slot on the headphones. The headphones will automatically switch to Micro SD mode and begin playing audio files from the card. Use the Mode button to switch to this mode if already in another mode.
5. Ntuziaka ọrụ
5.1. Gbanyụọ / gbanyụọ
- Ike Na: Press and hold the Power button until the LED indicator illuminates.
- Gbanyụọ: Pịa ma jide bọtịnụ ike ruo mgbe ihe ngosi LED gbanyụrụ.
5.2. Nghaghachi egwu
- Gwuo/kwụsịtụ: Pịa bọtịnụ Play/kwụsịtụ.
- Track na-esote: Pịa bọtịnụ Olu + ogologo oge.
- Gara aga Track: Pịa bọtịnụ olu ogologo.
- Olu elu: Obere pịa bọtịnụ olu +.
- Olu ala: Obere pịa bọtịnụ olu - bọtịnụ.
5.3. Njikwa oku
- Azịza/Kwụsị Oku: Pịa bọtịnụ Play/kwụsịtụ.
- Jụ oku: Pịa ogologo bọtịnụ Play/kwụsịtụ.
5.4. FM Radio Function
In FM Radio mode (selected via the Mode button), the headphones can scan and play FM radio stations. Use the Volume +/- buttons to change stations or adjust volume.
5.5. Equalizer Function
Press the EQ button to cycle through different audio equalizer presets, adjusting the sound profile ka mmasị gị.
6. Nlekọta
6.1. Nhicha
Wipe the headphones with a soft, dry cloth. Do not use abrasive cleaners or solvents. Avoid exposing the headphones to excessive moisture.
6.2. Nchekwa
When not in use, store the headphones in the provided protective carrying case. The foldable design allows for compact storage, protecting them from damage.
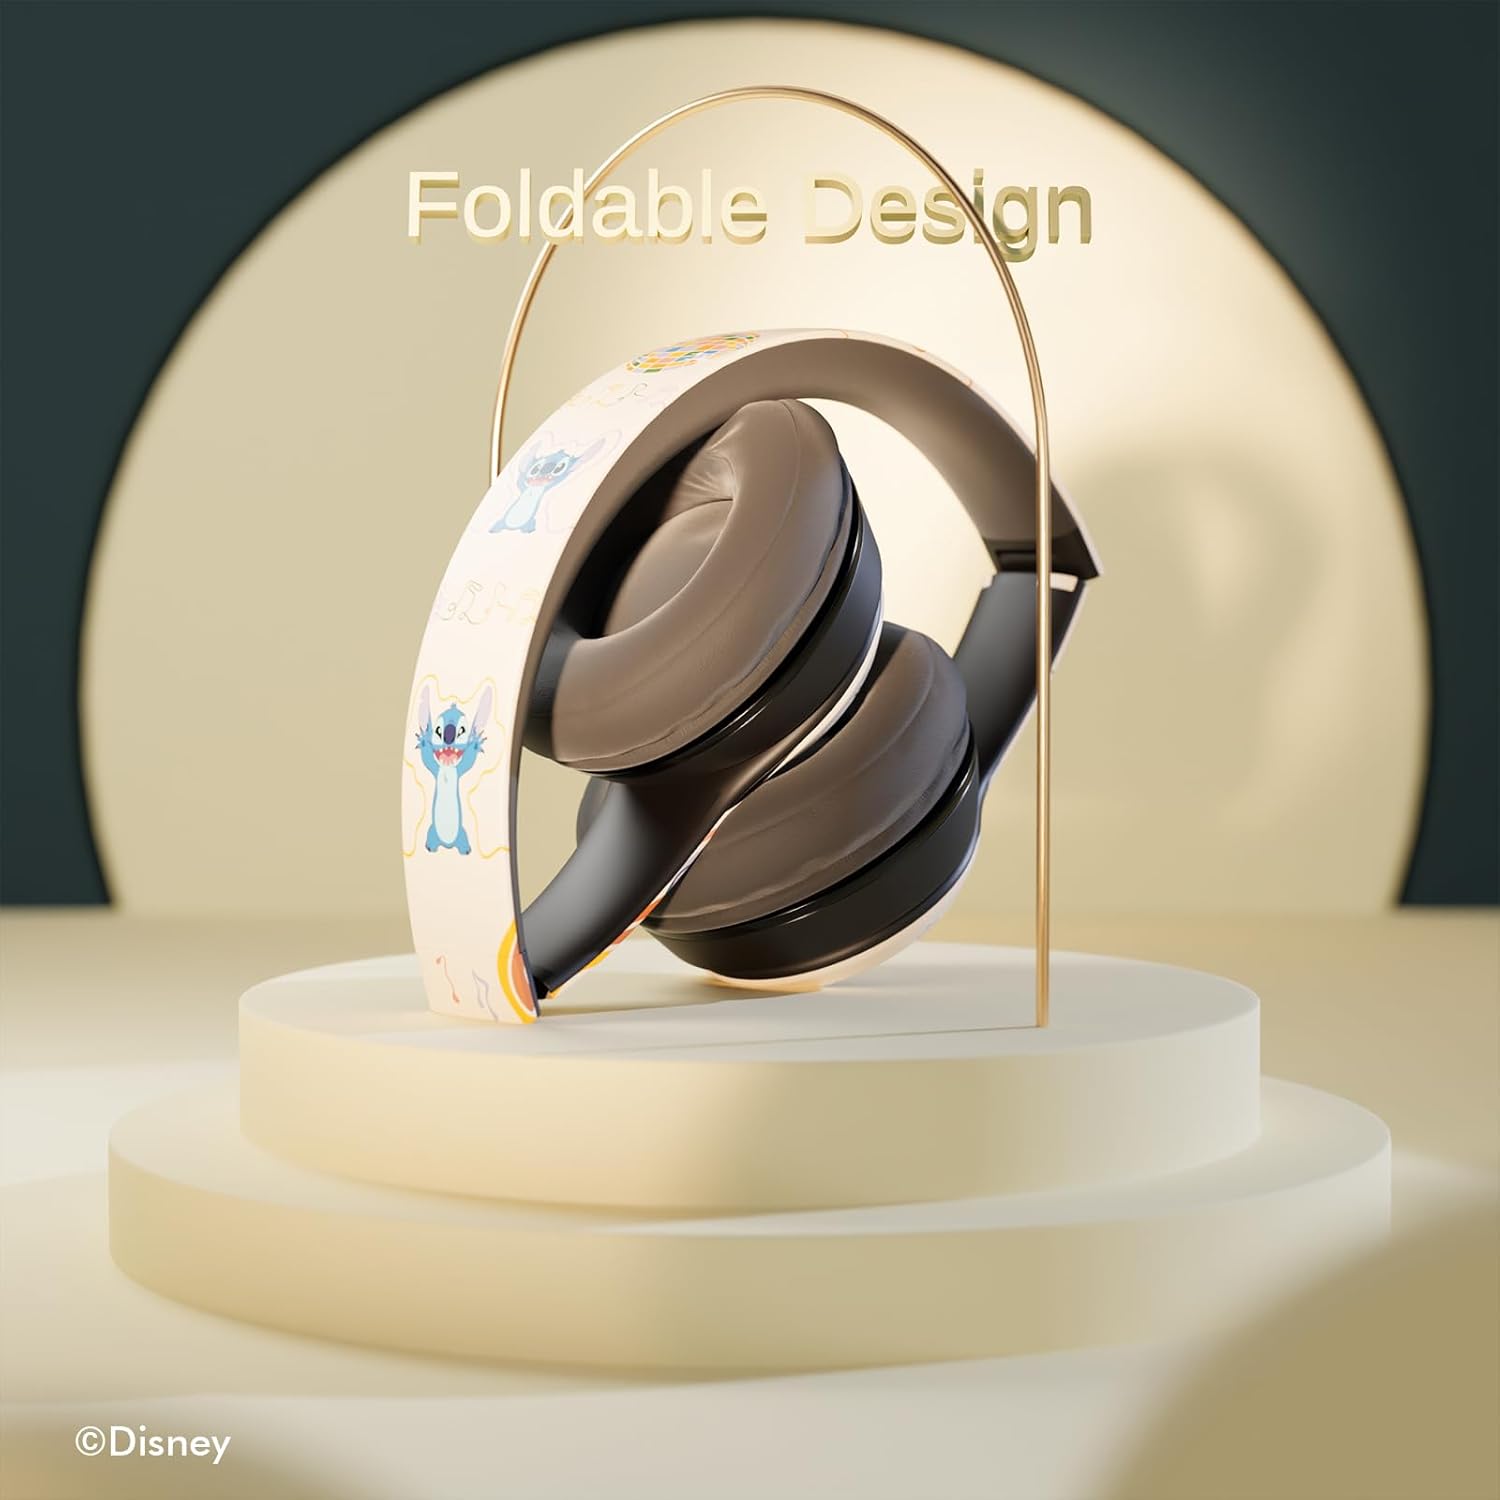
Image 6.1: The headphones feature a foldable design for easy storage and portability.
7. Nchọpụta nsogbu
Ọ bụrụ na ị hụ nsogbu na ekweisi gị, lee nsogbu na ngwọta ndị a na-ahụkarị:
- Enweghị ike: Ensure the headphones are fully charged. Connect to a power source and check the LED indicator.
- Enweghị ike ijikọ site na Bluetooth:
- Ensure the headphones are in pairing mode (LED flashing).
- Chọpụta agbanyere Bluetooth na ngwaọrụ gị.
- Bugharịa ekweisi nso na ngwaọrụ gị.
- Turn off and on both the headphones and your device, then attempt pairing again.
- Enweghị ụda:
- Lelee ọkwa olu dị na ekweisi na ngwaọrụ ejikọrọ gị.
- Ensure the headphones are correctly paired or the audio cable is fully inserted.
- If using a Micro SD card, ensure it contains compatible audio files and is inserted correctly.
- Ogo ụda adịghị mma:
- Move closer to your Bluetooth device to reduce interference.
- Gbaa mbọ hụ na enweghị ihe mgbochi n'etiti ekweisi na ngwaọrụ gị.
- Gbalịa isi iyi ọdịyo dị iche ma ọ bụ file.
8. Nkọwapụta
| Aha Nlereanya | Disney Stitch Disco Party |
| Nọmba Nlereanya ihe | 810146469544 |
| Teknụzụ Njikọta | Ikuku (Bluetooth) |
| Teknụzụ nzikọrịta ozi ikuku | Bluetooth |
| Ogologo afọ (Nkọwa) | Okenye, Nwa |
| Ụdị njikwa | Njikwa olu, metụ |
| Atụmatụ pụrụ iche | Built-in Radio Receiver, Foldable and Adjustable headband, Micro SD Card Plug-in, Microphone Included |
| Ibu Ibu | 0.26 Kilogram (9.1 ounces) |
| Batrị | 1 batrị lithium polymer (gụnyere) |
| Oke ugboro ugboro | 20 Hz - 20,000 Hz |
| Ọkwa Nguzogide mmiri | Ọ bụghị mmiri na-eguzogide |
| Ntinye ntị | N'elu Ntị |
| Njikwa mkpọtụ | Mwepu ụda |

Image 8.1: The headphones feature sound isolation and include an auxiliary cable for wired connection.
9. Ozi nchekwa
Lee ntuziaka nchekwa ndị a iji gbochie mmebi nke ngwaọrụ ma ọ bụ mmerụ ahụ onwe onye:
- Do not expose the headphones to extreme temperatures, direct sunlight, or excessive moisture.
- Zere idobe ma ọ bụ idobe ekweisi na mmetụta siri ike.
- Akwụsịla ma ọ bụ nwaa ịrụkwa ekweisi n'onwe gị. Nke a nwere ike mebie akwụkwọ ikike ma bute mmebi.
- Adjust volume to a moderate level to prevent hearing damage. Prolonged exposure to loud sounds can cause permanent hearing loss.
- Do not use headphones while driving, cycling, or in situations where inability to hear ambient sounds could be dangerous.
10. Akwụkwọ ikike na nkwado
This product is covered by a manufacturer's warranty. For specific warranty details, please refer to the documentation included with your purchase or contact iJoy customer support. For technical assistance or inquiries, please visit the official iJoy websaịtị ma ọ bụ kpọtụrụ ngalaba ọrụ ndị ahịa ha.


