1. Okwu mmalite
The ATOMSTACK Swift 7W Laser Engraver is a high-precision machine designed for engraving and cutting various materials. This manual provides essential information for safe and effective operation, assembly, and maintenance of your device. Please read this manual thoroughly before using the product.
2. Ntuziaka nchekwa
Operating a laser engraver requires adherence to strict safety protocols to prevent injury. Always prioritize your safety and the safety of others.
- Nchedo anya: Always wear the provided safety glasses during operation to protect your eyes from laser radiation. Direct exposure to the laser beam can cause severe eye damage.
- Laser Protective Cover: Ensure the removable magnetic laser protective cover is securely in place during operation. This cover helps contain the laser and protect against accidental exposure.
- Nlekọta: Do not leave the machine running unattended. Constant supervision is necessary to monitor the engraving/cutting process and respond to any unexpected issues.
- Igwe ikuku: Operate the machine in a well-ventilated area to dissipate fumes and smoke produced during engraving and cutting. Some materials may produce harmful vapors.
- Ngwa ndị na-ere ọkụ: Keep all flammable materials, liquids, and gases away from the working area. The laser can ignite combustible substances.
- Nkwụsị ihe mberede: Familiarize yourself with the location and operation of the emergency stop function. In case of an emergency, immediately cut power to the machine.
- Ndakọrịta ihe: Only engrave or cut materials known to be safe for laser processing. Avoid materials that produce toxic fumes or are highly reflective.
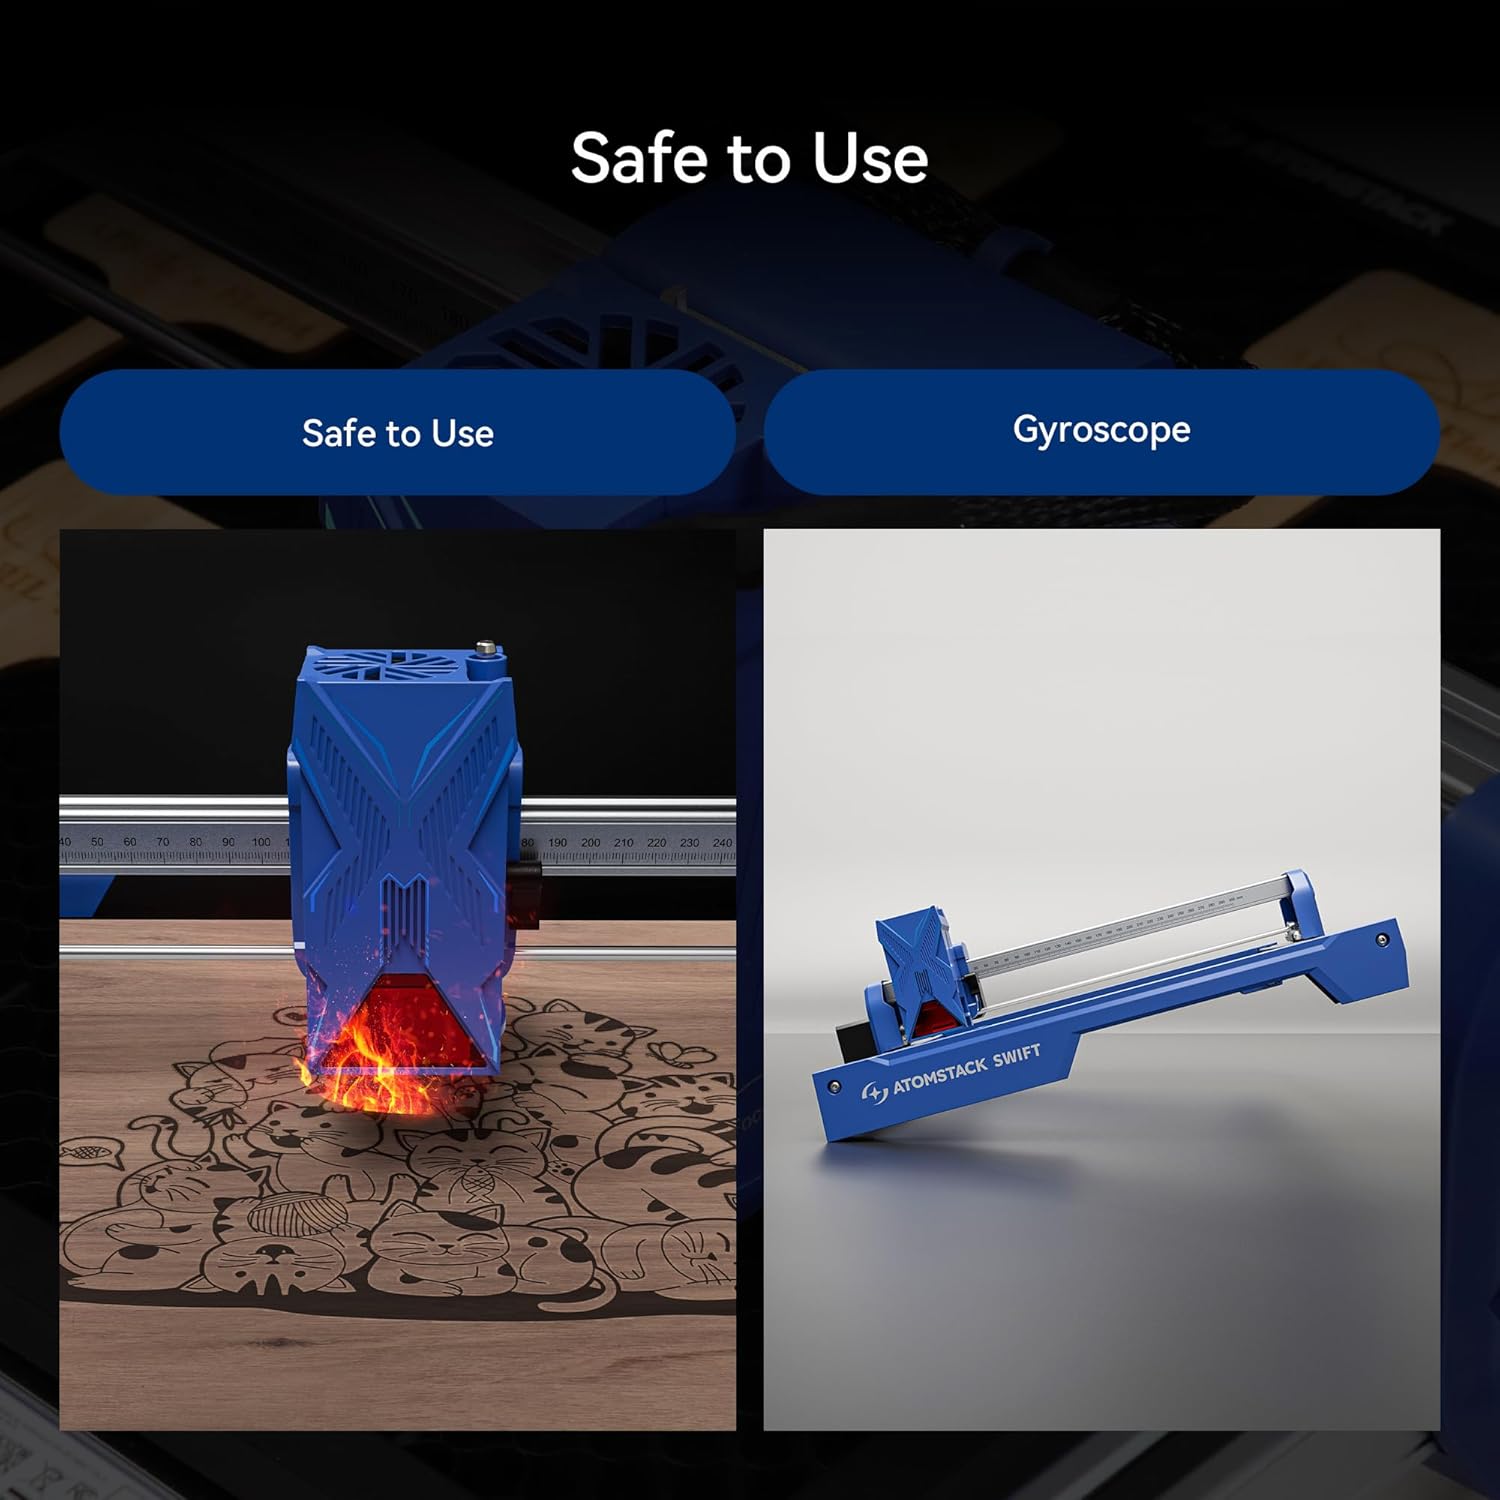
Figure 1: Safety features of the ATOMSTACK Swift 7W Laser Engraver, showing the laser module and a visual representation of the gyroscope function.
3. Ihe ngwugwu
The ATOMSTACK Swift 7W package typically includes the following components. Please verify all items are present upon unboxing.
- Front X-axis assembly (with cable)
- Rear X-axis assembly
- Mgbakọ X-axis
- Left Y-axis assembly (with motor)
- Right Y-axis assembly
- Optical Shaft
- Modul laser
- Ihe nkwụnye ọkụ
- Akwụkwọ ntuziaka ngwaahịa
- Belt oge
- H2/H2.5/H3 L-shaped Allen wrench
- Wrench
- M5x8 kposara (x6)
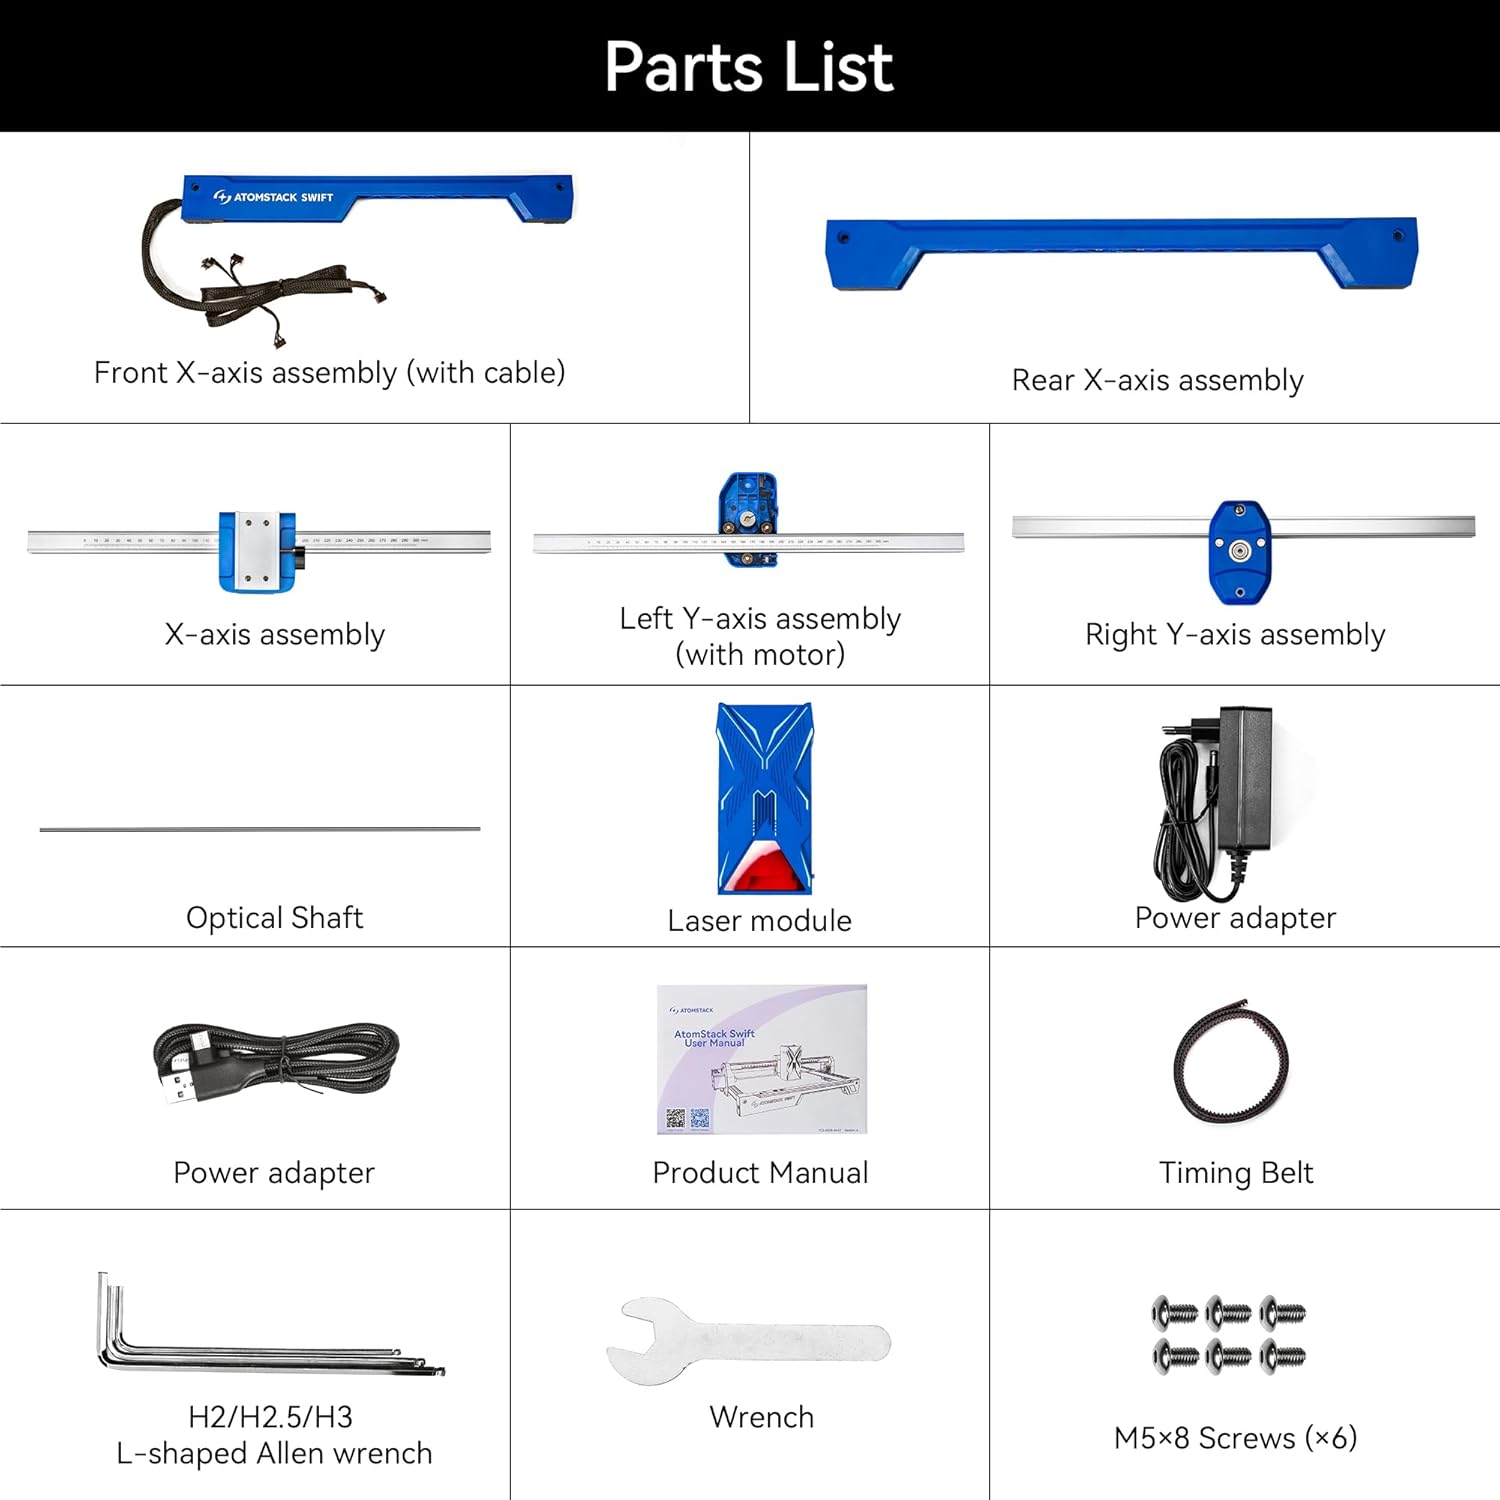
Figure 2: Detailed parts list for the ATOMSTACK Swift 7W Laser Engraver.
4. Ntọala na Mgbakọ
Follow these step-by-step instructions to assemble your ATOMSTACK Swift 7W Laser Engraver.
4.1. Kpọkọtanụ Frame
Place the five main assemblies as shown in the diagram. Ensure the X-axis assembly has the belt facing downward and the Y-axis assembly with the motor is on the left side. Align and connect the five assemblies, then secure them with six M5x8 screws.

Figure 3: Modular components of the ATOMSTACK Swift 7W for easy assembly.
4.2. Install Optical Shaft
Install the optical shaft onto the X-axis assembly. Push the X-axis toward the front X-axis assembly, ensuring it is fully inserted and aligned parallel. Then, tighten the coupling and the timing pulley.
4.3. Install Laser Module
Install the laser module onto the X-axis assembly and tighten the thumb screw to secure it in place.
4.4. Jikọọ eriri
Connect the motor cable, limit switch cables, and the laser module cable to their respective ports on the machine.
4.5. Adjust X-axis Movement
Use an open-end wrench to adjust the eccentric nut until the X-axis can slide down smoothly when the machine is tilted at 45 degrees. This ensures proper movement and prevents binding.
4.6. Ntuziaka vidiyo Mgbakọ
Video 1: A detailed visual guide demonstrating the unboxing and installation process for the AtomStack Swift laser engraver.
5. Ntuziaka ọrụ
This section covers the basic steps for operating your ATOMSTACK Swift 7W Laser Engraver.
5.1. Focusing Method
To achieve optimal engraving and cutting results, proper focusing of the laser is crucial. Place the workpiece on the engraving area. Adjust the focus by turning the side knob on the laser module until the laser spot is at its smallest and most intense point on the material surface.

Figure 4: The ATOMSTACK Swift 7W laser module performing precise engraving and cutting.
5.2. Ngwa ndakọrịta
The ATOMSTACK Swift 7W is compatible with a range of software for design and control, offering flexibility for your projects:
- LightBurn
- LaserGRBL
- ATOMSTACK PC software (AtomStack Studio)
- ATOMSTACK Mobile App (Android, iOS)
You can connect the engraver to your computer via Type-C and USB cable, or wirelessly via WiFi/Hotspot for convenient operation.

Figure 5: ATOMSTACK Studio software interface demonstrating multi-platform support and AI text-to-image features.
5.3. Engraving and Cutting Process
1. Kwadebe imewe: Create or import your design using your preferred compatible software.
2. Jikọọ ngwaọrụ: Connect the engraver to your computer via Type-C or USB cable, or wirelessly via WiFi/Hotspot.
3. Ihe ebe: Position your material securely on the working area of the engraver.
4. Hazie mgbado anya: Perform the focusing procedure as described in Section 5.1.
5. Malite ọrụ: Initiate the engraving or cutting process from the software interface.
5.4. Ngwa ndakọrịta
The ATOMSTACK Swift 7W can engrave and cut a wide range of common materials:
- Wood (plywood, basswood, bamboo)
- Akpụkpọ anụ
- Akwụkwọ
- kaadiboodu
- Cork
- Slate
- chere
- MDF
- Igwe mkpuchi mkpuchi
- Dark acrylic
- Glass
- Nkume
- Rubber
- Nri
- Tera seramiiki
- Igwe anaghị agba nchara

Ọgụgụ 6: Ọpụamples of materials compatible with the ATOMSTACK Swift 7W Laser Engraver.
5.5. Advanced Atụmatụ
5.5.1. Resume Engraving
The ATOMSTACK Swift 7W supports resuming engraving after unexpected power outages. This feature helps minimize material waste by allowing the machine to continue from where it left off.

Figure 7: Resume engraving functionality in action.
5.5.2. Batch Engraving
For efficient production, the machine supports batch engraving. With the aid of an optional camera accessory, you can precisely position and engrave multiple items simultaneously, streamlining your workflow.

Figure 8: Batch engraving multiple items using the ATOMSTACK Swift 7W.
5.5.3. Precise Cross Cursor Alignment
The ATOMSTACK Swift 7W features precise cross cursor alignment, which helps achieve perfect positioning for your projects. This eliminates the need for secondary processing and ensures accurate results.

Figure 9: Precise cross cursor alignment for accurate project setup.
5.6. Official Product Overview
Vidiyo nke 2: Vidiyo a na-egosi etu esi ewepụ ihe egwuview of the ATOMSTACK Swift laser engraver and cutter, showcasing its features and various applications.
6. Nlekọta
Regular maintenance ensures the longevity and optimal performance of your ATOMSTACK Swift 7W Laser Engraver.
- Na-ehicha oghere: Regularly clean the laser lens with a soft, lint-free cloth and isopropyl alcohol. A clean lens is essential for consistent laser power and precise results.
- Cleaning the Rails: Keep the guide rails clean and free of dust and debris. Use a soft cloth to wipe down the rails to ensure smooth movement of the laser module.
- Ụkwụ Belt: Periodically check the tension of the timing belts. Belts that are too loose can cause skipping or inaccurate movements, while overly tight belts can lead to premature wear on motors and bearings. Adjust as needed.
- Nchacha izugbe: Keep the entire machine clean from dust and material residue. Accumulated debris can interfere with moving parts and electronics.
7. Ịchọpụta nsogbu nkịtị
If you encounter any issues with your ATOMSTACK Swift 7W, refer to the following troubleshooting tips:
- Laser Not Firing:
- Lelee njikọ ike niile iji hụ na ha dị nchebe.
- Verify the laser module cable is properly connected.
- Ensure the software settings for laser power and speed are correctly configured and not set to zero.
- Ọdịmma ihe osise/ịkpụcha adịghị mma:
- Re-check the laser focus. An improperly focused laser is a common cause of poor quality.
- Adjust material settings (laser power and speed) in the software. Different materials require different settings.
- Clean the laser lens as described in the Maintenance section.
- Machine Not Connecting:
- Verify the USB/Type-C cable connection to both the machine and your computer.
- If using wireless connection, check WiFi/Hotspot settings.
- Ensure the necessary drivers for the engraver are installed on your computer.
- Try restarting the software and the laser engraver.
- Skipping or Misalignment:
- Check the tension of the timing belts. Adjust if they are too loose.
- Ensure all screws, especially those securing the frame and moving parts, are tightened.
- Verify that the optical shaft is properly installed and not binding.
- ekpo oke ọkụ:
- Ensure adequate ventilation around the laser module and control board.
- If an optional air assist system is used, ensure it is functioning correctly to help dissipate heat and clear debris.
8. Nkọwapụta ngwaahịa
Below are the technical specifications for the ATOMSTACK Swift 7W Laser Engraver:
| Njirimara | Nkọwa |
|---|---|
| Onye nrụpụta | Atomstack |
| Nọmba akụkụ | Ngwa ngwa |
| Ibu Ibu | 6.14 pound |
| Akụkụ ngwaahịa | 9.65 x 4.72 x 19.49 sentimita asatọ |
| Nọmba Nlereanya ihe | Ngwa ngwa |
| Ike Laser | 7W (Optical Output) |
| Ihe osise ziri ezi | 0.06 x 0.08 mm |
| Ọsọ ihe osise | Up to 400 mm/s (10000 mm/min) |
| Mpaghara ọrụ | 300 x 300 mm |
| Njikọta | Type-C, USB, WiFi, Hotspot |
| Ngwanrọ akwadoro | LightBurn, LaserGRBL, ATOMSTACK PC Software, ATOMSTACK App |
| OS akwadoro | Android, iOS, Windows, macOS |
| Nkọwa akwụkwọ ikike | 1 afọ |
| ASIN | B0CYLCL424 |
| Ụbọchị mbụ dị | Julaị 27, 2025 |
Note: The product title and feature bullets indicate 7W laser power, while specifications list 5000 Milliwatts (5W) for wattage. The 7W refers to the optical output power of the laser module.

Figure 10: Dimensions of the ATOMSTACK Swift 7W working area.
9. Akwụkwọ ikike na nkwado ndị ahịa
ATOMSTACK is committed to providing reliable service and support for its products.
- Akwụkwọ ikike: ATOMSTACK offers a 365-day warranty from the date of product receipt.
- Nkwado ndị ahịa: 24/7 customer service is available. If you encounter any problems or require technical assistance, please contact ATOMSTACK directly via the Amazon platform. Their technical team aims to provide a solution within 24 hours.
For further information and resources, please visit the official ATOMSTACK Store: ATOMSTACK Official Store.


