1. Okwu mmalite
Thank you for choosing the Anern 60A MPPT Solar Charge Controller. This device is designed to efficiently manage power flow from your solar panels to your battery bank, ensuring optimal charging and extending battery life. It features advanced Maximum Power Point Tracking (MPPT) technology, automatic 12V/24V battery identification, and multiple protection functions. Please read this manual carefully before installation and operation to ensure safe and correct usage.
2. Ntuziaka nchekwa
- Ensure all connections are correct and secure before powering on the controller.
- Always connect the battery first, then the solar panel, and finally the load. Disconnect in the reverse order.
- Do not attempt to disassemble or repair the controller yourself. Contact qualified personnel for service.
- Install the controller in a well-ventilated area, away from flammable gases and liquids.
- The controller is equipped with various protections, but proper wiring is crucial to prevent damage to the unit and connected components.
- Wear appropriate personal protective equipment (PPE) when working with batteries and solar panels.
3. Ngwaahịa gafereview
The Anern 60A MPPT Solar Charge Controller is a robust and intelligent device designed for various solar power applications. It features a clear LCD display for real-time monitoring and easy configuration.

A n'ihu view of the Anern 60A MPPT Solar Charge Controller, showcasing its compact design and clear LCD screen for monitoring system parameters.
Atụmatụ igodo
- Teknụzụ MPPT dị elu: Innovative Maximum Power Point Tracking with up to 99% tracking efficiency and 98% peak conversion efficiency, ensuring maximum power harvest from solar panels.
- Automatic System Voltage Recognition: Automatically identifies 12V or 24V battery systems.
- Otutu-stagNchaji Smart: Features 4-level charging modes (Fast, Boost, Float, Equalization) to optimize battery charging and prolong battery lifespan.
- Nchedo zuru oke: Includes safeguards against battery and solar panel reverse polarity, overcurrent, short-circuit, overload, open-circuit, and undervoltage.
- Nhazi na-adịgide adịgide: Equipped with temperature sensors and aluminum alloy heat dissipation panels for reliable performance and longevity.
- Ngosipụta LCD: Clear LCD screen for easy monitoring of system parameters and settings.

This graphic highlights the controller's advanced MPPT technology, boasting an ultra-fast tracking efficiency of up to 99% and a peak conversion efficiency of 98%, ensuring maximum power harvest from solar panels.

An illustration demonstrating how the cast aluminum structure of the controller ensures efficient heat dissipation, contributing to continuous and stable recharging performance.
4. Ntọala na nwụnye
4.1 eserese waya
Follow the wiring diagram carefully. Always connect the battery first, then the solar panel, and finally the load. Ensure all connections are tight and correct polarity is observed.

A simplified wiring diagram illustrating the correct connection sequence for the solar charge controller. It shows solar panels (Photovoltaic Field) connected to the controller, the controller connected to the battery (Battery), and the controller connected to the load (Load), with fuses and an interruption switch indicated for safety.
4.2 Nhọrọ Ụdị Batrị
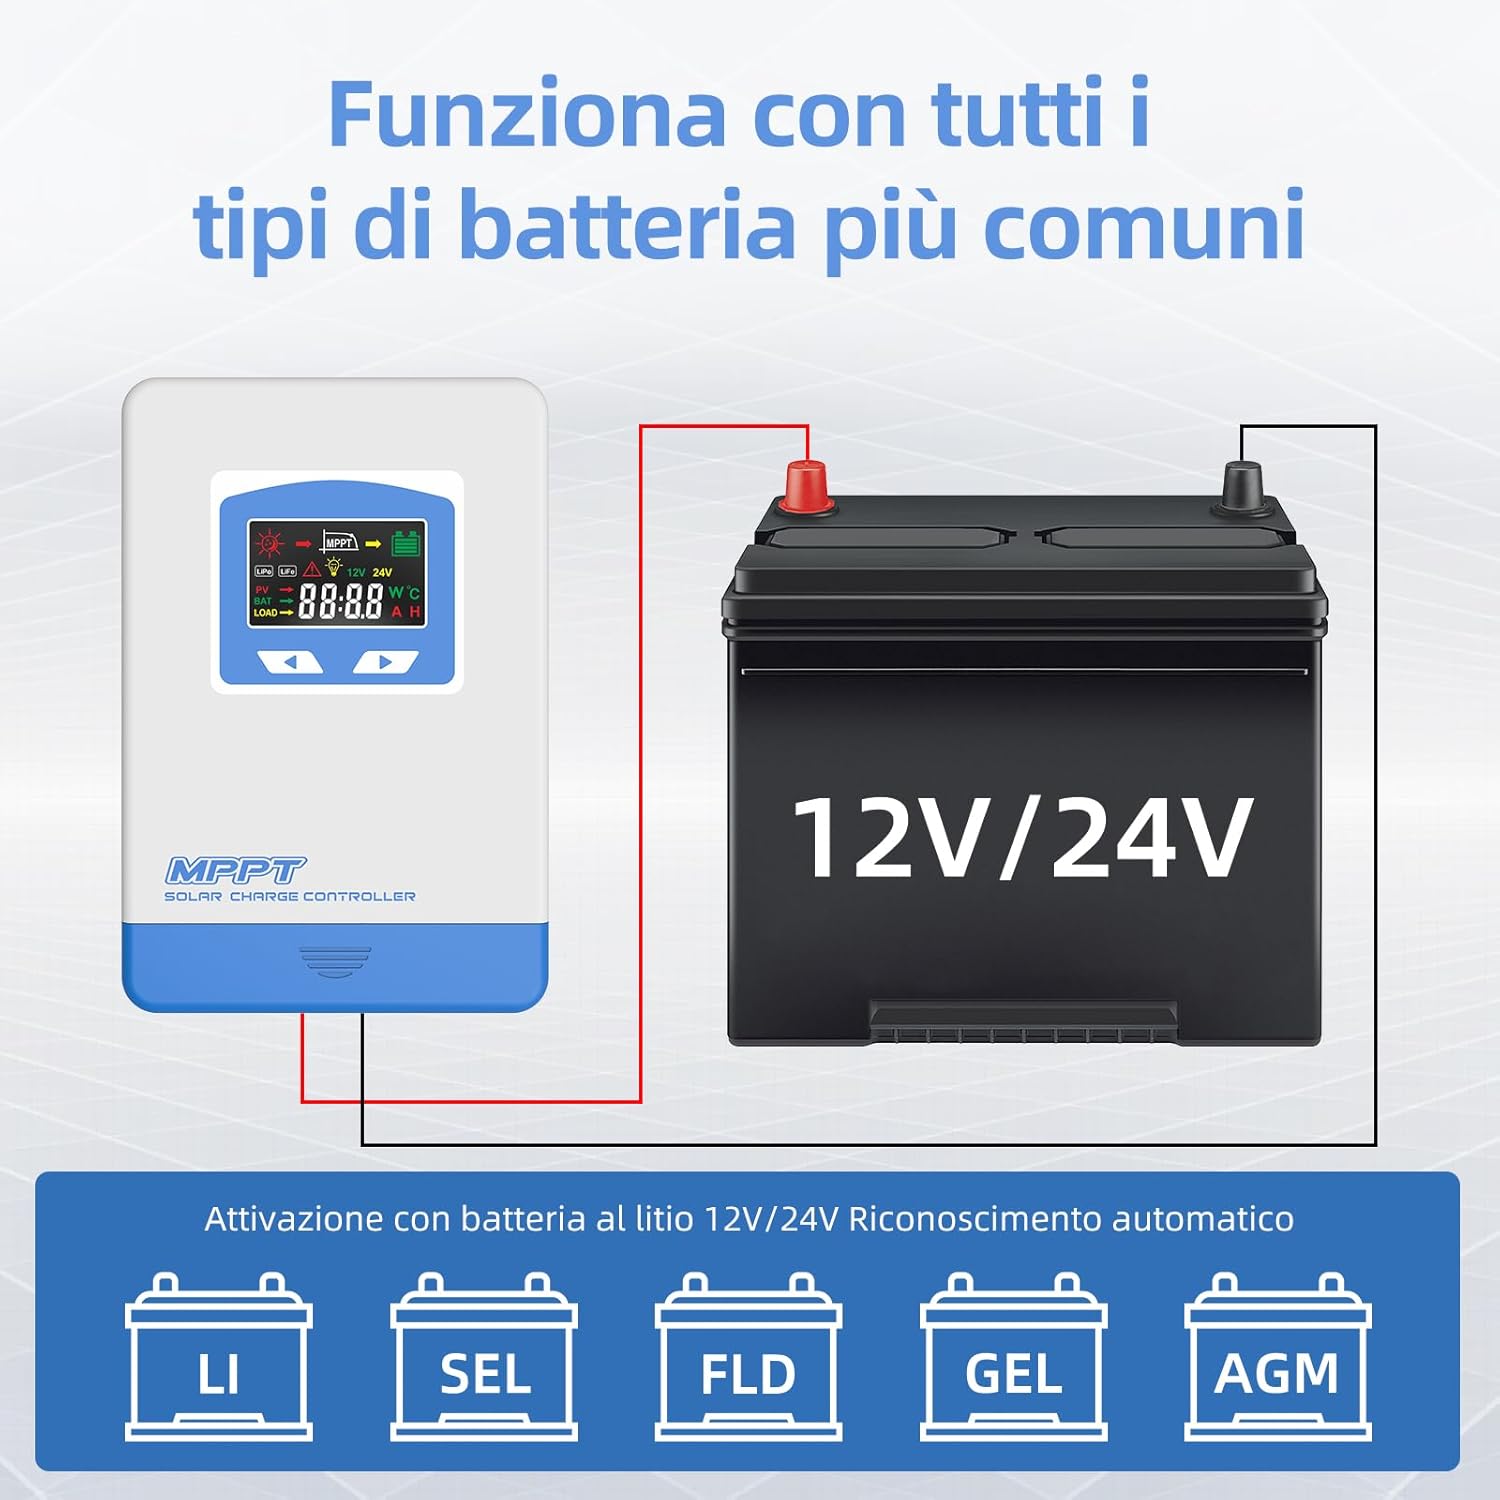
The controller is compatible with various 12V/24V battery types. For Lithium batteries, the controller offers automatic recognition. For other types, you may need to select the correct battery type through the display interface.

This visual confirms the controller's compatibility with various 12V/24V battery types, including Lithium (LI), Sealed (SEL), Flooded (FLD), Gel, and AGM batteries, with automatic recognition for Lithium batteries.
5. Ntuziaka ọrụ
5.1 Ngosipụta ngosi
The LCD display provides real-time information about your solar system. Familiarize yourself with the icons and parameters shown.

An illustration of the controller's LCD display, explaining each icon and parameter, such as photovoltaic field status, battery charge/capacity, battery type, and load status. It also includes a table outlining the functions of the MENU and SET buttons for navigation and parameter adjustment.
Ọrụ bọtịnụ
| Bọtịnụ | Ọrụ |
|---|---|
| MENU | Short press to scroll down. Press and hold for 3 seconds to enter the next interface. |
| SET | Short press to scroll through interfaces. Press and hold for 3 seconds to exit without saving. |
5.2 Load Operating Modes
The controller offers four distinct load operating modes to suit various application needs:

This diagram explains the four distinct load operating modes: Regular Mode (manual on/off), Light Control Mode (auto on at dusk, off at dawn), Light and Time Control Mode (timed operation after dusk and before dawn), and Light Inversion Control Mode (auto on at dusk, off automatically at night).
- Regular Mode (LD1): The load operates normally and can be manually switched on or off.
- Light Control Mode (LD2): The load automatically turns on at dusk and turns off at dawn.
- Light and Time Control Mode (LD3): The load turns on at dusk and operates for a set duration, then turns off. It can also be set to turn on for a duration before dawn.
- Light Inversion Control Mode (LD4): The load automatically turns on at dusk and turns off automatically at night (based on ambient light detection).
5.3 Ngosipụta ihe ngosi
The controller's display cycles through various parameters, providing detailed system status. Examples gụnyere:

This image shows different screens of the controller's LCD, demonstrating how various parameters like main page voltage, resume charge voltage, voltage charge, equalization charge, absorption charge, float charge, temperature compensation, system voltage, battery type, low voltage recovery, and low voltage protection are displayed.
6. Nlekọta
To ensure the longevity and optimal performance of your Anern MPPT Solar Charge Controller, regular maintenance is recommended:
- Nhicha: Periodically clean the controller's exterior with a dry cloth to remove dust and debris. Ensure ventilation openings are clear.
- Lelee njikọ: Regularly inspect all wiring connections for tightness and corrosion. Loose connections can lead to power loss or overheating.
- Nyocha gburugburu: Ensure the installation environment remains dry, well-ventilated, and within the specified operating temperature range.
- Mmelite femụwe: Lelee onye nrụpụta website for any available firmware updates that might improve performance or add features.
7. Nchọpụta nsogbu
If you encounter issues with your controller, refer to the following table for common problems and solutions:
| Nsogbu | Ihe nwere ike ime | Ngwọta |
|---|---|---|
| Controller anaghị agba ọkụ | Batrị ejikọghị ma ọ bụ obere voltage; reverse polarity. | Ensure battery is connected first with correct polarity and sufficient voltage. |
| Enweghị ike ịchaji site na panel anyanwụ | Solar panels not connected; insufficient sunlight; panel voltage too low/high; faulty panel. | Check solar panel connections and polarity. Verify sunlight intensity. Ensure panel voltage is within controller's operating range. Test panels. |
| Load not working | Load not connected; battery voltage too low; load mode setting incorrect; overload. | Check load connections. Ensure battery is charged. Verify load mode settings. Reduce load or check for short circuit. |
| Ngosipụta na-egosi koodu mperi | Specific system fault (e.g., overvoltage, overcurrent). | Refer to the display interface section for error code meanings and corresponding actions. Address the underlying issue. |
A visual guide detailing the various protection features of the solar charge controller, including safeguards against solar module reverse polarity, battery reverse polarity, battery overvoltage, battery over-discharge, and overload protection.
8. Nkọwapụta
| Njirimara | Nkọwapụta |
|---|---|
| Nọmba nlereanya | MSC 60A |
| Ụdị | Anern |
| Enyere nchaji ugbu a | 60A |
| Sistemụ Voltage | 12V/24V akpaaka |
| Ihe ntinye kacha PV Voltage | 60V |
| Max PV Power (12V System) | 290W |
| Max PV Power (24V System) | 580W |
| Load Output Current | 20A |
| Akụkụ ngwaahịa | 17.3 x 12.2 x 4.8 cm |
| Ibu ngwaahịa | 2.22 n'arọ |
| Ụdị ngosi | LCD |
| Ngwa gụnyere | Onye njikwa MPPT |
| Agba | Acha anụnụ anụnụ |

This image illustrates the physical dimensions of the Anern 60A MPPT Solar Charge Controller, measuring approximately 19.51 cm in length, 13.21 cm in width, and 5.41 cm in height, providing a clear understanding of its size for installation planning.
9. Official Product Videos
Watch these official videos for additional guidance on your Anern MPPT Solar Charge Controller.
Ngwaahịa gafereview na Atụmatụ
Vidiyo a na-enye nkọwa zuru okeview of the Anern MPPT Solar Charge Controller, demonstrating its main features and basic functionality. It may include a quick look at the display and connection points.
Detailed Setup and Operation Guide
A detailed instructional video covering the setup and operation of the Anern MPPT Solar Charge Controller. This video likely guides users through wiring, initial configuration, and navigating the display settings for various battery types and load modes.
10. Akwụkwọ ikike na nkwado
Anern products are designed for reliability and performance. For warranty information, please refer to the documentation included with your purchase or visit the official Anern website. If you require technical support or have questions not covered in this manual, please contact Anern customer service through their official channels.
Iwu nloghachi: This product typically has a 14-day return/replacement policy. Please check your purchase details for specific terms.


