1. Okwu mmalite
The ACT AC7049 Dual Monitor Docking Station transforms your laptop into a complete workstation. This versatile 11-in-1 docking station allows you to connect up to two Full HD displays (max. 2048 x 1152 resolution) to your laptop via HDMI, using a single USB-C/A cable. It expands your laptop's connectivity with a Gigabit LAN port, microphone and headphone jacks, and six additional USB ports. Featuring DisplayLink® technology, it ensures advanced screen display on both MacOS and Windows computers.
2. Atụmatụ igodo
- Nkwado Nyocha abụọ: Connect up to two external displays with HDMI ports, supporting resolutions up to 2048x1152@60Hz.
- Ndakọrịta Universal: Works with laptops featuring a USB-C or USB-A 3.2 Gen1 (USB 3.0) port, compatible with MacOS and Windows thanks to DisplayLink technology.
- Njikọta sara mbara: Includes 2x HDMI, 1x Gigabit Ethernet, 3x USB-A 3.2 Gen 1 (one with fast charging), 4x USB-A 2.0, and 3.5mm audio jacks for microphone and headphones.
- Nkwanye mgbanwe: Designed for both vertical and horizontal placement to optimize desk space and port accessibility.
- USB Nchaji Port: Dedicated USB port for charging smartphones and tablets.
3. Ihe ngwugwu
Biko lelee ngwungwu maka ihe ndị a:
- ACT AC7049 Docking Station
- USB-C/A 3.2 Gen1 Connection Cable (USB-A to USB-C)
- Ihe nkwụnye ọkụ
- Nkwụkwụ kwụ ọtọ
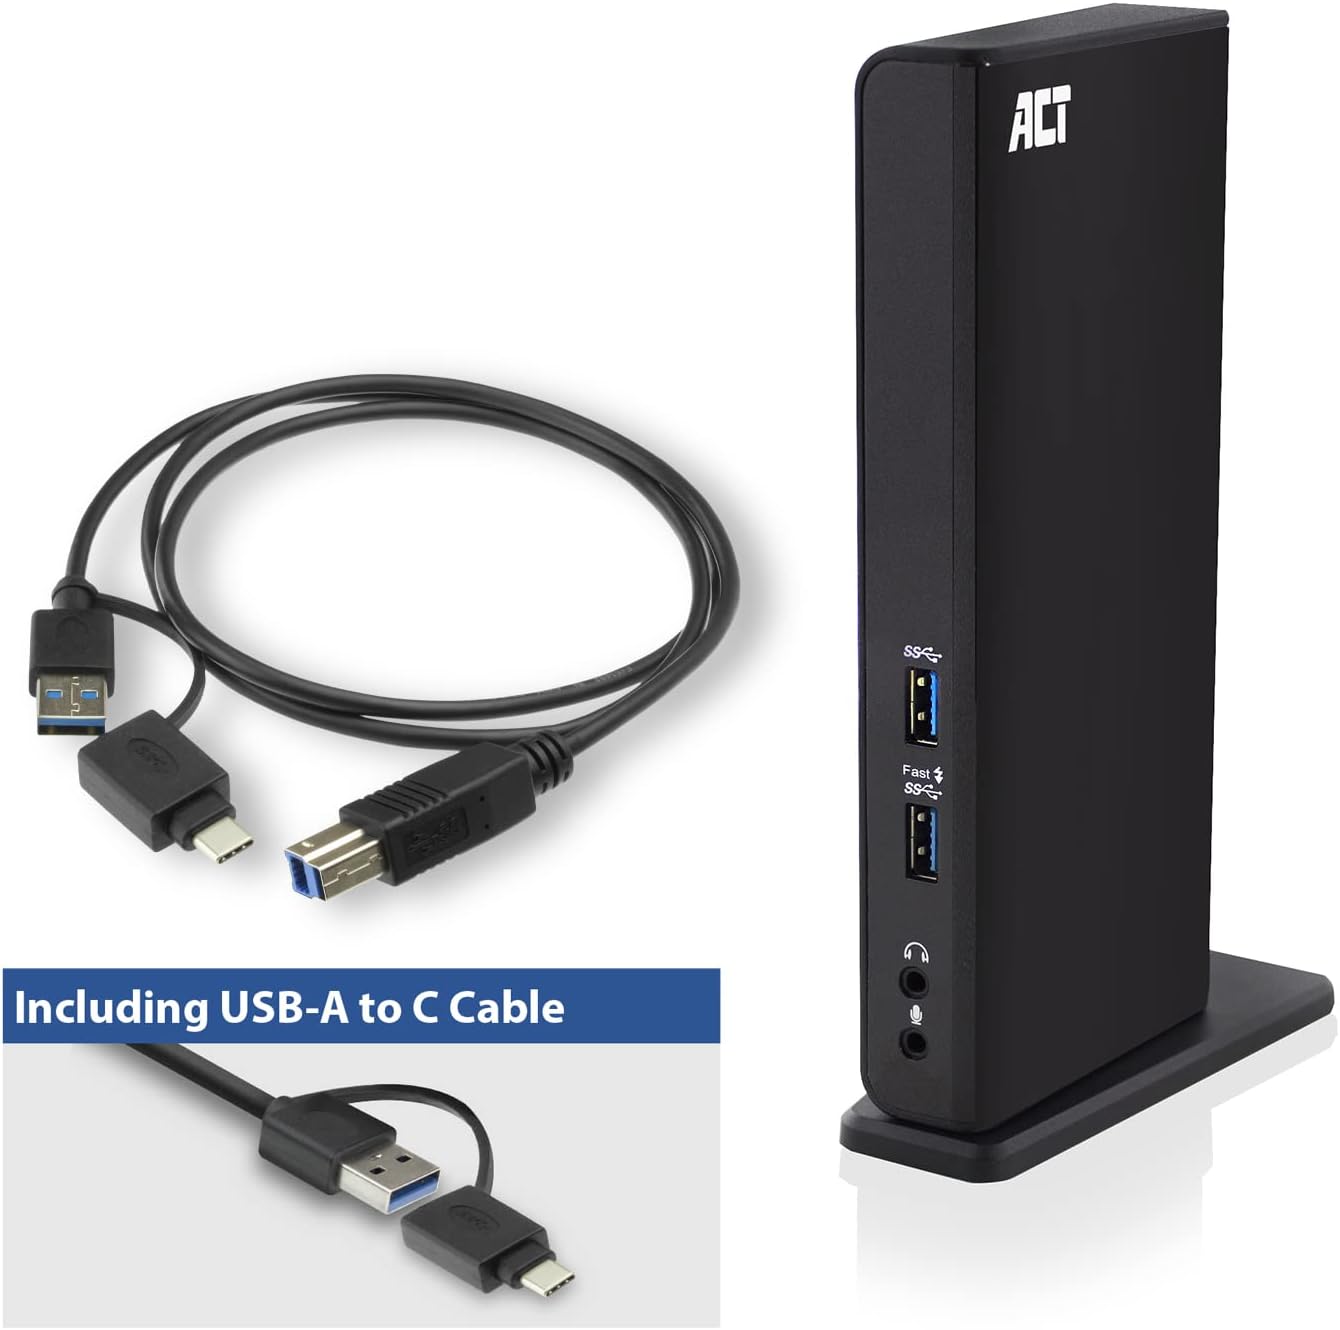
Image: The ACT AC7049 Docking Station shown with its included USB-A to USB-C connection cable and power adapter, highlighting the components provided in the package.
4. Ntuziaka Nhazi
4.1. Ijikọ ihe nkwụnye ike
- Connect the power adapter to the DC 5V input port on the back of the AC7049 docking station.
- Plug the power adapter into a wall outlet. The docking station will power on.
4.2. Connecting to Your Laptop
- Use the provided USB-C/A 3.2 Gen1 connection cable. Connect the USB-B end to the corresponding port on the docking station.
- Connect the other end (USB-A or USB-C, depending on your laptop's port) to an available USB 3.2 Gen1 (USB 3.0) or USB-C port on your laptop.
4.3. Driver Installation (DisplayLink)
The AC7049 utilizes DisplayLink technology for extended monitor functionality. Drivers are typically installed automatically on most operating systems. If not, please follow these steps:
- Visit the official DisplayLink websaịtị (www.displaylink.com/downloads) to download the latest drivers for your operating system (Windows or MacOS).
- Install the downloaded driver package and follow the on-screen instructions.
- Malitegharịa ekwentị gị ma ọ bụrụ na kpaliri gị.

Image: The official DisplayLink 'Plug and Display' logo, indicating the technology used for multi-monitor support.
5. Ntuziaka ọrụ
5.1. Connecting External Displays
- Connect your HDMI monitors to the two HDMI ports on the back of the docking station.
- Once connected, your operating system should detect the new displays. You can configure display settings (extend, mirror, primary display) through your computer's display settings.

Image: A visual representation of the docking station enabling both 'Mirror your content' and 'Extend your content' display modes across a laptop and two external monitors.
5.2. Ijikọ eriri USB
- Ọdụ ụgbọ mmiri USB n'ihu: Two USB-A 3.2 Gen1 ports (one with fast charging capability) are located on the front for easy access to frequently used devices like USB drives, smartphones, or tablets.
- Rear USB Ports: Four USB-A 2.0 ports are located on the back for connecting peripherals such as keyboards, mice, printers, or other less frequently connected devices.
5.3. Njikọ netwọkụ
Connect an Ethernet cable from your router or network switch to the Gigabit Ethernet port on the docking station. Your laptop will automatically gain wired network access.
5.4. Njikọ ọdịyo
Connect your headphones and/or microphone to the dedicated 3.5mm audio jacks on the front of the docking station.

Image: An isometric diagram showcasing the comprehensive connectivity of the ACT AC7049, demonstrating how a laptop, two monitors, a keyboard, mouse, network cable, headphones, and a smartphone can all be connected simultaneously.
6. Nhọrọ Ntinye
The ACT AC7049 docking station offers flexible placement options to suit your workspace:
- Nhazi kwụ ọtọ: Use the included stand to position the docking station vertically. This saves desk space and provides easy access to all ports.
- Ndobe kwụ ọtọ: The docking station can also be placed horizontally if preferred.

Image: The ACT AC7049 Docking Station positioned vertically on its stand, highlighting its compact design and accessible ports.
7. Nlekọta
To ensure optimal performance and longevity of your ACT AC7049 Docking Station, follow these maintenance guidelines:
- Nhicha: Jiri ákwà dị nro ma kpọọ nkụ hichaa mpụta ebe a na-adọba ụgbọala. Zere iji ihe nhicha mmiri ma ọ bụ ihe na-eme ka ọ dị ọcha, n'ihi na ha nwere ike imebi ngwaọrụ ahụ.
- Igwe ikuku: Ensure the docking station is placed in a well-ventilated area to prevent overheating. Do not block any ventilation openings.
- Nchekwa: Mgbe a naghị eji ya ruo ogologo oge, debe ebe a na-adọba ụgbọala n'ebe dị jụụ ma kpọọ nkụ, ebe anwụ na-anaghị anwụ kpọmkwem na oke okpomọkụ dị oke njọ.
- Njikwa USB: Keep cables organized and free from kinks or excessive bending to prevent damage to the cables and ports.
8. Nchọpụta nsogbu
If you encounter issues with your ACT AC7049 Docking Station, please refer to the following common troubleshooting steps:
- Enweghị mmepụta ihe ngosi:
- Ensure the docking station is powered on and correctly connected to your laptop.
- Verify that the HDMI cables are securely connected to both the docking station and the monitors.
- Check your laptop's display settings to ensure the external monitors are detected and configured correctly (e.g., extended or mirrored).
- Reinstall or update the DisplayLink drivers from www.displaylink.com/downloads.
- Gbalịa ijikọ otu ihe nlele n'otu oge iji chọpụta nsogbu ahụ.
- Ngwa USB anaghị arụ ọrụ:
- Ensure the docking station is properly connected to your laptop and powered.
- Gbalịa ijikọ ngwaọrụ USB ahụ ozugbo na laptọọpụ gị iji gosi na ọ na-arụ ọrụ.
- Connect the USB device to a different USB port on the docking station.
- Malitegharịa ekwentị gị.
- Enweghị njikọ netwọkụ:
- Verify the Ethernet cable is securely connected to both the docking station and your router/switch.
- Check your laptop's network settings to ensure the wired connection is enabled.
- Test the Ethernet cable with another device if possible.
- Ọdịyo Anaghị arụ ọrụ:
- Ensure headphones/microphone are fully plugged into the correct 3.5mm jacks.
- Check your laptop's sound settings to ensure the docking station's audio output/input is selected as the default device.
9. Nkọwapụta
| Njirimara | Nkọwapụta |
|---|---|
| Nọmba nlereanya | AC7049 |
| Ụdị | ACT |
| Agba | Nwa |
| Teknụzụ Njikọta | USB-A, USB-C |
| Mmepụta vidiyo | 2 x HDMI (Max. 2048 x 1152 @ 60Hz) |
| ọdụ ụgbọ mmiri USB | 3 x USB-A 3.2 Gen 1 (5Gbps, 1x Fast Charging), 4 x USB-A 2.0 (480Mbps) |
| Port Network | 1 x Gigabit Ethernet (RJ45) |
| Ọdụ ụgbọ mmiri | 1 x 3.5mm Headphone Jack, 1 x 3.5mm Microphone Jack |
| Ngwa dakọtara | Laptop, Computer (with USB 3.2 Gen1 / USB 3.0 or USB-C port) |
| Nkwado Sistemụ arụmọrụ | Windows, MacOS (via DisplayLink) |
| Akụkụ (L x W x H) | 10.9 x 6 x 18.1 cm (ihe dị ka) |
| Ibu Ibu | 317 grams |
10. Akwụkwọ ikike na nkwado
ACT products are designed for reliability and adhere to international standards and EU legislation. The ACT AC7049 Docking Station comes with a manufacturer's warranty, typically ranging from 2 to 5 years. For specific warranty details and support, please refer to the official ACT websaịtị ma ọ bụ kpọtụrụ onye na-ere ahịa gị.
For technical support or further inquiries, please visit the official ACT connectivity websaịtị: www.act-connectivity.com


