1. Ynlieding
This manual provides detailed instructions for the setup, operation, and maintenance of your ATTACK SHARK G3PRO Wireless Gaming Mouse. Please read this manual thoroughly to ensure proper use and to maximize the performance of your device.
2. Produktfunksjes
- Pro-Grade Precision & Speed: Equipped with PixArt PAW3311 gaming sensor and Broadcom BK52820 custom MCU for zero latency and pixel-perfect tracking. Adjustable DPI from 100 to 25000, polling rate up to 1000Hz, tracking speed 300IPS, and acceleration 40G.
- Legendary Durability & Tactile Clicks: Features genuine mechanical switches rated for 100 million clicks, providing crisp, responsive, and reliable feedback. The unique F-Switch encoder ensures precise scrolling.
- Ultra-Light Agility & Effortless Glide: Weighs only 59±3 grams, reducing wrist fatigue during extended use. Ergonomic design supports palm, claw, and finger grip styles. Double-layer premium mouse feet offer smooth, consistent glide.
- Seamless Tri-Mode Connectivity: Supports stable 2.4GHz wireless, low-latency Bluetooth, and reliable wired USB-C connections. Quickly switch between modes using the button at the bottom of the mouse. Compatible with desktops, laptops, smartphones, and tablets.
- AI Designed Driver: Utilizes an innovative cloud-driven webpage for customization, eliminating the need for traditional software installation. Allows for DPI adjustment, polling rate, competitive mode, customized buttons, macro recording, and personalized key mapping.
- RGB Backlight Charging Base: The included charging dock features cool RGB backlighting and allows for quick recharging. It also serves as a convenient passthrough for the 2.4GHz USB receiver, optimizing wireless signal reception.
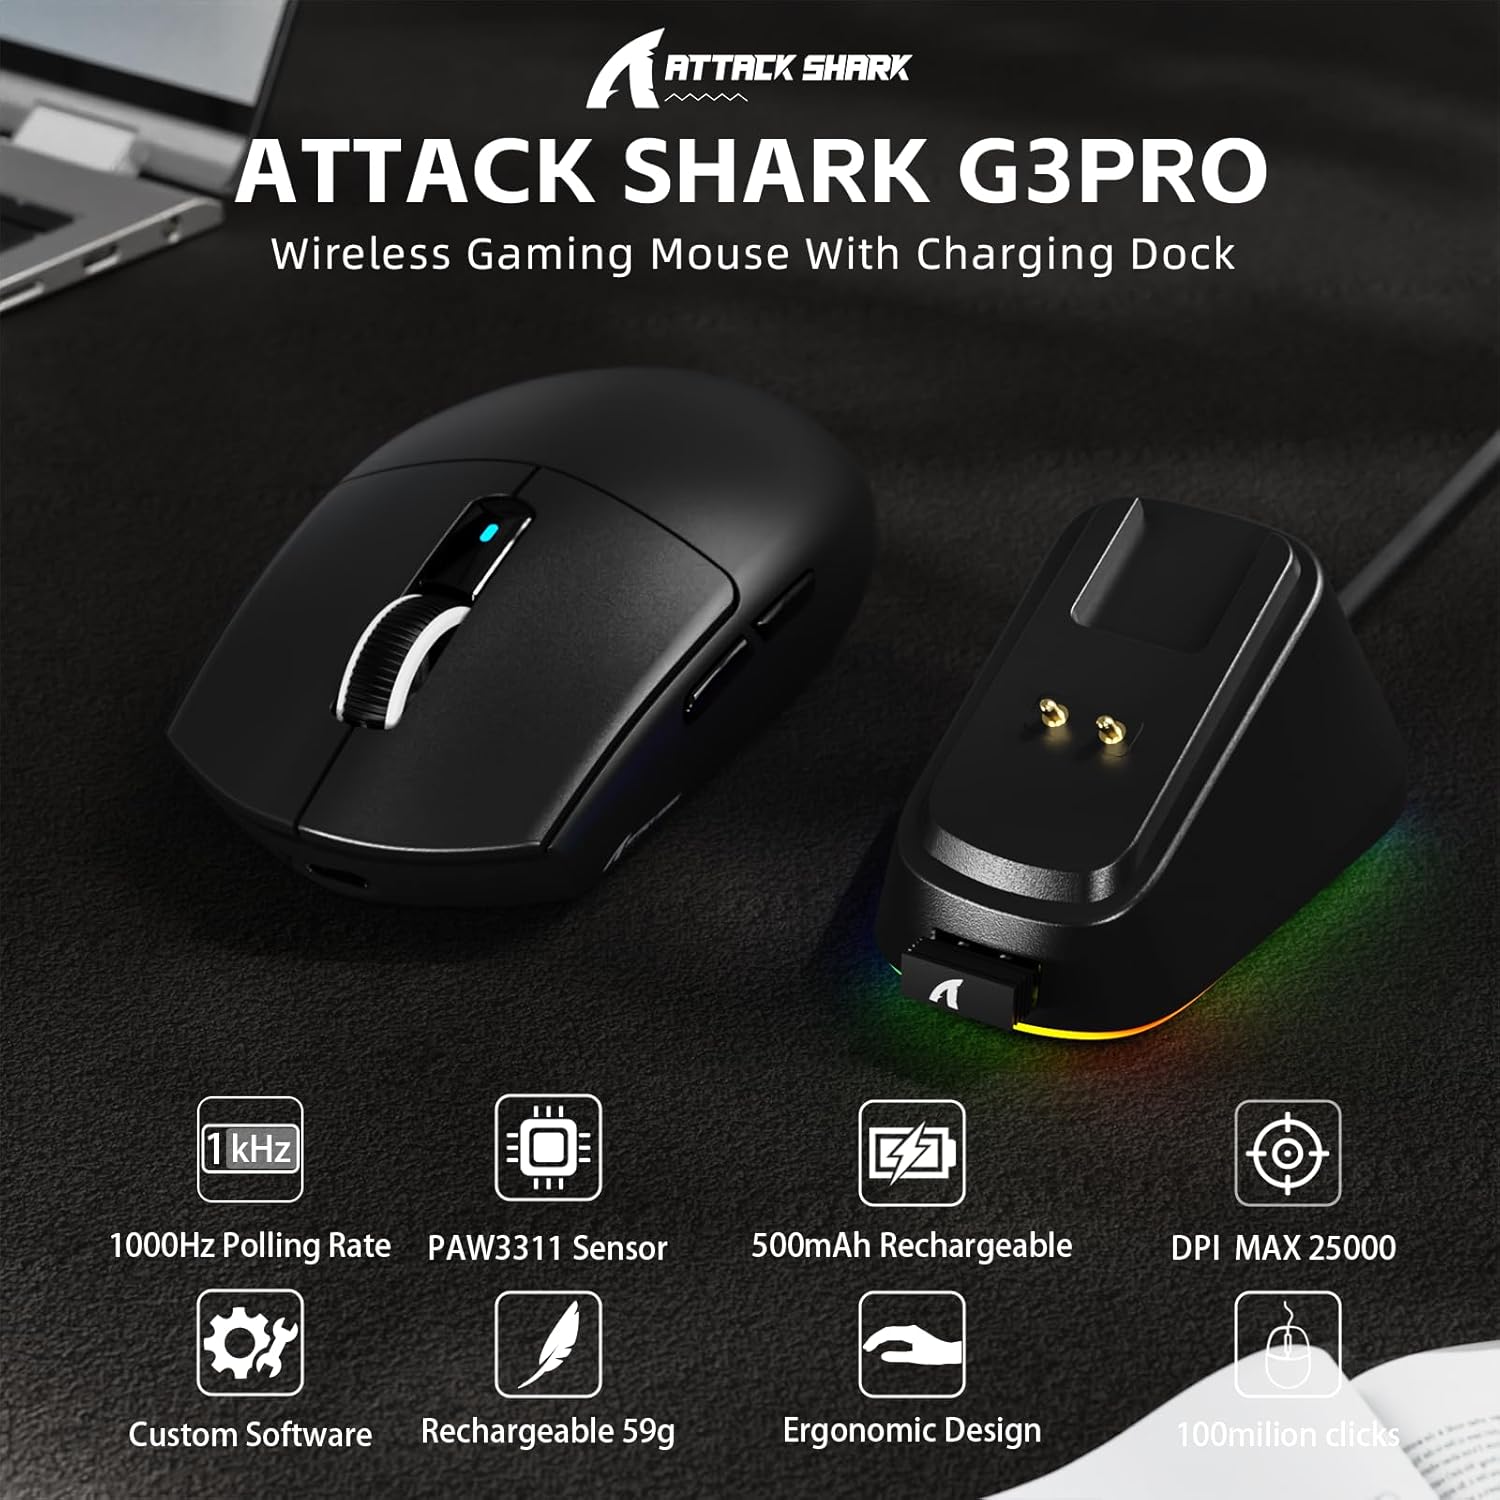
Ofbylding: Oerview of the ATTACK SHARK G3PRO mouse and its charging dock, highlighting key features such as 1000Hz polling rate, PAW3311 sensor, 500mAh rechargeable battery, 25K DPI, custom software, lightweight design, ergonomic shape, and 100 million click lifespan.

Image: A composite image detailing the internal components and features of the G3PRO mouse, including the 1K polling rate, PixArt PAW3311 sensor, Omron microswitches, 500mAh battery, BK52820 MCU, and the web driver interface.
3. Package Ynhâld
Kontrolearje asjebleaft oft alle items yn jo pakket oanwêzich binne:
- ATTACK SHARK G3PRO Wireless Gaming Mouse
- RGB Backlight Charging Dock
- USB-C nei USB-A kabel
- USB 2.4GHz Wireless Receiver (often stored inside the mouse or dock)
- User Manual
- Stickers (kin ferskille)
- Grip Tape (if included with your specific bundle)
4. Opsette
4.1 De mûs oplade
Before first use, it is recommended to fully charge the mouse. Connect the USB-C cable to the charging dock and then to a power source (e.g., computer USB port, USB wall adapter). Place the mouse onto the charging dock. The RGB lighting on the dock will indicate charging status.

Image: The ATTACK SHARK G3PRO Wireless Gaming Mouse resting on its RGB backlight charging dock, connected via a USB-C cable. This illustrates the primary charging method.
4.2 De mûs ferbine
The G3PRO mouse offers three connectivity modes: 2.4GHz Wireless, Bluetooth, and USB-C Wired.

Image: A visual representation of the three connectivity options for the G3PRO mouse: USB-C Wired, 2.4G Wireless, and Bluetooth, showing the mouse interacting with a charging dock and a laptop.
4.2.1 2.4GHz Draadloze Ferbining
- Locate the USB 2.4GHz receiver. It may be stored in a compartment on the underside of the mouse or within the charging dock.
- Plug the receiver into an available USB port on your computer. For optimal signal, you can plug the receiver into the USB port on the charging dock, then connect the dock to your computer.
- Switch the mode selector switch on the bottom of the mouse to the '2.4G' position.
- The mouse should automatically connect. If not, press and hold the 'Left/Center/Right' buttons simultaneously for 3 seconds to force pairing.
4.2.2 Bluetooth Ferbining
- Switch the mode selector switch on the bottom of the mouse to the 'BT' position.
- Gean op jo kompjûter of apparaat nei Bluetooth-ynstellingen en aktivearje Bluetooth.
- Sykje nei new devices. The mouse should appear as 'ATTACK SHARK G3PRO' or similar.
- Select the mouse to pair. If prompted, press and hold the 'Left/Center/Right' buttons simultaneously for 3 seconds to force pairing.
4.2.3 USB-C bedrade ferbining
- Connect the USB-C end of the cable to the mouse and the USB-A end to your computer.
- Switch the mode selector switch on the bottom of the mouse to the 'OFF' position (or ensure it's not in 2.4G/BT mode). The mouse will operate in wired mode.
5. Bedriuwsinstruksjes
The ATTACK SHARK G3PRO mouse features multiple programmable buttons and adjustable settings for enhanced gaming and productivity.

Image: A detailed diagram illustrating the multi-functional buttons on the G3PRO mouse (Left Key, Right Key, Center Key, Backward Button, Forward Button, DPI Switch) and the components of the charging dock (Type C Port, Charging Thimble, Receiver Interface, RGB Light Switch, Receiver Organizer).
5.1 Knop Funksjes
- Linker kaai: Primêre klikfunksje.
- Rjochts kaai: Sekundêre klikfunksje.
- Center Key (Scroll Wheel Click): Middle click function.
- Foarút knop: Navigearret foarút yn web browsers of applikaasjes.
- Efterút knop: Navigearret efterút yn web browsers of applikaasjes.
- DPI Switch: Sykelt troch foarôf ynstelde DPI-nivo's.
5.2 DPI Oanpassing
Press the DPI switch button (located on the top of the mouse, usually behind the scroll wheel) to cycle through different DPI sensitivity levels. The default DPI settings can be customized using the AI Designed Driver.
5.3 RGB-ljochtkontrôle
The RGB lighting on the charging dock can be controlled via a switch on the dock itself. The mouse's internal lighting (if any) and effects can be customized through the AI Designed Driver.
6. Customization (AI Designed Driver)
The ATTACK SHARK G3PRO features an innovative cloud-driven web driver for advanced customization. This eliminates the need for software installation.

Image: A screenshot of the web-based driver interface for the ATTACK SHARK G3PRO mouse, showing options for button settings, DPI settings, parameter settings, macro editing, and a personal center for customization.
6.1 Tagong ta de Web Sjauffeur
To access the customization options, open a web browser en navigearje nei de URL provided in the product documentation or on the official ATTACK SHARK website. The driver is designed to automatically identify your computer system.
6.2 Oanpassingsopsjes
Troch de web driver, you can:
- Adjust DPI levels and create custom profiles.
- Modify polling rate.
- Program individual buttons for various functions (e.g., multimedia controls, keyboard shortcuts, macros).
- Record and assign complex macros.
- Personalize key mapping.
- Configure competitive modes and other advanced functions.
7. Opladen en batterij
The G3PRO mouse is equipped with a 500mAh built-in battery for extended playtime.
7.1 Laadmetoaden
- Fia oplaadstasjon: Simply place the mouse onto the RGB backlight charging dock. The magnetic connection will ensure proper alignment and charging.
- Fia USB-C-kabel: Connect the mouse directly to your computer or a USB power adapter using the provided USB-C cable.
7.2 Batterij Status
Battery status can typically be monitored through the AI Designed Driver interface or your operating system's Bluetooth device settings.
8. Underhâld
To ensure the longevity and optimal performance of your ATTACK SHARK G3PRO mouse, follow these maintenance guidelines:
- Reiniging: Use a soft, dry cloth to wipe the mouse and charging dock. For stubborn dirt, a slightly damp cloth can be used, but ensure no moisture enters the device. Avoid harsh chemicals or abrasive materials.
- Sensorsoarch: Hâld de optyske sensor oan 'e ûnderkant fan 'e mûs skjin en frij fan stof of pún. Brûk in wattenstaafje of perslucht as it nedich is.
- Opslach: As de mûs foar langere perioaden net yn gebrûk is, bewarje dy dan op in koel, droech plak.
- Avoid ekstreme betingsten: Stel de mûs net bleat oan ekstreme temperatueren, direkt sinneljocht of hege fochtigens.
9. Probleemoplossing
If you encounter issues with your ATTACK SHARK G3PRO mouse, please refer to the following common solutions:
| Probleem | Mooglike oarsaak / oplossing |
|---|---|
| Mûs reagearret net (Draadloos) |
|
| Mûs reagearret net (bekabeld) |
|
| DPI-oanpassing wurket net |
|
| Charging dock RGB not lighting up |
|
| Mouse tracking issues / erratic movement |
|
10. Spesifikaasjes
- Merk: ATTACK SHARK
- Model: G3PRO
- Kleur: Swart
- Konnektivität technology: 2.4Ghz Wireless, Bluetooth, USB-C Wired
- Bewegingsdeteksjetechnology: Optical (PixArt PAW3311 Sensor)
- DPI-berik: 100 - 25000 DPI (ferstelber)
- Polling Rate: Oant 1000Hz
- Tracking snelheid: 300 IPS
- Fersnelling: 40G
- Switches: Mechanical (100 million click lifespan)
- Batterij Kapasiteit: 500 mAh
- Gewicht: 59 ± 3 gram
- Spesjale eigenskippen: Ergonomic Design, Lightweight, Programmable Buttons, Rechargeable, Wireless, RGB Charging Dock
- Ofmjittings fan it pakket: 6.57 x 4.37 x 1.93 inch
- Item Gewicht: 8.1 oz
11. Produktfideo
Fideo: In offisjele produktfideo-showasing the ATTACK SHARK G3PRO Wireless Gaming Mouse, highlighting its design, features, and various color options. This video provides a dynamic view of the mouse and its charging dock.
12. Garânsje en stipe
For warranty information and technical support, please refer to the official ATTACK SHARK webwebside of nim kontakt op mei de winkelier dêr't jo it produkt kocht hawwe. Bewarje jo bewiis fan oankeap foar garânsjeclaims.