1. Introduction
This manual provides detailed instructions for the installation, operation, maintenance, and troubleshooting of the Hikvision DS-9632NI-I8 32-Channel 4K Network Video Recorder (NVR). Please read this manual thoroughly before using the product to ensure proper and safe operation. Keep this manual for future reference.
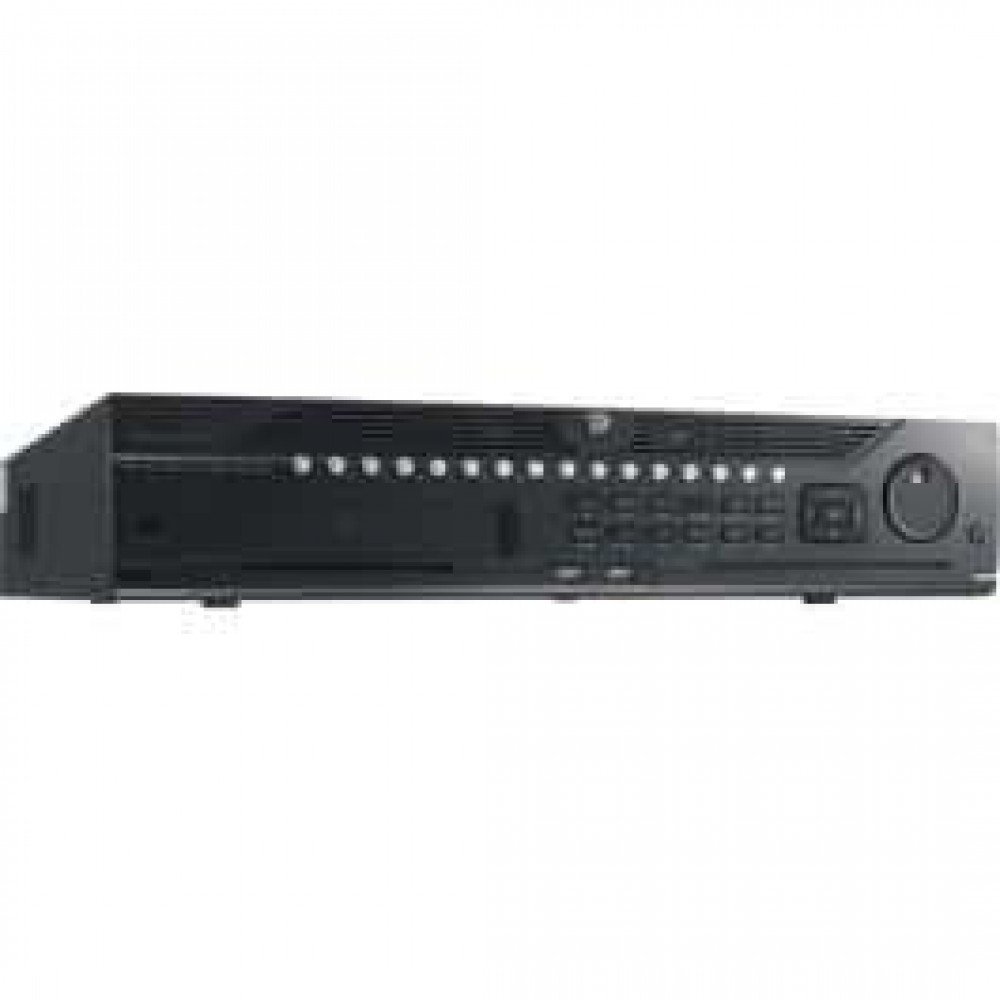
Figure 1 : Face avant view of the Hikvision DS-9632NI-I8 NVR, showing its robust chassis and various interface ports.
2. Consignes de sécurité
Always follow basic safety precautions to reduce the risk of fire, electric shock, and injury to persons. This includes, but is not limited to:
- Utilisez uniquement l'adaptateur secteur spécifié par le fabricant.
- Assurer une ventilation adéquate pour éviter la surchauffe.
- N’exposez pas le NVR à l’eau ou à l’humidité.
- Avoid placing the NVR near heat sources or in direct sunlight.
- Confiez toute intervention d'entretien à un personnel qualifié.
3. Contenu du colis
Verify that all items are present and in good condition. If any item is missing or damaged, contact your dealer immediately.
- Hikvision DS-9632NI-I8 NVR Unit
- Adaptateur secteur/câble
- Souris USB
- Vis pour l'installation du disque dur
- Guide de démarrage rapide
- CD-ROM (containing software and full manual)
4. Installation
4.1 Installation du matériel
- Prepare Hard Disk Drives (HDDs): The DS-9632NI-I8 supports up to 8 SATA HDDs. Install HDDs into the NVR chassis using the provided screws. Ensure each HDD is securely mounted.
- Connectez les périphériques :
- Connectez un moniteur au port de sortie HDMI ou VGA.
- Connectez la souris USB fournie à un port USB.
- Connectez le NVR à votre réseau à l'aide d'un câble Ethernet.
- Mise sous tension : Connect the power adapter to the NVR and then to a power outlet. Press the power button on the front panel.
4.2 Configuration initiale
Upon first boot, the NVR will guide you through an initial setup wizard.
- Définir le mot de passe administrateur : Créez un mot de passe fort pour l'utilisateur « admin ».
- Paramètres réseau : Configure network parameters (DHCP or Static IP). Ensure the NVR is accessible on your local network.
- Date et heure : Veuillez définir la date, l'heure et le fuseau horaire corrects.
- Initialisation du disque dur : The NVR will prompt you to initialize the installed HDDs. This process will format the drives for recording.
- Ajouter des caméras IP : Use the wizard to search for and add compatible Hikvision IP cameras to the NVR.
5. Mode d'emploi
5.1 En direct View
Après la connexion, le NVR affichera le flux en direct. view interface, showing feeds from connected cameras. You can switch between different camera viewet mises en page.
- Caméra unique View: Double-cliquez sur une fenêtre de caméra pour view en plein écran.
- Layout Selection: Use the layout icons at the bottom of the screen to choose different grid arrangements (e.g., 4-channel, 9-channel).
5.2 Gestion des enregistrements
The NVR supports continuous, scheduled, and event-triggered recording.
- Configure Recording Schedule: Accéder à Configuration > Stockage > Paramètres de planification to define recording times for each camera.
- Enregistrement manuel : Cliquez sur l'icône d'enregistrement en direct view Interface pour démarrer/arrêter l'enregistrement manuel.
5.3 Lecture
Pour review enregistré footage:
- Aller à la Lecture menu.
- Sélectionnez la ou les caméras souhaitées ainsi que la plage de dates et d'heures.
- Utilisez la chronologie pour naviguer dans les enregistrements.
- Des commandes de lecture (lecture, pause, avance rapide, retour arrière) sont disponibles.
5.4 Accès à distance
Le NVR est accessible à distance via un web browser or Hik-Connect mobile app.
- Web Navigateur: Saisissez l'adresse IP du NVR dans un champ prévu à cet effet. web navigateur.
- Hik-Connect : Téléchargez l'application Hik-Connect, créez un compte et ajoutez votre NVR en scannant son code QR ou en saisissant son numéro de série.
6. Entretien
6.1 mises à jour du micrologiciel
Regularly check for and install firmware updates to ensure optimal performance and security. Firmware can be downloaded from the official Hikvision website.
- Accéder à Configuration > System > Maintenance > Upgrade.
- Follow the on-screen instructions to perform the upgrade. Do not power off the NVR during the update process.
6.2 Gestion du disque dur
Monitor the health of your HDDs and manage storage space.
- État du disque dur : Check HDD status in Configuration > Storage > HDD Management.
- Mode d'écrasement : Configure the NVR to overwrite old recordings when storage is full (default behavior).
6.3 Nettoyage
Keep the NVR clean to prevent dust buildup, which can affect performance and lifespan.
- Power off and unplug the NVR before cleaning.
- Utilisez un chiffon doux et sec pour essuyer l'extérieur.
- Utilisez de l'air comprimé pour dépoussiérer les ouvertures de ventilation.
7. Dépannage
| Problème | Cause possible | Solution |
|---|---|---|
| Aucun affichage vidéo sur le moniteur. | Connexion du câble desserrée, source d'entrée incorrecte sur le moniteur, NVR non alimenté. | Vérifiez les connexions des câbles HDMI/VGA. Assurez-vous que le moniteur est réglé sur la bonne entrée. Vérifiez l'alimentation du NVR. |
| Impossible d'accéder au NVR à distance. | Network configuration issues, firewall blocking, incorrect port forwarding. | Verify NVR network settings. Check router firewall and port forwarding rules. Ensure Hik-Connect is properly configured. |
| Cameras not recording. | Disque dur non initialisé, planification d'enregistrement non définie, disque dur plein. | Initialize HDDs. Configure recording schedule. Check HDD status and capacity. |
| Mot de passe administrateur oublié. | Mot de passe oublié. | Refer to the full manual or Hikvision support for password reset procedures. This often involves a security code or a physical reset button. |
8. Spécifications
| Fonctionnalité | Détail |
|---|---|
| Modèle | DS-9632NI-I8 |
| Entrée vidéo | 32-Channel IP Video Input |
| Sortie vidéo | HDMI (up to 4K), VGA |
| Format de décodage | H.265 + / H.265 / H.264 + / H.264 |
| Entrée/Sortie audio | 1-ch, RCA (2.0 Vp-p, 1 kΩ) / 2-ch, RCA (Linear, 1 kΩ) |
| SATA | 8 interfaces SATA pour 8 disques durs |
| Capacité | Up to 10 TB for each HDD (example, actual capacity may vary) |
| Interfaces réseau | 2 RJ-45 10M/100M/1000M self-adaptive Ethernet interfaces |
| Interface USB | Panneau avant : 2 × USB 2.0 ; Panneau arrière : 1 × USB 3.0 |
| Dimensions (L × P × H) | 23 x 22 x 8 pouces (environ) |
| Alimentation électrique | 100 à 240 VAC, 50 à 60 Hz |
9. Garantie et assistance
9.1 Garantie limitée
Hikvision products are covered by a limited warranty. The specific terms and duration of the warranty may vary by region and product type. Please refer to the official Hikvision webConsultez notre site web ou votre documentation d'achat pour obtenir des informations détaillées sur la garantie.
- Conservez votre preuve d'achat pour les réclamations au titre de la garantie.
- Les réparations ou modifications non autorisées peuvent annuler la garantie.
9.2 Assistance technique
For technical assistance, product inquiries, or service requests, please contact Hikvision support through the following channels:
- Officiel Website: Visite www.hikvision.com pour les ressources d'assistance, la FAQ et les informations de contact.
- Service client: Refer to the contact details provided on the Hikvision website pour votre région spécifique.
- Revendeurs agréés : Your authorized Hikvision dealer can also provide support and service.


