مقدمه
This manual provides essential information for the safe and efficient installation, operation, and maintenance of your GIGABYTE AORUS Elite P1000W Ice Power Supply. Please read this manual thoroughly before using the product and retain it for future reference.

شکل ۲: زاویهدار view of the GIGABYTE AORUS Elite P1000W Ice Power Supply, highlighting the 1000W rating.
اطلاعات ایمنی
Always observe the following safety precautions to prevent injury and damage to your equipment:
- قبل از نصب یا جابجایی، مطمئن شوید که منبع تغذیه از پریز برق جدا شده است.
- منبع تغذیه را باز نکنید. ولتاژ بالاtagقطعات داخلی وجود دارند و هیچ قطعهای وجود ندارد که توسط کاربر قابل تعمیر باشد.
- منبع تغذیه را در مکانی با تهویه مناسب و دور از منابع گرما و نور مستقیم خورشید نصب کنید.
- فقط از کابلهای ماژولار ارائه شده با این منبع تغذیه استفاده کنید. استفاده از کابلهای ناسازگار ممکن است باعث آسیب شود.
- از قرار دادن منبع تغذیه در معرض رطوبت یا دمای شدید خودداری کنید.
محتویات بسته
بررسی کنید که آیا همه اقلام در بسته موجود است یا خیر:
- GIGABYTE AORUS Elite P1000W Ice Power Supply Unit
- Modular Cable Set (including ATX 24-pin, EPS/CPU 8-pin, PCIe 6+2-pin, 12VHPWR, SATA, Peripheral)
- AC Power Cord (EU Plug)
- پیچ های نصب
- راهنمای کاربر (این سند)
ویژگی های محصول
- ATX 3.0 and PCIe Gen 5.0 ready (ATX 3.1 compatible)
- Certified 80 PLUS Platinum efficiency
- 100% Japanese Capacitors for enhanced reliability
- 120mm Dynamic Fluid Ball Bearing (FDB) Fan for quiet and efficient cooling
- Compact design for easier installation
- Fully modular design for improved cable management
- Powerful single rail +12V output
- Comprehensive protection features: OVP (Over Voltagمحافظت الکترونیکی)، OPP (محافظت در برابر توان اضافی)، SCP (محافظت در برابر اتصال کوتاه)، UVP (کمبود ولتاژ)tagمحافظت الکترونیکی)، OCP (محافظت در برابر جریان بیش از حد)، OTP (محافظت در برابر دمای بیش از حد)
راه اندازی و نصب
برای نصب منبع تغذیه خود، این مراحل را دنبال کنید:
- سیستم خود را آماده کنید: Ensure your computer case is open and all existing power supply cables are disconnected.
- منبع تغذیه را نصب کنید: Carefully place the GIGABYTE AORUS Elite P1000W into the power supply bay of your computer case. Secure it with the provided mounting screws.

شکل 2: به طور کلی view of the GIGABYTE AORUS Elite P1000W Ice Power Supply. This image shows the main unit with its fan grill and modular cable ports.
- کابلهای ماژولار را وصل کنید: Identify the necessary cables for your motherboard and components (CPU, GPU, storage drives). Connect the appropriate modular cables to the power supply's output ports.

شکل 3: با جزئیات view of the modular cable connectors on the GIGABYTE AORUS Elite P1000W Ice Power Supply. This image illustrates the clearly labeled ports for M/B, CPU/PCI-E, Peripheral, and 12VHPWR connections.
- کابل ATX 24 پین: Connect to the motherboard's main power connector.
- 8-pin EPS/CPU Cable: Connect to the motherboard's CPU power connector.
- کابلهای PCIe 6+2 پین: Connect to your graphics card(s) if they require additional power.
- 12VHPWR Cable: Connect to PCIe Gen 5.0 graphics cards that utilize this connector.
- کابل های SATA: به SSDها، HDDها و درایوهای نوری متصل شوید.
- کابلهای جانبی (مولکس): Connect to other components requiring Molex power.
- اتصال به کامپوننتها: Route the connected modular cables neatly to their respective components and plug them in securely.
- برق AC را وصل کنید: Ensure the power supply's main switch is in the OFF (0) position. Connect the AC power cord to the power supply and then to a wall outlet.
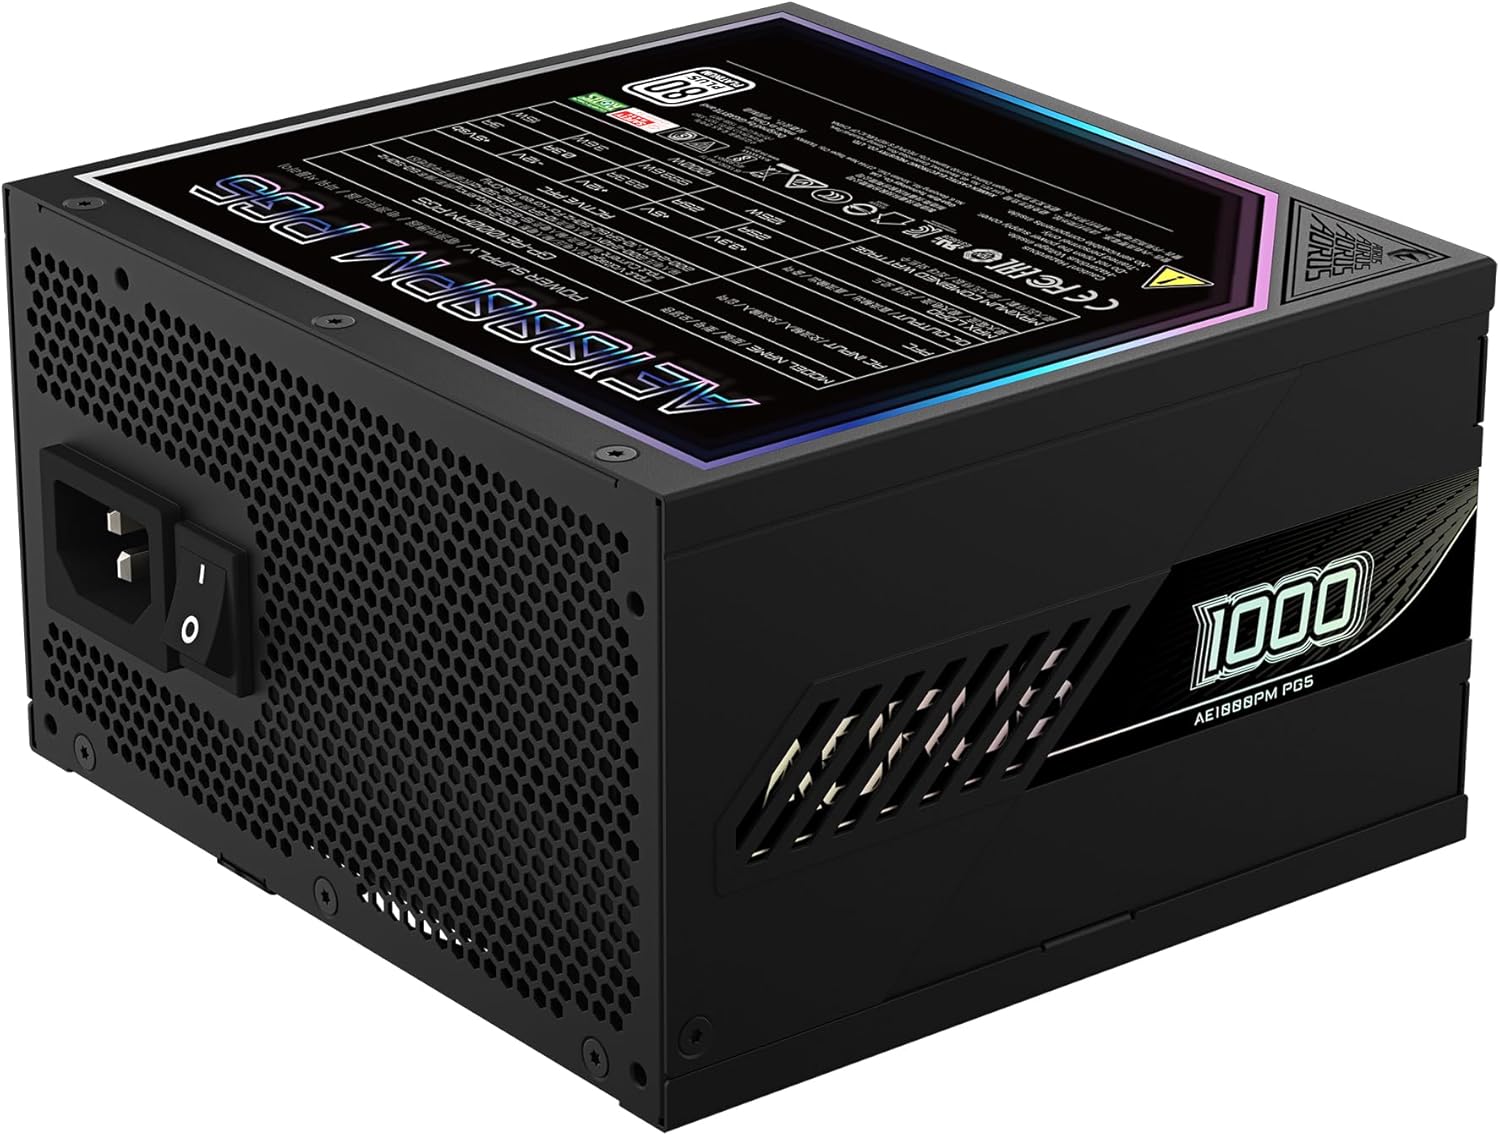
Figure 4: Rear panel of the GIGABYTE AORUS Elite P1000W Ice Power Supply, showing the AC power input and power switch. Ensure the switch is set to '0' before connecting the AC cord.
دستورالعمل های عملیاتی
After installation, follow these steps to power on your system:
- روشن کردن: سوئیچ برق اصلی واقع در پشت منبع تغذیه را در موقعیت روشن (I) قرار دهید.
- راه اندازی سیستم: برای روشن کردن سیستم، دکمه پاور روی کیس کامپیوتر خود را فشار دهید.
- خاموش: To shut down your system, perform a proper shutdown through your operating system. Once the system is off, you may flip the power supply's main switch to the OFF (0) position for complete power disconnection.

شکل ۱: بالا به پایین view of the 120mm fan with the AORUS logo on the GIGABYTE AORUS Elite P1000W Ice Power Supply. The fan provides active cooling during operation.
تعمیر و نگهداری
نگهداری منظم به تضمین طول عمر و عملکرد بهینه منبع تغذیه شما کمک میکند:
- تمیز کردن گرد و غبار: Periodically clean dust from the power supply's fan grill and vents using compressed air. Ensure the power supply is turned off and unplugged before cleaning.
- مدیریت کابل: Ensure cables are neatly routed and do not obstruct airflow within the computer case.
- شرایط محیطی: Maintain a cool, dry, and well-ventilated environment for your computer system.
عیب یابی
اگر با مشکلی مواجه شدید، به مراحل عیبیابی رایج زیر مراجعه کنید:
- بدون برق:
- بررسی کنید که آیا سیم برق متناوب (AC) به طور محکم به منبع تغذیه و پریز برق وصل شده است یا خیر.
- مطمئن شوید که کلید اصلی منبع تغذیه در وضعیت روشن (I) قرار دارد.
- Verify that all modular cables are correctly seated in both the power supply and the components.
- پریز برق را با دستگاه دیگری امتحان کنید تا از وجود برق در آن مطمئن شوید.
- سیستم به طور غیرمنتظره خاموش میشود:
- This could indicate an overload or overheating. Ensure your system's power requirements do not exceed the PSU's 1000W capacity.
- Check for proper ventilation and clear any dust buildup.
- Verify that all power connections are secure.
- صداهای غیرمعمول:
- A clicking sound might indicate a protective mechanism engaging. Disconnect power and recheck all connections.
- If the fan is making excessive noise, ensure it is free from obstructions.
If issues persist after following these steps, contact GIGABYTE customer support.
مشخصات

Figure 6: Product label on the GIGABYTE AORUS Elite P1000W Ice Power Supply, displaying electrical specifications and certifications. Refer to this label for detailed electrical ratings.
| ویژگی | جزئیات |
|---|---|
| نام مدل | AORUS ELITE P1000W |
| شماره مدل مورد | GP-AE1000PM PG5 EU |
| وات خروجیtage | 1000 وات |
| گواهینامه 80 PLUS | پلاتین |
| فاکتور فرم | ATX |
| ATX Version Compatibility | ATX 3.0 (ATX 3.1 compatible) |
| PCIe Version Compatibility | PCIe Gen 5.0 |
| اندازه فن | 120 میلی متر |
| نوع فن | Dynamic Fluid Ball Bearing (FDB) |
| خازن ها | خازن 100% ژاپنی |
| طراحی مدولار | کاملا ماژولار |
| حفاظت ها | OVP، OPP، SCP، UVP، OCP، OTP |
| ابعاد محصول (L x W x H) | 5.51 x 5.91 x 3.39 اینچ |
| وزن مورد | 6.79 پوند (3080 گرم) |
اطلاعات گارانتی
The GIGABYTE AORUS Elite P1000W Ice Power Supply comes with a 10 سال گارانتی from the date of purchase. This warranty covers defects in materials and workmanship under normal use. Please retain your proof of purchase for warranty claims. For full warranty terms and conditions, refer to the official GIGABYTE webسایت یا با پشتیبانی مشتری تماس بگیرید.
پشتیبانی کنید
For technical assistance, troubleshooting beyond this manual, or warranty inquiries, please visit the official GIGABYTE support website or contact their customer service department. You can typically find contact information on the GIGABYTE webدر محل یا روی بستهبندی محصول.
رسمی گیگابایت Webسایت: www.gigabyte.com


