1. مقدمه
This manual provides essential instructions for the safe and efficient use of your SONY VAIO Pro PK VJPK11 laptop. Please read this manual thoroughly before operating your device and retain it for future reference. It covers setup, operation, maintenance, and troubleshooting to ensure optimal performance and longevity of your laptop.
2. محصول تمام شدview
The SONY VAIO Pro PK VJPK11 is a portable computing device designed for productivity and multimedia. Familiarize yourself with its components and features.

شکل 2.1: جلو view of the SONY VAIO Pro PK VJPK11 laptop. This image displays the laptop open, revealing the screen, keyboard, and touchpad. The VAIO logo is visible on the screen, and an Intel Core i5 sticker is on the palm rest.
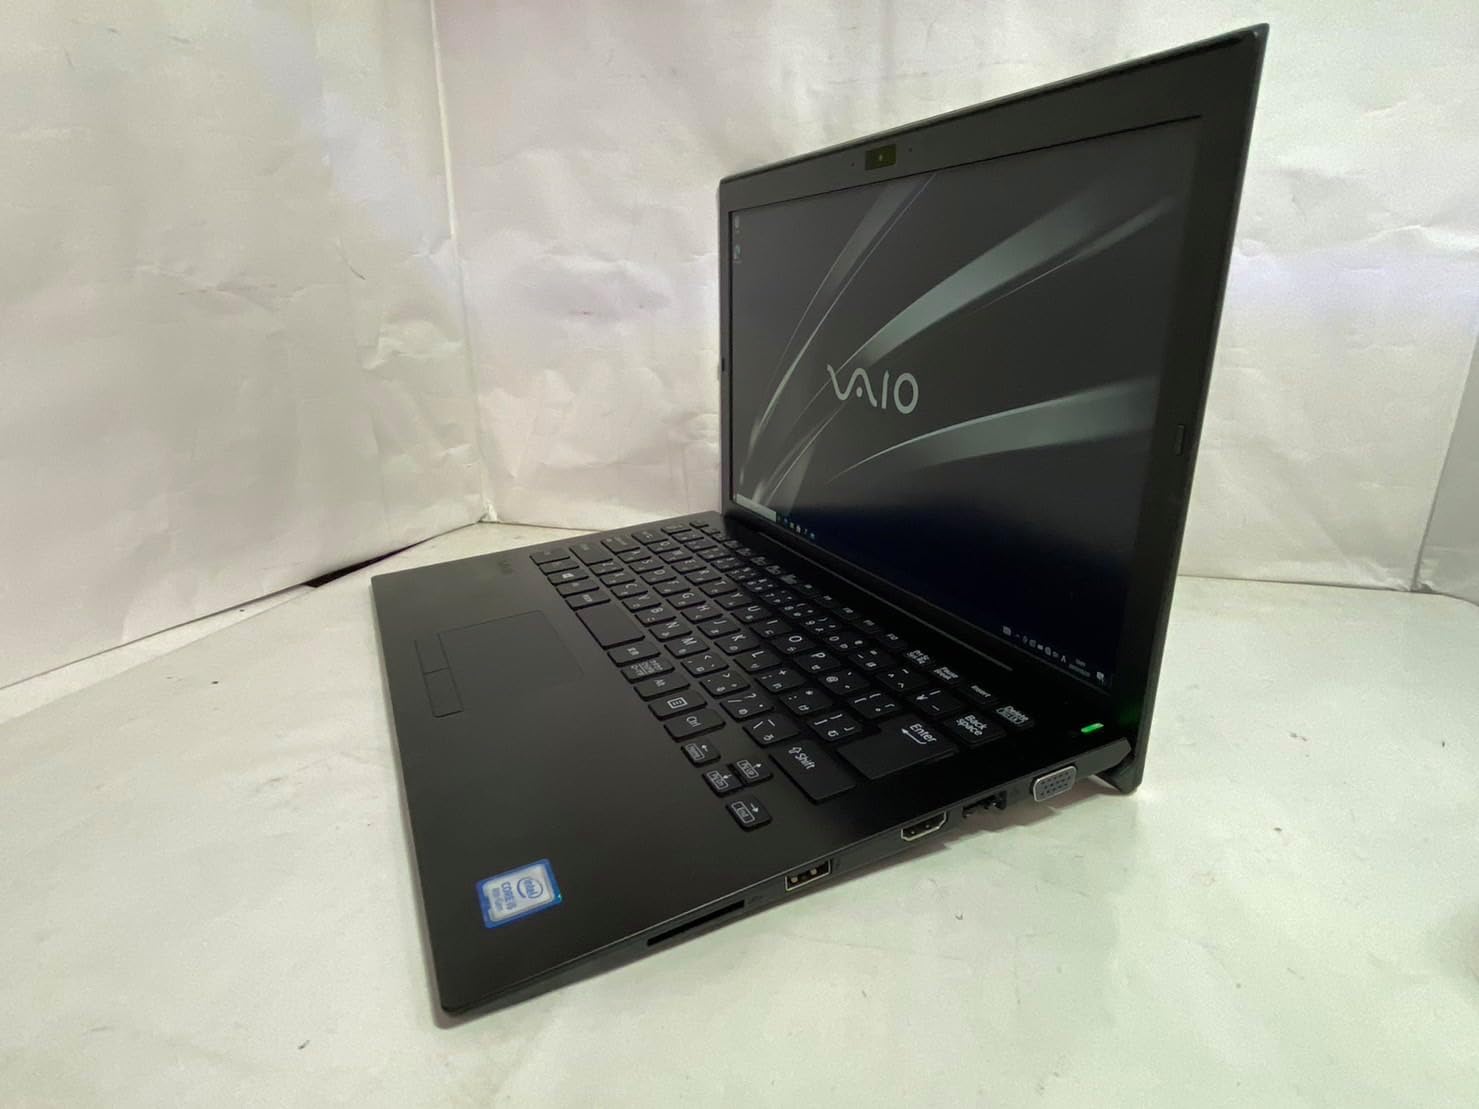
شکل 2.2: سمت چپ view of the SONY VAIO Pro PK VJPK11 laptop. This image shows the left side of the laptop, highlighting various ports such as USB, HDMI, and a VGA port, along with a ventilation grille.

شکل 2.3: بالا view of the SONY VAIO Pro PK VJPK11 laptop with the lid closed. This image displays the sleek black finish of the laptop's lid, featuring the prominent silver VAIO logo in the center.
3. راه اندازی
3.1 باز کردن بسته بندی
لپتاپ و تمام لوازم جانبی را با دقت از بستهبندی خارج کنید. مطمئن شوید که تمام اجزا وجود دارند:
- SONY VAIO Pro PK VJPK11 Laptop
- آداپتور برق متناوب و سیم برق
- مستندات (این دفترچه راهنما، اطلاعات گارانتی)
3.2 اتصال به برق
- آداپتور برق متناوب (AC) را به پورت ورودی برق لپتاپ خود وصل کنید.
- سیم برق را به آداپتور برق متناوب (AC) وصل کنید.
- Insert the power cord into a grounded electrical outlet.
- Allow the battery to charge fully before initial use, or use the laptop while connected to power.
۲.۳ راهاندازی اولیه و راهاندازی ویندوز
Press the power button to turn on the laptop. Follow the on-screen instructions to complete the Windows 10 Pro setup process. This typically involves selecting your region, language, accepting license agreements, and creating a user account.
4. دستورالعمل های عملیاتی
4.1 روشن/خاموش
- روشن کردن: دکمه پاور واقع در لپ تاپ را فشار دهید.
- برای خاموش کردن: روی دکمه شروع، سپس روشن/خاموش کردن (Power) کلیک کنید و گزینه «خاموش کردن» (Shut down) را انتخاب کنید.
- شروع دوباره: Click the Start button, then Power, and select 'Restart'.
- برای خوابیدن: Click the Start button, then Power, and select 'Sleep', or close the laptop lid.
۳.۵ صفحه کلید و تاچپد
The laptop features a standard QWERTY keyboard and a multi-touch touchpad. Use the touchpad for cursor control and gestures. Refer to Windows settings for customizing touchpad sensitivity and gestures.
4.3 اتصال لوازم جانبی
- دستگاه های USB: Connect USB devices (e.g., mouse, external drive) to the available USB 3.0 ports.
- نمایشگر خارجی: Use the HDMI or VGA port to connect an external monitor or projector. Press کلید ویندوز + P to manage display modes.
- شبکه سیمی (LAN): Connect an Ethernet cable to the LAN port for a wired internet connection.
- کارت SD: Insert an SD card into the dedicated SD card slot for data transfer.
4.4 با استفاده از Webcam and Bluetooth
- Webطب مکمل و جایگزین: یکپارچه webcam can be used for video calls and conferencing. Access it through applications like Camera or communication software.
- بلوتوث: Enable Bluetooth in Windows settings to connect wireless devices such as headphones, speakers, or mice.
5. تعمیر و نگهداری
۶.۱ تمیز کردن لپتاپ
کمی d از یک پارچه نرم و بدون پرز استفاده کنیدampened with water or a screen cleaner to clean the display and exterior surfaces. Avoid harsh chemicals or abrasive materials. Ensure the laptop is powered off and unplugged before cleaning.
5.2 مراقبت از باتری
To prolong battery life, avoid extreme temperatures. If storing the laptop for an extended period, ensure the battery is charged to approximately 50%.
5.3 به روز رسانی نرم افزار
Regularly check for and install Windows updates and driver updates from the SONY support webسایت برای اطمینان از ثبات و امنیت سیستم.
5.4 پشتیبان گیری از داده ها
برای جلوگیری از از دست دادن اطلاعات، به صورت دورهای از اطلاعات مهم خود در یک درایو خارجی یا فضای ابری پشتیبان تهیه کنید.
6 عیب یابی
This section addresses common issues you might encounter with your SONY VAIO Pro PK VJPK11.
6.1 بدون برق
- Ensure the AC adapter is securely connected to the laptop and a working power outlet.
- با وصل کردن دستگاه دیگری به پریز برق، از سالم بودن آن اطمینان حاصل کنید.
- اگر باتری کاملاً خالی شده است، قبل از تلاش برای روشن کردن، اجازه دهید چند دقیقه شارژ شود.
6.2 مشکلات نمایش
- اگر صفحه نمایش خالی است، سعی کنید روشنایی صفحه نمایش را با استفاده از کلیدهای عملکرد تنظیم کنید.
- If an external monitor is connected, ensure the correct display output mode is selected (Windows key + P).
- لپ تاپ را ریستارت کنید.
۶.۳ مشکلات اتصال وایفای
- مطمئن شوید که وایفای در تنظیمات ویندوز فعال است.
- روتر و مودم خود را مجدداً راه اندازی کنید.
- بررسی کنید که آیا دستگاههای دیگر میتوانند به همان شبکه Wi-Fi متصل شوند یا خیر.
- درایورهای شبکه بیسیم خود را بهروزرسانی کنید.
6.4 Laptop Running Slow
- برنامههای غیرضروری که در پسزمینه اجرا میشوند را ببندید.
- Task Manager را برای فرآیندهایی که CPU یا RAM زیادی مصرف میکنند، بررسی کنید.
- یک برنامه پاکسازی و یکپارچهسازی دیسک اجرا کنید (برای هارد دیسک، برای SSD لازم نیست).
- از بهروز بودن ویندوز و درایورها اطمینان حاصل کنید.
7. مشخصات
Key technical specifications for the SONY VAIO Pro PK VJPK11 laptop:
| ویژگی | مشخصات |
|---|---|
| مدل | SONY VAIO Pro PK VJPK11 (VJPK11C11N) |
| پردازنده | اینتل Core i5-8250U (1.60 گیگاهرتز) |
| RAM | 8.00 گیگابایت DDR3 SDRAM |
| ذخیره سازی | 256GB SSD (SATA) |
| نمایش | 14.0-inch Wide (1920x1080 pixels) |
| گرافیک | گرافیک یکپارچه اینتل |
| سیستم عامل | ویندوز 10 پرو 64 بیتی |
| پورت ها | VGA, HDMI, USB 3.0, LAN, SD Card Slot |
| قابلیت اتصال | LAN، بلوتوث |
| Webبادامک | یکپارچه شده است Webبادامک |
8. گارانتی و پشتیبانی
For information regarding your product's warranty, please refer to the warranty card included with your purchase or visit the official SONY support website. For technical assistance, contact SONY customer support or your authorized dealer.
پشتیبانی آنلاین: https://www.sony.com/electronics/support


