1. مقدمه
Welcome to the user manual for your Nokia 216 Dual SIM mobile phone. This guide provides essential information to help you set up, operate, and maintain your device. The Nokia 216 (RM-1187) is a classic feature phone designed for reliable communication, featuring dual SIM capability, a 2.4-inch display, and a VGA camera.
Please read this manual carefully to ensure proper use and to get the most out of your phone.
2. محتویات بسته
مطمئن شوید که همه اقلام در بستهبندی محصول شما موجود است:
- Nokia 216 Dual SIM Mobile Phone (RM-1187)
- باتری
- آداپتور برق
- کابل USB
3. دستگاه تمام شده استview
Familiarize yourself with the key components of your Nokia 216 phone.
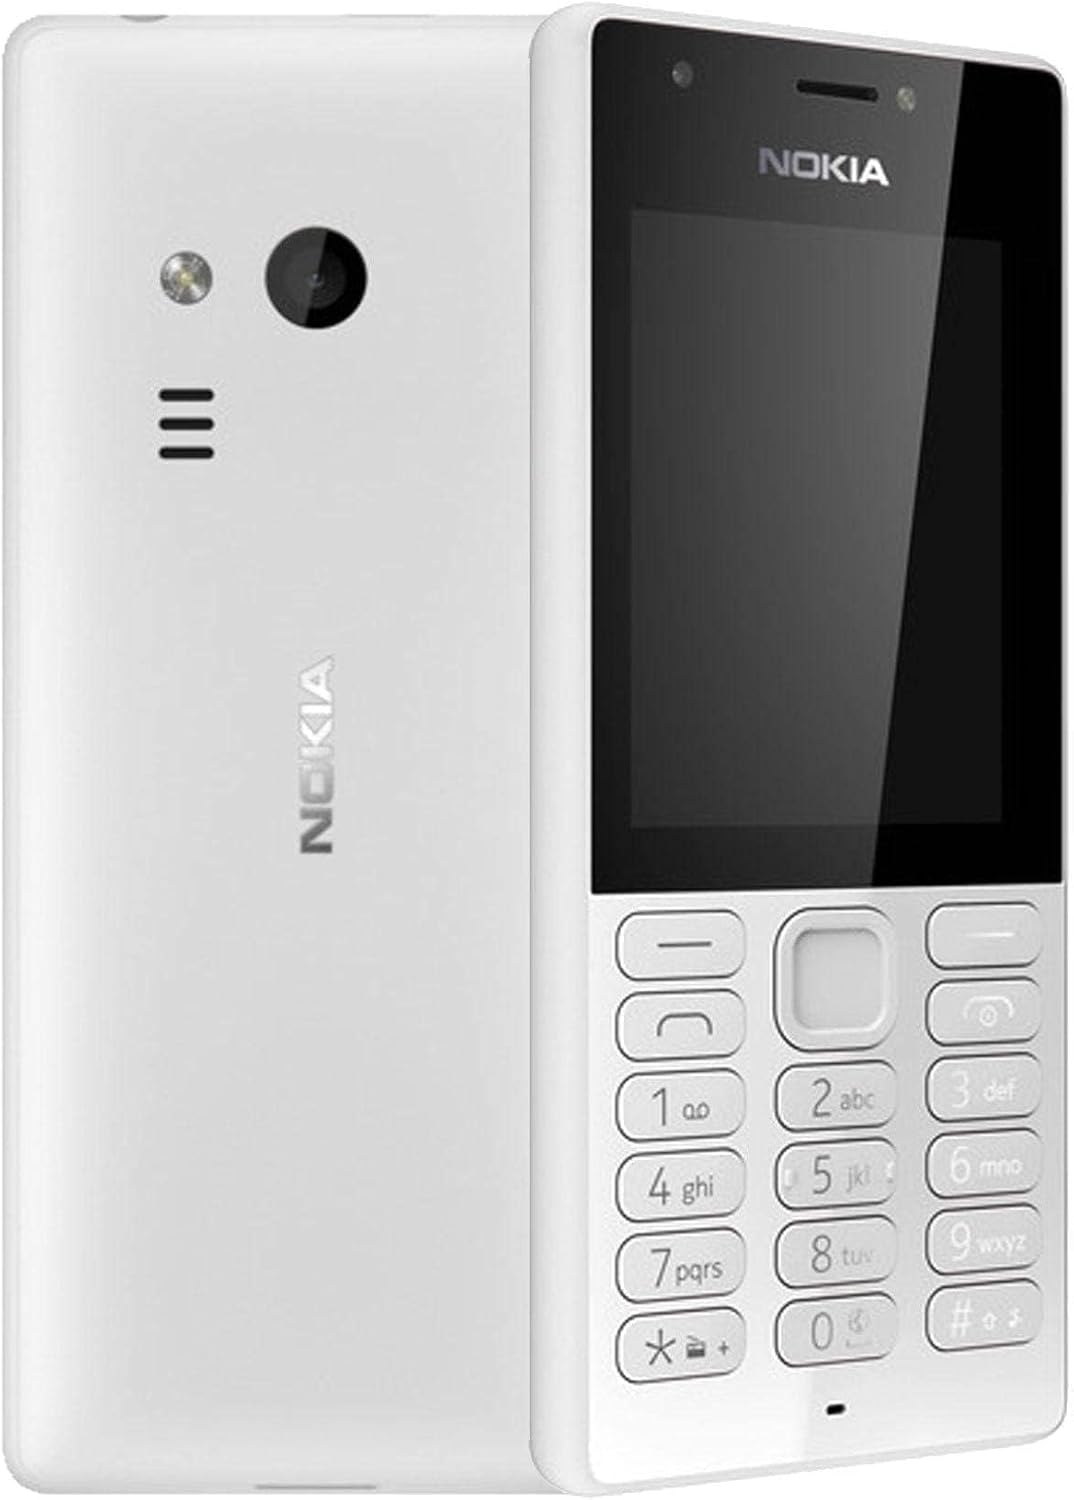
شکل 3.1: جلو و عقب view of the Nokia 216 Dual SIM mobile phone. The front shows the display, earpiece, and numeric keypad. The back features the rear camera, LED flash, and loudspeaker grille.

شکل 3.2: جلو view of the Nokia 216 Dual SIM mobile phone. This image highlights the 2.4-inch display, the navigation keys, and the alphanumeric keypad for dialing and text input.

شکل 3.3: برگشت view of the Nokia 216 Dual SIM mobile phone. This view shows the rear VGA camera lens, the LED flash, and the Nokia branding.
اجزای کلیدی:
- نمایش: 2.4-inch QVGA screen.
- صفحه کلید: Alphanumeric keypad for dialing and text entry, with navigation keys.
- دوربین عقب: VGA camera with LED flash.
- بلندگو For audio playback and hands-free calls.
- میکروفون: برای ورودی صدا در طول تماسها و ضبطها.
- جک صوتی 3.5 میلی متری: برای هدفون یا بلندگوهای خارجی.
- پورت شارژ: پورت میکرو USB برای شارژ و انتقال داده.
4. راه اندازی
4.1. Insert SIM Card(s)
- گوشی را خاموش کنید و هرگونه شارژری را از آن جدا کنید.
- Carefully remove the back cover by prying it open from the notch.
- اگر باتری داخل است، آن را بیرون بیاورید.
- Insert the SIM card(s) into the designated slot(s) with the gold contacts facing down. For dual SIM models, ensure both SIMs are correctly seated.
- If applicable, insert a microSD card into its slot for additional storage.
- باتری را تعویض کنید.
- قاب پشتی را تراز کنید و آن را محکم فشار دهید تا در جای خود قرار گیرد.
4.2 باطری را شارژکن
- آداپتور برق را به پریز برق وصل کنید.
- Plug the micro-USB end of the cable into the phone's charging port.
- نشانگر باتری روی صفحه نمایش، وضعیت شارژ را نشان میدهد.
- بعد از شارژ کامل، شارژر را از گوشی و سپس از پریز برق جدا کنید.
5. دستورالعمل های عملیاتی
5.1. روشن/خاموش
- روشن کردن: کلید پاور (معمولاً کلید قرمز «پایان تماس») را فشار داده و نگه دارید تا گوشی بلرزد و لوگوی نوکیا ظاهر شود.
- برای خاموش کردن: Press and hold the power key until the 'Power off' option appears on the screen, then select it.
5.2. برقراری تماس
- از صفحه اصلی، شماره تلفن را با استفاده از صفحه کلید عددی وارد کنید.
- Press the green 'Call' key to initiate the call.
- To end a call, press the red 'End Call' key.
۳. ارسال پیامهای متنی (SMS)
- رفتن به منو > پیام ها > ایجاد پیام.
- پیام خود را با استفاده از صفحه کلید تایپ کنید.
- شماره تلفن گیرنده را وارد کنید یا از مخاطبین انتخاب کنید.
- انتخاب کنید ارسال کنید.
5.4. استفاده از دوربین
- رفتن به منو > دوربین.
- با استفاده از صفحه نمایش، عکس خود را کادربندی کنید.
- برای گرفتن عکس، کلید پیمایش مرکزی را فشار دهید.
6. نگهداری و مراقبت
To ensure the longevity and optimal performance of your Nokia 216, follow these care guidelines:
- دستگاه را خشک نگه دارید: رطوبت میتواند به مدارهای الکترونیکی آسیب برساند.
- Use original accessories: Only use batteries, chargers, and accessories approved by Nokia.
- به آرامی تمیز کنید: Use a soft, clean, dry cloth to clean the surface of the device.
- اجتناب از دمای شدید: Do not expose your device to very high or low temperatures.
- با احتیاط رفتار کنید: از افتادن یا قرار دادن دستگاه در معرض ضربه های شدید خودداری کنید.
7 عیب یابی
If you encounter issues with your Nokia 216, try these common troubleshooting steps:
| مشکل | راه حل |
|---|---|
| گوشی روشن نمیشه | مطمئن شوید که باتری شارژ شده است. شارژر را وصل کنید و دوباره امتحان کنید. بررسی کنید که آیا باتری به درستی وارد شده است یا خیر. |
| بدون سیگنال شبکه | بررسی کنید که سیم کارت به درستی وارد شده باشد. به منطقهای با پوشش شبکه بهتر بروید. تلفن را مجدداً راه اندازی کنید. |
| باتری شارژ نمی شود | Ensure the charger is properly connected to both the phone and the power outlet. Try a different power outlet or charger. Check for any damage to the charging port. |
| نمیتوان تماس برقرار یا دریافت کرد | Check network signal. Ensure your SIM card is active and has sufficient credit/plan. Verify that call barring is not enabled. |
8. مشخصات
| ویژگی | جزئیات |
|---|---|
| نام تجاری | نوکیا |
| نام مدل | RM-1187 |
| سیستم عامل | Symbian 9.1 (Series 30) |
| اندازه صفحه نمایش | 2.4 اینچ |
| وضوح صفحه نمایش | 240 x 320 پیکسل |
| نرخ تازه سازی | 90 هرتز |
| اندازه رم نصب شده | 256 مگابایت |
| ظرفیت ذخیره سازی حافظه | 3.9 GB (Internal, likely for system/apps, expandable via microSD) |
| مدل CPU | A10 |
| فناوری سلولی | 2G |
| فناوریهای ارتباطات بیسیم | سلولی |
| فن آوری های اتصال | یو اس بی، بلوتوث، وای فای |
| جی پی اس | A-GPS |
| Primary Device User Interface | Buttons, Numeric Keypad, Microphone |
| سایر ویژگیهای دوربین | Rear Camera (VGA) |
| جک صوتی | 3.5 میلی متر |
| فاکتور فرم | کلاسیک |
| رنگ | خاکستری |
| زمان صحبت | تا 18 ساعت |
| وزن مورد | 339 گرم |
| ابعاد بسته بندی | 13.4 × 12.6 × 3.6 سانتی متر |
| آنچه در جعبه است | آداپتور برق، کابل USB |
9. گارانتی و پشتیبانی
For warranty information, please refer to the warranty card included in your product package or visit the official Nokia website. If you require further assistance or technical support, please contact Nokia customer service through their official channels.
رسید خرید خود را به عنوان مدرک خرید برای درخواستهای گارانتی نگه دارید.


