
1. مقدمه
Welcome to the instruction manual for your Sygonix SY-RSL-T3 Wireless Wall Switch. This manual provides essential information for the safe and efficient use of your device. Please read it thoroughly before installation and operation, and keep it for future reference.
2. دستورالعمل های ایمنی
برای جلوگیری از آسیب یا جراحت به دستگاه، همیشه نکات ایمنی زیر را رعایت کنید:
- دستگاه را باز نکنید جasinز. هیچ قطعهای که توسط کاربر قابل تعمیر باشد در داخل وجود ندارد.
- Keep the device away from moisture, water, and extreme temperatures.
- Use only the specified battery type (12V, not included) and ensure correct polarity during installation.
- باتریهای استفاده شده را طبق مقررات محلی دور بیندازید. باتریها را در زبالههای خانگی نیندازید.
- This device is designed for indoor use. If used outdoors, ensure it is protected from direct weather exposure.
- مواد بسته بندی را از دسترس کودکان دور نگه دارید.
3. محصول تمام شدview
3.1. اجزا
The Sygonix SY-RSL-T3 Wireless Wall Switch consists of the following main components:
- Wireless Wall Switch Unit (1 piece)
- Mounting Hardware (screws, if included with purchase)
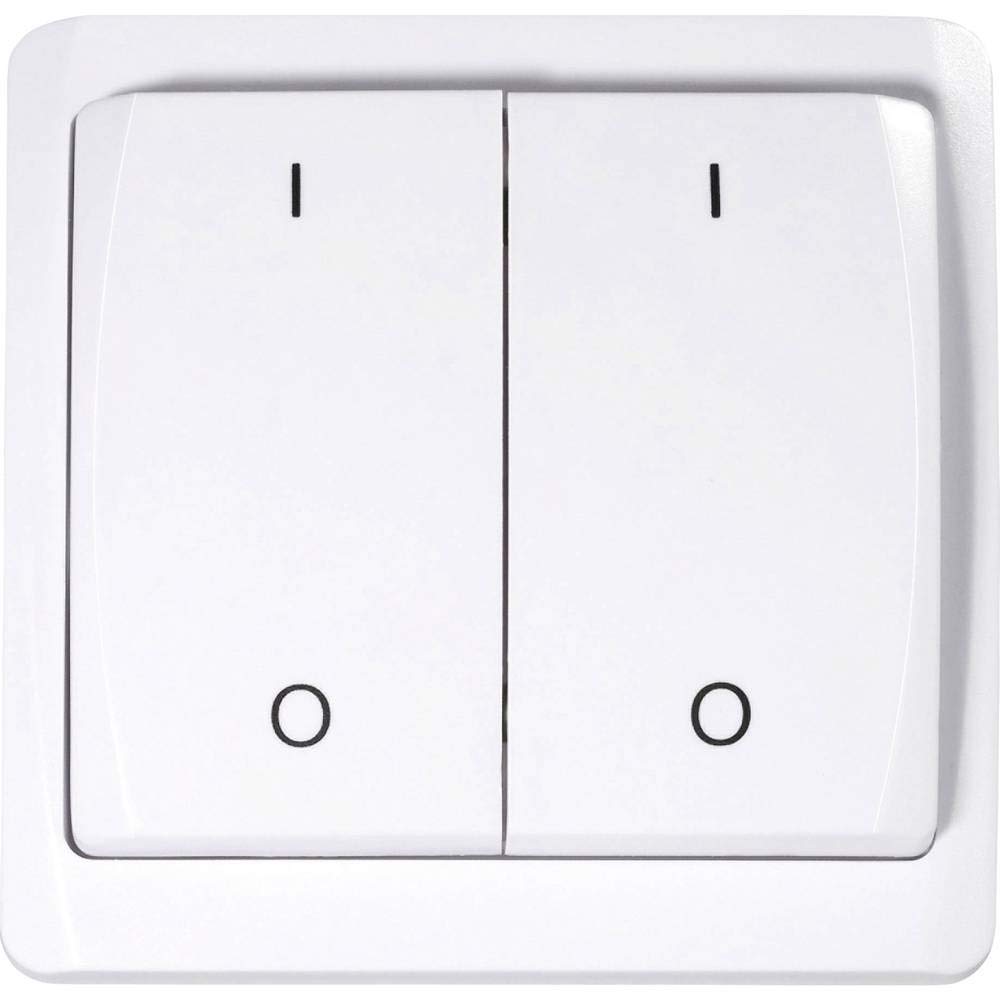
This image shows the front of the Sygonix SY-RSL-T3 wireless wall switch. It is white with two large push-buttons. The left button is marked with an 'I' (for ON) and a circle (for OFF), and the right button is similarly marked. The switch has a slightly curved, modern design.
3.2. ویژگی ها
- Surface-mounted RSL wall switch
- Maximum wireless range: 70 meters (in open field)
- Push-button style operation (ON-OFF mode)
- Requires 12V battery (not included)
- جنس: پلاستیک
4. راه اندازی و نصب
4.1. باز کردن بسته بندی
Carefully remove all components from the packaging. Ensure all parts are present and undamaged. Retain the packaging for future transport or storage.
4.2. نصب باتری
The device requires a 12V battery (not included). To install the battery:
- Locate the battery compartment on the back of the switch.
- درپوش محفظه باتری را باز کنید.
- Insert the 12V battery, ensuring correct polarity (+ and - terminals match the markings).
- درپوش محفظه باتری را محکم ببندید.
4.3. Mounting the Wall Switch
The SY-RSL-T3 is a surface-mounted switch. Choose a suitable, flat location for installation, free from excessive moisture or heat. Use appropriate screws or adhesive (not specified if included) to secure the switch to the wall. Ensure the mounting surface is clean and dry before installation.

زاویه دار view of the white Sygonix SY-RSL-T3 wireless wall switch, highlighting its two push-buttons and sleek profile.

یک طرف view of the Sygonix SY-RSL-T3 wireless wall switch, showing its depth and how it would sit on a surface.
5. دستورالعمل های عملیاتی
5.1. Pairing with an RSL Receiver
To operate the switch, it must first be paired with a compatible Sygonix RSL receiver (sold separately). The SY-RSL-T3 uses the RSL wireless protocol.
- Refer to your RSL receiver's instruction manual for specific pairing instructions.
- Typically, you will need to put the RSL receiver into a pairing or learning mode.
- Within the specified time frame (usually a few seconds), press one of the buttons (e.g., 'I' or 'O') on the SY-RSL-T3 wall switch.
- The receiver should indicate successful pairing (e.g., by flashing an LED or clicking).
- Repeat the process if you wish to pair the other button to a different receiver or channel, if supported by your receiver.
5.2. عملیات پایه
Once successfully paired with an RSL receiver:
- Press the button marked with 'I' to send an ON signal to the paired receiver.
- Press the button marked with 'O' to send an OFF signal to the paired receiver.
The switch operates in a simple ON-OFF mode, controlling the connected device via the RSL receiver.
6. تعمیر و نگهداری
6.1. تمیز کردن
Clean the surface of the switch with a soft, dry, lint-free cloth. Do not use abrasive cleaners, solvents, or harsh chemicals, as these can damage the plastic surface.
6.2. تعویض باتری
When the switch's wireless range decreases significantly, or it stops responding to button presses, the battery may need replacement. Follow the steps in section 4.2 (Battery Installation) to replace the 12V battery.
7 عیب یابی
| مشکل | علت احتمالی | راه حل |
|---|---|---|
| دستگاه به فشار دادن دکمهها پاسخ نمیدهد. | باتری خالی یا کم است. Not paired with receiver. Receiver is out of range or not powered. | باتری 12 ولت را تعویض کنید. Perform the pairing procedure (see section 5.1). Ensure the RSL receiver is powered and within the 70m range. |
| کاهش برد بیسیم | باتری کم. Obstructions between switch and receiver. | باتری 12 ولت را تعویض کنید. Minimize physical obstructions (e.g., thick walls, metal objects) between the switch and the receiver. |
8. مشخصات
| ویژگی | جزئیات |
|---|---|
| سازنده | سیگونیکس |
| شماره مدل | SY-3523488 |
| ابعاد محصول (L x W x H) | ۴.۲ × ۷۲ × ۱۱.۷ سانتیمتر (۴۲ × ۷۲۰ × ۱۱۷ میلیمتر) |
| وزن | 100 گرم |
| مواد | پلاستیک |
| منبع تغذیه | شارژ باتری |
| باتری مورد نیاز است | Yes (12 Volts, not included) |
| تغییر سبک | دکمه فشاری |
| حالت عملیاتی | روشن خاموش |
| رتبه بندی فعلی | 1 الف |
| پروتکل بی سیم | RSL |
| Max. Range (open field) | 70 متر |
| مقدار در هر بسته | 1 واحد |
| موجودی قطعات یدکی (EU) | 1 سال |
9. گارانتی و پشتیبانی
Sygonix provides a 1-year warranty for spare parts availability within the EU. For further support, technical assistance, or warranty claims, please contact your retailer or Sygonix customer service. Please have your model number (SY-3523488) and ASIN (B07NLBNPTF) ready when contacting support.
سازنده: سیگونیکس
شماره مدل: SY-3523488
ASIN: B07NLBNPTF


