1. مقدمه
This manual provides essential information for the safe and efficient operation of your ASUS X553SA laptop. It covers setup, basic operation, maintenance, and troubleshooting. Please read this manual thoroughly before using your device to ensure proper usage and to prevent damage.
2. اطلاعات ایمنی
- Use only the provided power adapter and battery. Using unauthorized accessories may void your warranty and pose safety risks.
- Do not expose the laptop to extreme temperatures (below 5°C or above 35°C) or high humidity.
- Avoid placing heavy objects on the laptop, as this can damage the screen or internal components.
- Do not attempt to disassemble, modify, or repair the laptop yourself. Refer all servicing to qualified ASUS service personnel.
- برای جلوگیری از برق گرفتگی یا آسیب، مایعات را از دستگاه دور نگه دارید.
- Ensure proper ventilation when using the laptop to prevent overheating. Do not block the ventilation openings.
3. محتویات بسته
لطفاً بررسی کنید که تمام موارد زیر در بسته شما موجود باشد:
- ASUS X553SA Laptop
- آداپتور برق متناوب
- باتری (داخلی، از پیش نصب شده)
- مستندات (دفترچه راهنما، کارت گارانتی)
4. محصول تمام شدview
The ASUS X553SA is a versatile 15.6-inch laptop designed for daily computing tasks, featuring an Intel Celeron N3050 processor, 4GB of RAM, and a 500GB hard drive. Familiarize yourself with the key components and ports of your device.
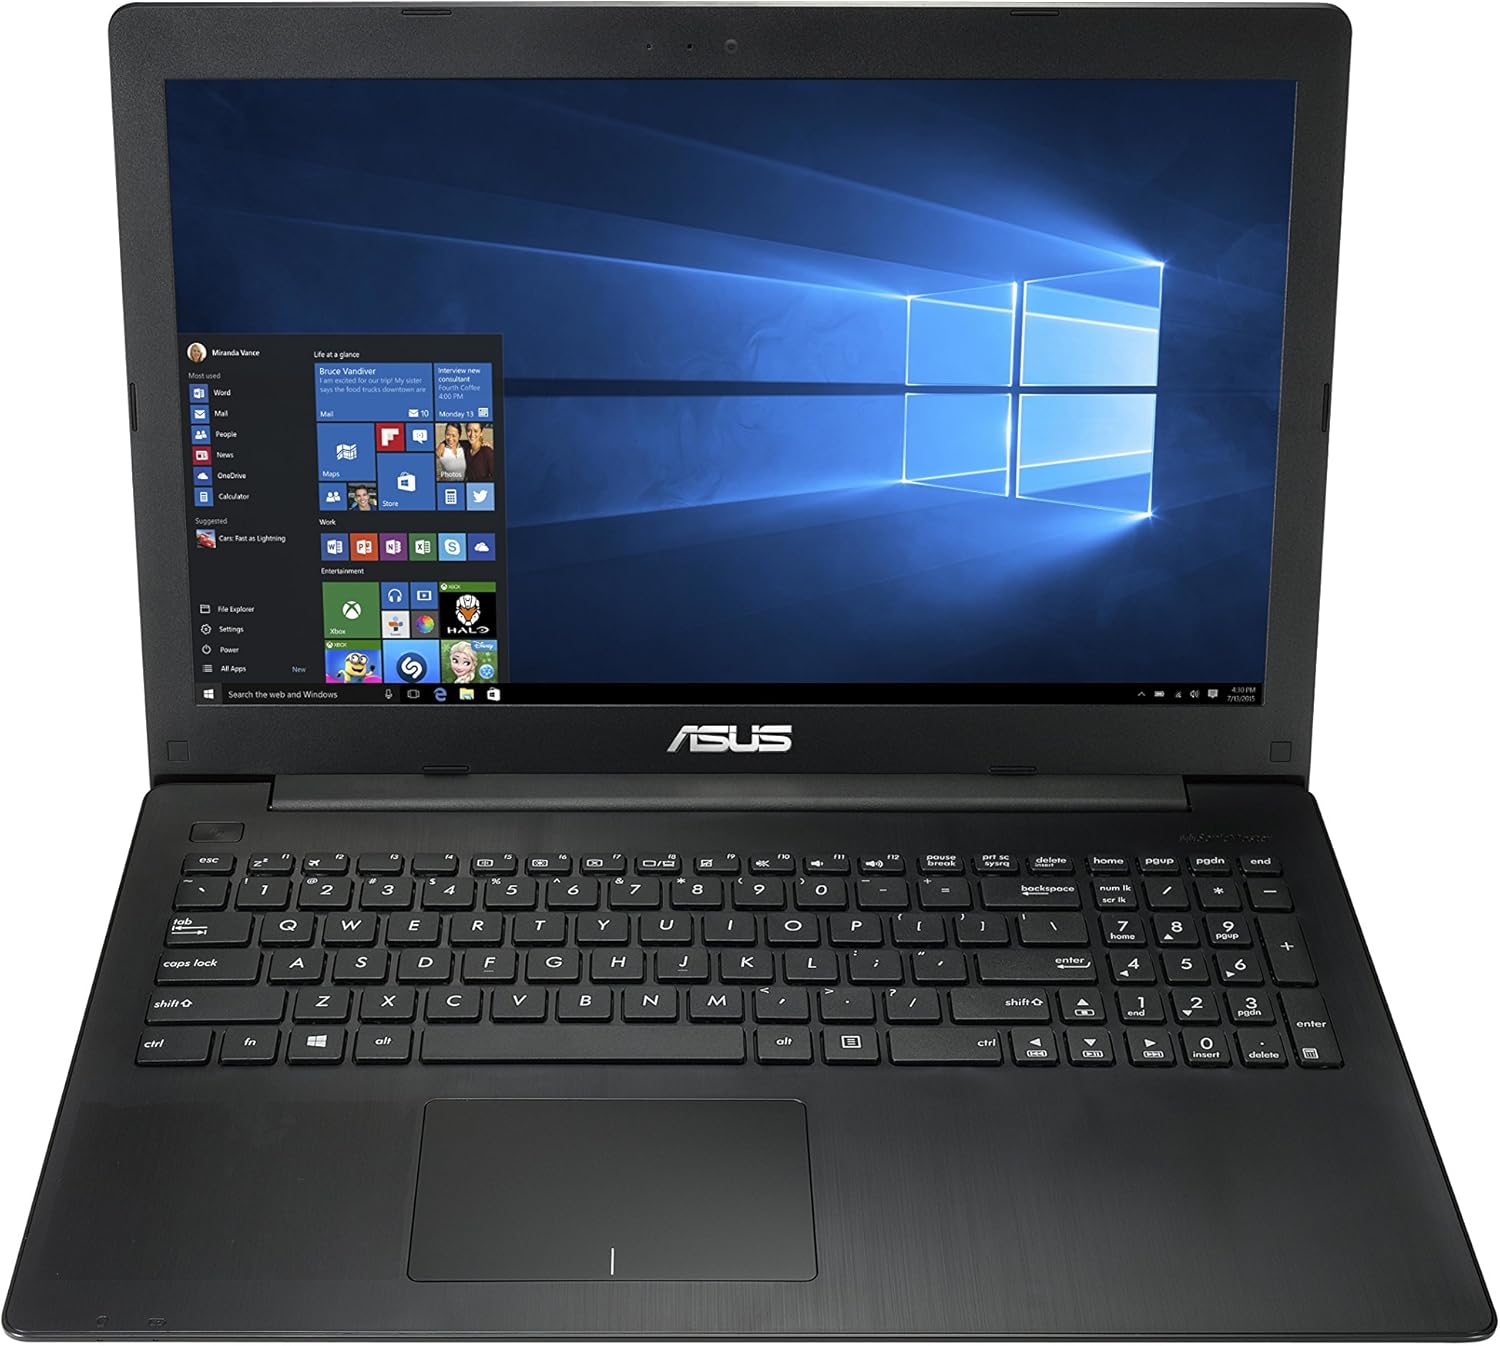
شکل 4.1: جلو view of the ASUS X553SA laptop, displaying the screen and keyboard with Windows 10 desktop.
۳.۴ پورتهای سمت چپ

Figure 4.2: Left side of the laptop, featuring various connectivity ports for external devices.
The left side of your laptop provides the following connectivity options:
- اتصال دهنده برق: برای اتصال آداپتور برق متناوب (AC).
- پورت اترنت (RJ-45): برای اتصال به شبکه سیمی.
- پورت HDMI: برای اتصال به نمایشگرهای خارجی یا تلویزیونها.
- پورت USB 3.0: برای انتقال سریع دادهها با دستگاههای سازگار.
- پورت USB 2.0: برای اتصال دستگاههای USB استاندارد.
- جک ترکیبی هدفون/میکروفون: برای ورودی/خروجی صدا.
4.2. Right Side Features
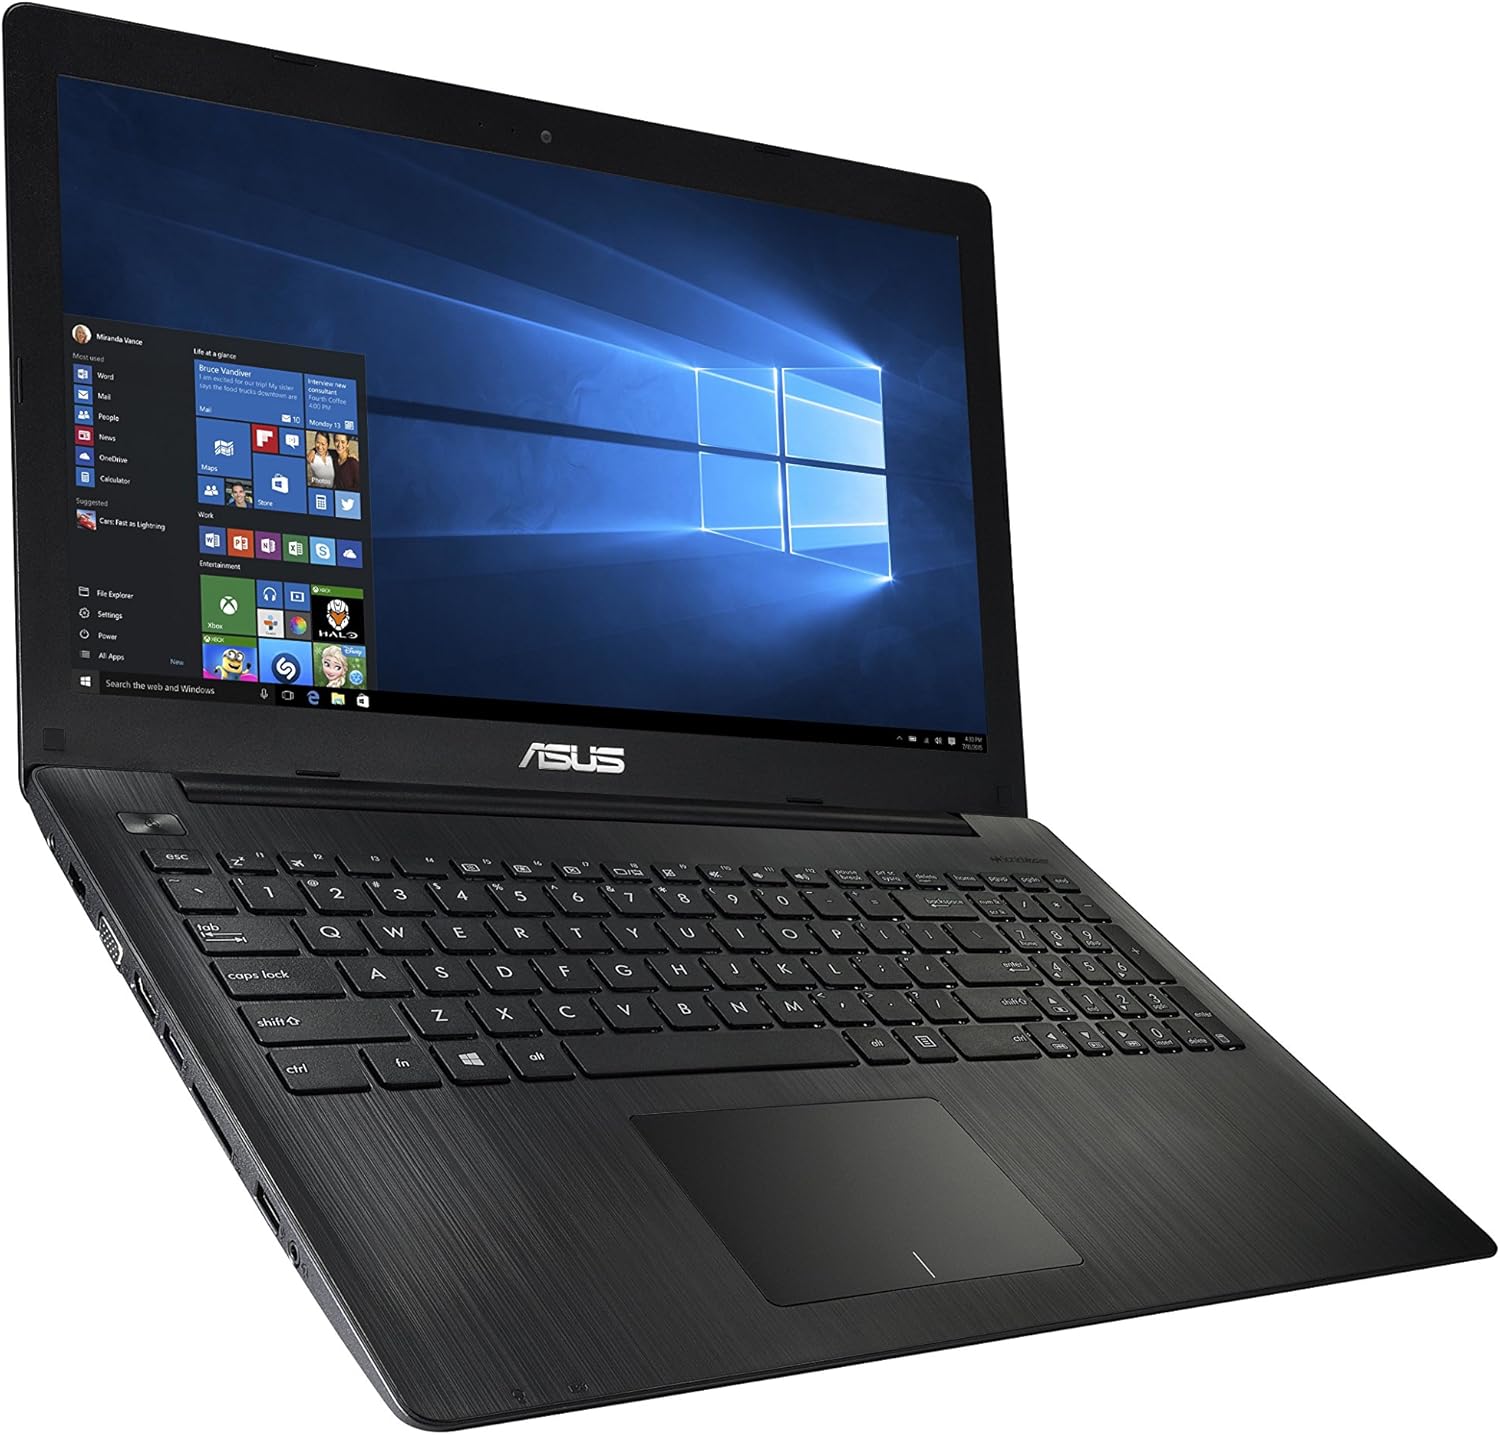
Figure 4.3: Right side of the laptop, showing the SuperMulti DVD/CD burner.
The right side of your laptop features a SuperMulti DVD/CD burner, allowing you to read and write to a wide variety of optical media formats, including DVD+R/RW, DVD-R/RW, and CD-R/RW.
۲. صفحه کلید و صفحه لمسی

شکل 4.4: نمای نزدیک view of the laptop's keyboard and touchpad.
The laptop is equipped with a seamless chiclet keyboard for comfortable typing and a responsive clickpad with smart gesture support for intuitive navigation.
5. راه اندازی
۴.۲ روشن کردن و شارژ اولیه
- Connect the AC adapter to the laptop's power connector and then to a working power outlet.
- The internal battery will begin charging automatically. For the first use, it is recommended to fully charge the battery before disconnecting the AC adapter.
- Press the power button located on the top-right of the keyboard to turn on the laptop. If the laptop does not power on immediately, especially during the very first use, hold the power button for approximately 15 seconds to initiate the boot sequence.
۳. راهاندازی ویندوز ۱۱
Upon first boot, you will be guided through the Windows 10 initial setup process. Follow the on-screen instructions to:
- منطقه و زبان خود را انتخاب کنید.
- به یک شبکه Wi-Fi متصل شوید.
- شرایط مجوز را بپذیرید.
- یک حساب کاربری ایجاد کنید و یک رمز عبور تنظیم کنید.
6. دستورالعمل های عملیاتی
۵.۲. استفاده از صفحه کلید و صفحه لمسی
The laptop features a standard QWERTY keyboard. The touchpad supports multi-touch gestures for navigation, scrolling, and zooming. You can customize touchpad settings and gestures through the Windows 10 Settings menu (Start > Settings > Devices > Touchpad).
6.2. Optical Drive (DVD/CD Burner)
To open the optical drive tray, gently press the eject button located on the drive itself. Place a disc into the tray with the label side facing up. Gently push the tray back into the laptop until it clicks into place. Windows will typically detect the disc automatically.
6.3. اتصال به Wi-Fi
- Click the Wi-Fi icon (network icon) in the system tray, located at the bottom-right of the screen.
- Select your desired wireless network from the list of available networks.
- در صورت درخواست، کلید امنیتی شبکه (رمز عبور) را وارد کنید.
- روی «اتصال» کلیک کنید.
۴. استفاده از دستگاههای خارجی
Your laptop supports various external devices:
- دستگاه های USB: Connect USB mice, keyboards, external hard drives, or flash drives to the USB 2.0 or USB 3.0 ports.
- نمایشگرهای خارجی: Use the HDMI port to connect to an external monitor or TV. You may need to configure display settings in Windows (Start > Settings > System > Display).
- شبکه سیمی: Plug an Ethernet cable into the RJ-45 port for a stable wired internet connection.
7. تعمیر و نگهداری
۱. تمیز کردن لپتاپ
To clean the screen, use a soft, lint-free cloth specifically designed for electronics. For the exterior, a slightly dampened cloth with water or a mild, non-abrasive cleaner can be used. Avoid spraying liquids directly onto the laptop and do not use harsh chemicals or solvents.
7.2. مراقبت از باتری
To prolong the lifespan of your laptop's internal battery, avoid frequently fully discharging it. It is best to keep the battery charged between 20% and 80%. When storing the laptop for extended periods, ensure the battery is charged to about 50% and store it in a cool, dry environment.
7.3. به روز رسانی نرم افزار
Regularly check for and install Windows updates to ensure your operating system has the latest security patches, bug fixes, and performance enhancements. You can access Windows Update via Start > Settings > Update & Security > Windows Update.
8 عیب یابی
۷.۱ لپتاپ روشن نمیشود
- Ensure the AC adapter is securely connected to both the laptop and a functional power outlet.
- Verify that the power outlet is working by testing it with another device.
- If it's the first time powering on, try holding the power button for 15 seconds.
- If the issue persists, contact ASUS support.
8.2. بدون اتصال به اینترنت
- برای وای فای: Check if Wi-Fi is enabled in Windows settings and if you are connected to the correct network. Ensure your router/modem is powered on and functioning. Try restarting your router/modem.
- برای اتصال سیمی: Ensure the Ethernet cable is properly connected to both the laptop's RJ-45 port and your router/modem.
- عیبیاب شبکه ویندوز را اجرا کنید (Start > Settings > Network & Internet > Status > Network troubleshooter).
۸.۳ عملکرد کند
- Close unnecessary applications and browser tabs running in the background.
- مطمئن شوید که سیستم عامل ویندوز شما به روز است.
- Perform a disk cleanup to remove temporary files and optimize your hard drive (for HDD).
- Scan your system for malware or viruses using reputable antivirus software.
9. مشخصات
| ویژگی | مشخصات |
|---|---|
| مدل | X553SA |
| پردازنده | Intel Celeron N3050 Dual Core (1.6GHz, up to 2.16GHz) |
| سیستم عامل | Windows 10 Home (64 بیت) |
| نمایش | 15.6-inch HD (1366 x 768) LCD |
| گرافیک | گرافیک Intel HD (یکپارچه) |
| حافظه | 4GB DDR3L SDRAM (1600 MHz, expandable to 8GB) |
| ذخیره سازی | 500GB SATA HDD (5400 RPM) |
| درایو نوری | SuperMulti DVD/CD Burner |
| پورت ها | 1x USB 2.0, 1x USB 3.0, 1x HDMI, 1x RJ-45 (Ethernet), 1x Headphone/Microphone Combo |
| کارت خوان | SD/SDHC |
| بی سیم | Wi-Fi (802.11bgn) |
| Webبادامک | 0.3 مگاپیکسلی داخلی Webدوربین با میکروفون |
| باتری | 2-cell Prismatic (up to 5 hours battery life) |
| Dimensions (L x W x Thickness) | 15 x 10.2 x 1 اینچ |
| وزن | 4.85 پوند |
10. گارانتی و پشتیبانی
10.1. اطلاعات گارانتی
Your ASUS X553SA laptop comes with a limited manufacturer's warranty. Please refer to the warranty card included in your package for specific terms and conditions, including coverage duration, limitations, and how to make a claim. Keep your proof of purchase for warranty validation.
10.2. پشتیبانی فنی
For technical assistance, driver downloads, FAQs, or further support, please visit the official ASUS support website. When contacting support, you will need your product model number (X553SA) and the serial number, which is typically located on a sticker on the bottom of the laptop.


