1. Información importante de seguridad
Lea atentamente este manual de instrucciones antes de utilizar el aparato y consérvelo para futuras consultas. El uso incorrecto puede conllevar posibles riesgos.
- Seguridad eléctrica: Asegúrese del volumentage indicado en el aparato corresponde al voltaje de su red local.tage before connecting. Do not use the appliance if the plug, mains cord, or other parts are damaged.
- Cuchillas afiladas: The filter mesh has small, sharp blades. Handle with extreme care when cleaning.
- Montaje adecuado: Always ensure all parts are correctly assembled before operating the juicer. Do not operate the appliance without the lid securely locked.
- Empujador de comida: Always use the food pusher to guide ingredients into the feeding tube. Never use your fingers or other objects.
- Protección contra sobrecalentamiento: The appliance is equipped with an overheating protection system. If it overheats, it will switch off automatically. Unplug and let it cool down for 15 minutes before restarting.
- Limpieza: Desenchufe siempre el aparato antes de limpiarlo. No sumerja el motor en agua ni en ningún otro líquido.
- Niños: Este aparato no debe ser utilizado por niños. Mantenga el aparato y su cable fuera del alcance de los niños.
2. Producto terminadoview
The Philips HR1922/21 is a powerful centrifugal juicer designed for efficient extraction of juice from various fruits and vegetables. Its robust design and easy-to-use features make it suitable for daily use.
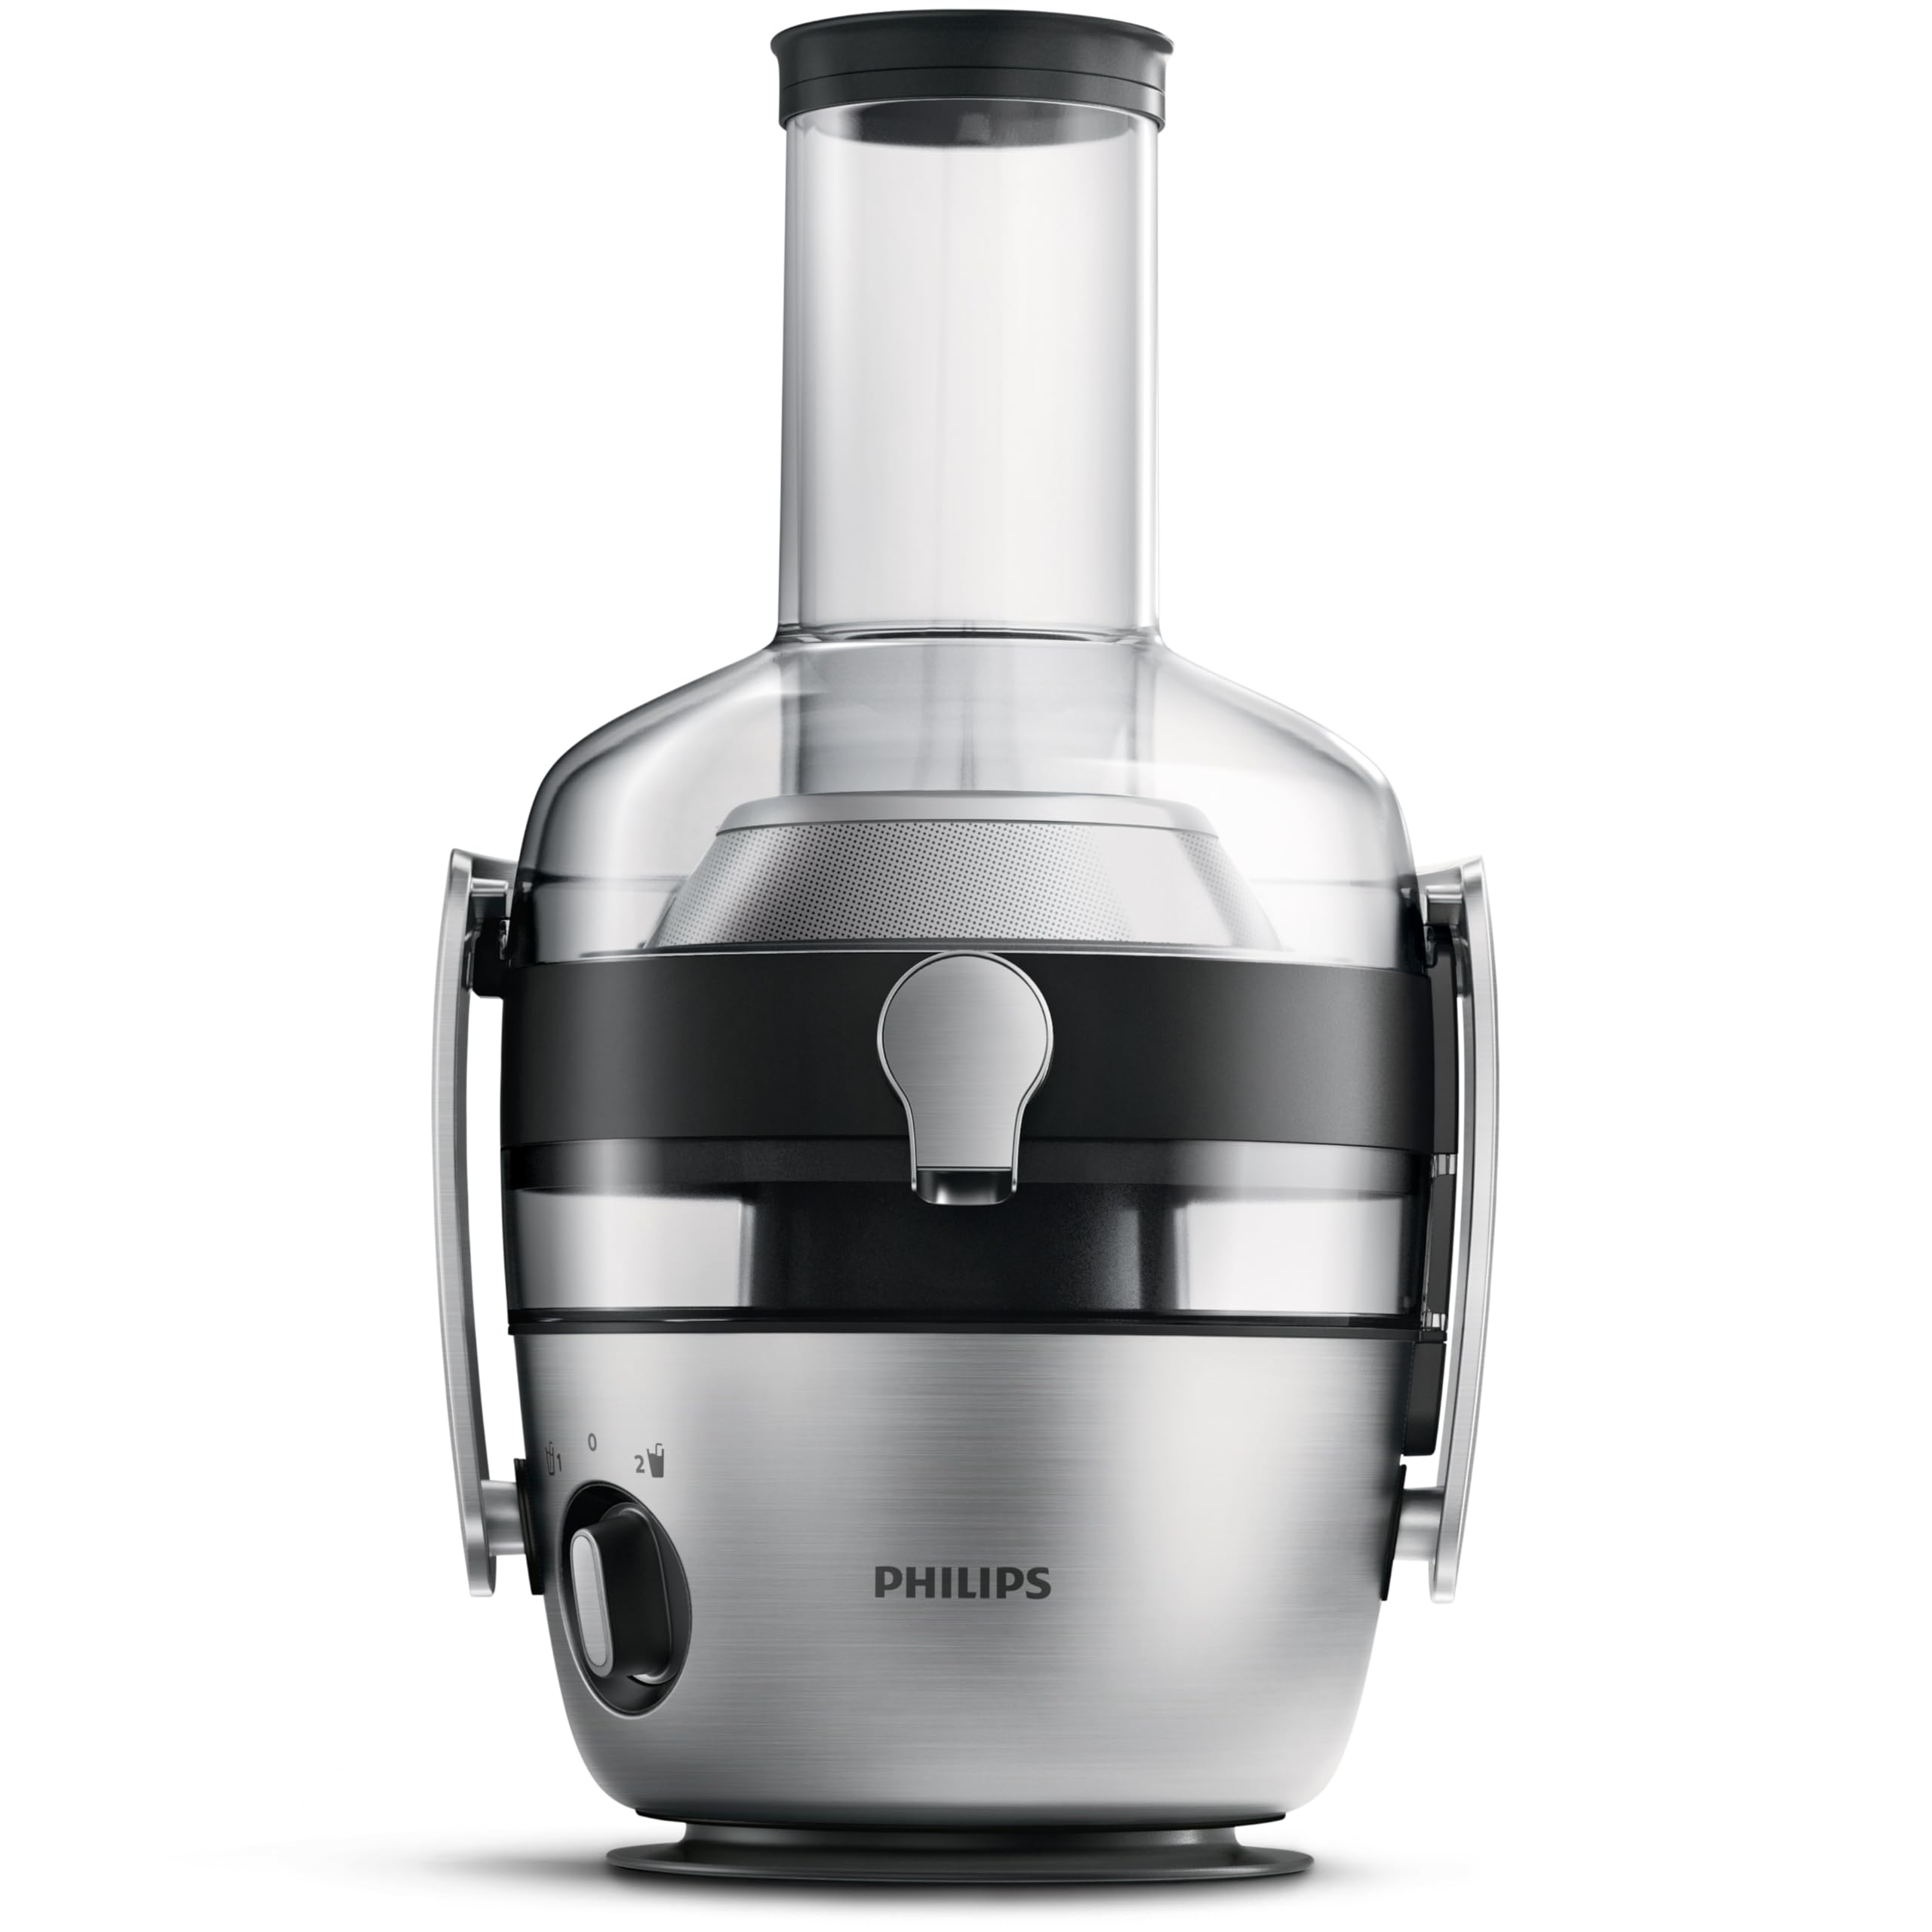
Figura 1: The Philips HR1922/21 Juicer fully assembled, showcasing its sleek stainless steel and transparent components.
Componentes:
- Unidad motora: The base of the juicer containing the motor and control dial.
- Contenedor de pulpa: Collects the discarded pulp during juicing.
- Recolector de jugos: Recoge el jugo extraído.
- Filtro/Tamiz: Separates juice from pulp. Contains sharp blades.
- Tapa con tubo de alimentación: Covers the juicing mechanism and allows insertion of ingredients.
- Empujador de comida: Se utiliza para empujar los ingredientes por el tubo de alimentación.
- Canalón: For dispensing juice into a glass or jug.

Figura 2: Lado view illustrating the various components of the juicer, including the motor unit, pulp container, and juice collector.
3. Configuración y montaje
Before first use, wash all detachable parts (pulp container, juice collector, filter, lid, food pusher) in warm soapy water. Rinse thoroughly and dry.
- Coloque la unidad del motor sobre una superficie estable, plana y seca.
- Inserte el contenedor de pulpa en la unidad del motor.
- Place the juice collector onto the motor unit, ensuring the spout aligns with the opening.
- Carefully place the filter into the juice collector, ensuring it is seated firmly.
- Place the lid onto the juice collector and pulp container. Ensure the locking clamps on the sides of the motor unit engage with the lid. You should hear a click.
- Insert the food pusher into the feeding tube of the lid.
- Place a glass or jug under the spout to collect the juice.
4. Instrucciones de funcionamiento
Follow these steps for safe and effective juicing:
- Preparar Ingredientes: Wash fruits and vegetables thoroughly. For larger items, cut them into pieces that fit into the feeding tube. Remove hard pits (e.g., from peaches, plums, cherries) and hard skins (e.g., from pineapples, melons, citrus fruits).
- Conecte la electricidad: Enchufe el aparato a una toma de corriente con toma de tierra.
- Seleccionar velocidad: Turn the control dial to the desired speed setting. The juicer has two speed settings:
- Speed 1 (low): For soft fruits and vegetables like berries, grapes, tomatoes, and cucumbers.
- Speed 2 (high): For hard fruits and vegetables like apples, carrots, celery, and beetroot.

Figura 3: A hand adjusting the speed dial, which offers two settings for different types of produce.
- Insertar Ingredientes: With the motor running, gradually feed the prepared ingredients into the feeding tube using the food pusher. Apply gentle, even pressure. Do not overfill the feeding tube or apply excessive force.

Figura 4: An apple being inserted into the wide feeding tube, demonstrating the ease of use for whole or large pieces of fruit.
- Monitor Pulp and Juice: The pulp will collect in the pulp container, and the juice will flow into your glass or jug. The juicer has a 1.5-liter capacity for juice collection. Stop juicing if the pulp container becomes full or the juice flow significantly reduces.

Figura 5: The pulp container showing collected carrot pulp, indicating efficient separation of solids from juice.
- Terminar de hacer jugo: Once finished, turn the control dial to the '0' (off) position and unplug the appliance.

Figura 6: The juicer in operation, with two glasses of freshly extracted juice (carrot and green apple) ready for consumption.
5. Mantenimiento y limpieza
Regular cleaning ensures optimal performance and extends the lifespan of your juicer. Always clean the appliance immediately after use.
- Desenchufar: Always unplug the juicer from the power outlet before disassembling or cleaning.
- Desmontar: Desbloquear el clamps, remove the lid, then lift out the filter, juice collector, and pulp container.
- Limpiar piezas desmontables: Wash the pulp container, juice collector, lid, and food pusher in warm water with a mild dishwashing liquid. Rinse thoroughly.
- Limpiar el filtro: The filter mesh contains sharp blades. Use a cleaning brush (if provided) or a soft brush to carefully remove pulp residue from the mesh under running water. Handle with extreme caution. The manufacturer recommends lavado de manos únicamente for this part.

Figura 7: A person carefully cleaning the stainless steel filter under running water, highlighting the importance of thorough cleaning for optimal performance.
- Unidad de motor limpia: Limpie la unidad del motor con adamp paño. Nunca sumerja la unidad del motor en agua ni la enjuague bajo el grifo.
- Secar y almacenar: Asegúrese de que todas las piezas estén completamente secas antes de volver a montar o guardar el aparato. Guárdelo en un lugar seco.
6. Solución de problemas
If you encounter problems with your juicer, consult the following table before seeking service.
| Problema | Posible causa | Solución |
|---|---|---|
| El aparato no funciona. | The appliance is not plugged in. The lid is not properly locked. Overheating protection activated. | Plug in the appliance. Ensure the lid is securely locked. Unplug and let cool for 15 minutes. |
| El motor se detiene durante el funcionamiento. | Too much pressure applied to the food pusher. Too many ingredients processed without emptying pulp container. | Reduce pressure. Turn off, unplug, empty pulp container, and clean filter. |
| Vibración o ruido excesivo. | Filter is clogged or incorrectly assembled. Appliance is not on a stable surface. | Turn off, unplug, clean and reassemble the filter correctly. Place on a stable surface. |
| Rendimiento bajo de jugo o pulpa húmeda. | Filter is clogged. Incorrect speed setting for ingredients. | Clean the filter thoroughly. Use the appropriate speed setting (Speed 2 for hard ingredients). |
7. Especificaciones
- Número de modelo: HR1922/21
- Marca: PHILIPS
- Fuerza: 1200 vatios
- Volumentage: 120 voltios
- Capacidad de jugo: 1.5 litros
- Material: Acero inoxidable
- Dimensiones del producto (L x An x Al): 29.6P x 25l x 43.2H centímetros
- Peso del artículo: 4.7 kilogramos
- Instrucciones de cuidado: Hand wash only (for certain parts like the filter)
8. Garantía y soporte
This Philips appliance is covered by a warranty valid from the date of purchase. For detailed warranty terms and conditions, please refer to the warranty card included with your product or visit the official Philips websitio.
For technical assistance, spare parts, or repair services, please contact Philips customer support in your region. Ensure you have your model number (HR1922/21) and proof of purchase available when contacting support.


