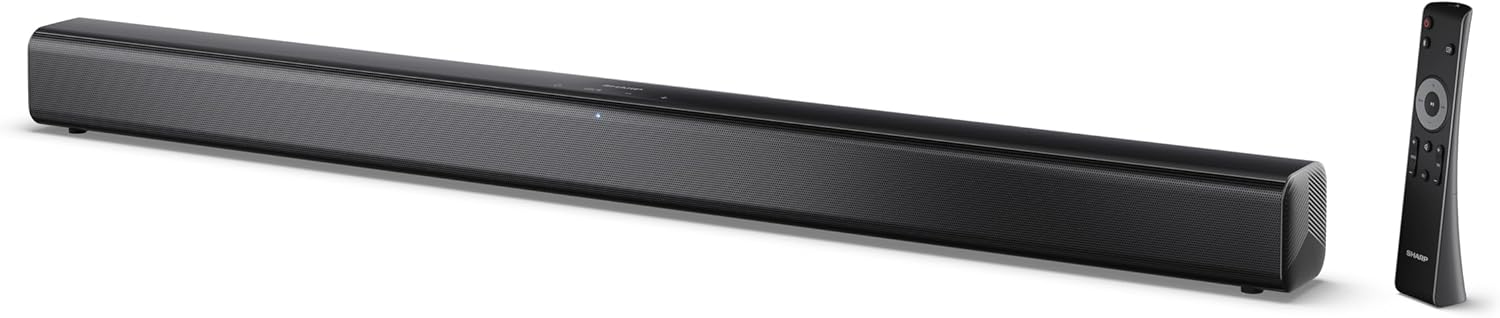
Image 0.1: The SHARP HT-SB145 2.0 Channel Soundbar shown alongside its remote control.
1. Einleitung
This manual provides essential instructions for the safe and efficient operation of your SHARP HT-SB145 2.0 Channel Soundbar. Please read this manual thoroughly before use and retain it for future reference.
2. Sicherheitshinweise
Beachten Sie die folgenden Sicherheitsvorkehrungen, um Stromschläge, Brände oder Schäden am Gerät zu vermeiden:
- Setzen Sie dieses Gerät keinem Tropf- oder Spritzwasser aus.
- Stellen Sie keine mit Flüssigkeit gefüllten Gegenstände, wie zum Beispiel Vasen, auf das Gerät.
- Sorgen Sie für ausreichende Belüftung. Blockieren Sie keine Belüftungsöffnungen.
- Installieren Sie das Gerät nicht in der Nähe von Wärmequellen wie Heizkörpern, Heizregistern, Öfen oder anderen Geräten (einschließlich ampKonverter (Lüfter), die Wärme erzeugen.
- Schützen Sie das Netzkabel vor Beschädigungen durch Treten oder Einklemmen.
- Verwenden Sie nur vom Hersteller angegebene Zusatzgeräte/Zubehör.
- Bei Gewitter oder längerer Nichtbenutzung des Geräts den Stecker ziehen.
- Überlassen Sie sämtliche Wartungsarbeiten qualifiziertem Servicepersonal.
3. Packungsinhalt
Bitte überprüfen Sie, ob alle unten aufgeführten Artikel in Ihrem Paket enthalten sind:
- SHARP HT-SB145 Soundbar
- Fernbedienung
- Stromkabel
- Wandhalterungen (2)
- Schrauben und Dübel (zur Montage)
- AAA Batterien (2)
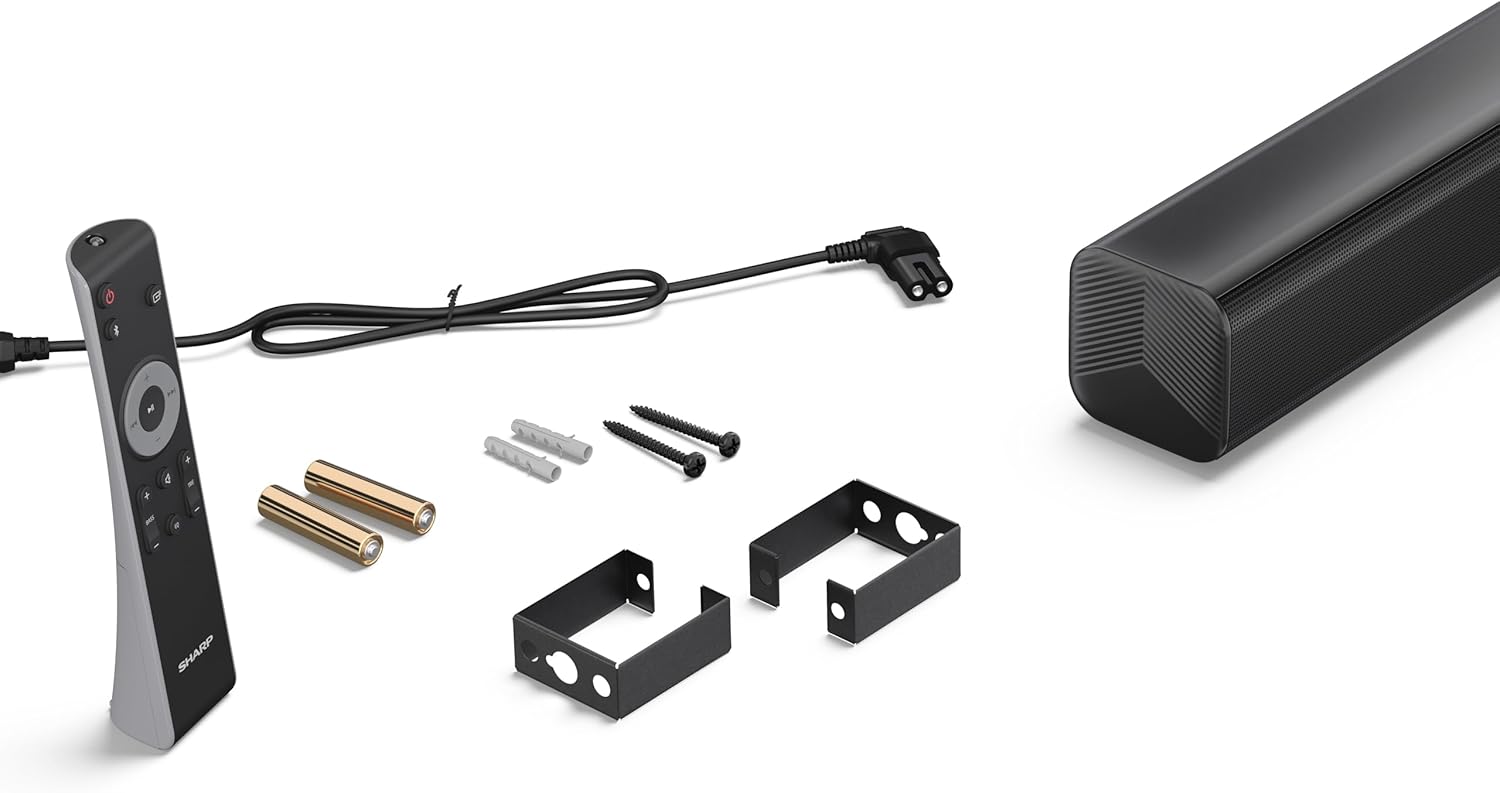
Image 3.1: Contents of the SHARP HT-SB145 Soundbar package, including the soundbar, remote control, power cable, wall mount brackets, screws, and two AAA batteries.
4. Produktüberschreitungview
4.1 Vorder- und Oberseite View

Bild 4.1: Vorderseite view of the SHARP HT-SB145 Soundbar, showcasing the speaker grille and the central LED indicator.
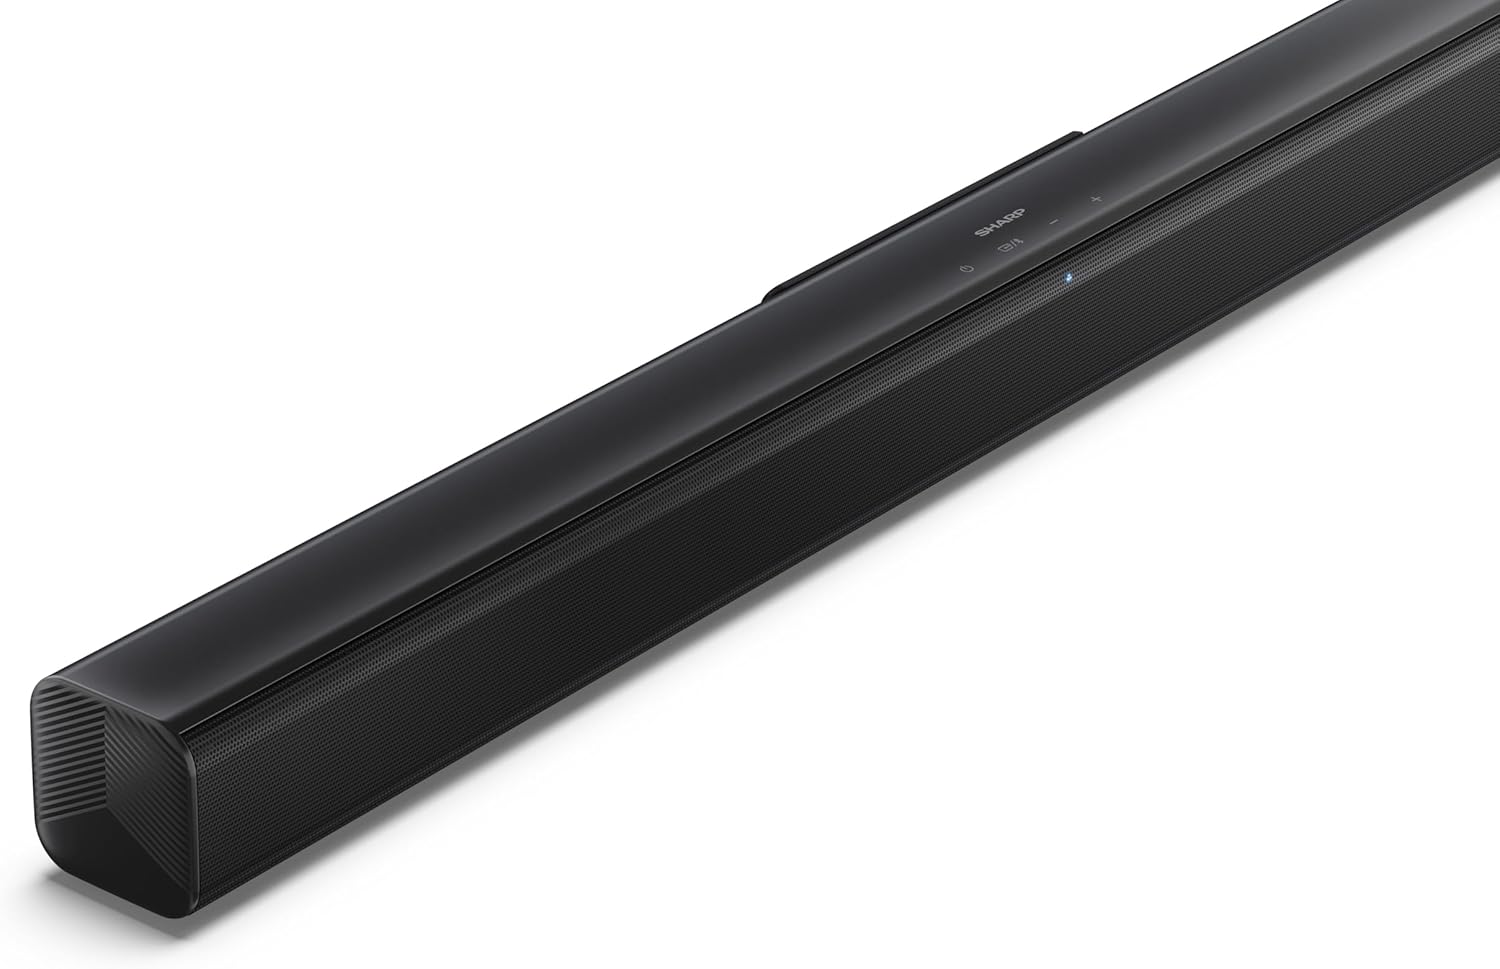
Abbildung 4.2: Schräge Oberseite view of the soundbar, highlighting the integrated control buttons for power, source selection, and volume adjustment, along with the SHARP logo.

Image 4.3: Close-up of the top-mounted control panel, showing the power button, source/Bluetooth button, and volume up/down buttons.
4.2 Anschlüsse auf der Rückseite

Bild 4.4: Hinten view of the soundbar, displaying the various input ports and power connection.

Abbildung 4.5: Detailansicht view of the rear panel connections, including OPTICAL input, USB port (5V 500mA), AUX input, and HDMI ARC (TV) port.
5. Einrichtung
5.1 Platzierungsoptionen
The SHARP HT-SB145 Soundbar offers flexible placement options:
- Platzierung der Tischplatte: Place the soundbar on a stable, flat surface in front of your TV. Ensure it does not obstruct the TV's remote sensor.
- Wandmontage: Use the provided wall mount brackets to attach the soundbar to a wall below your TV. Refer to section 5.4 for detailed wall mounting instructions.

Image 5.1: The soundbar positioned on a media console beneath a television, demonstrating a typical tabletop setup.
5.2 An die Stromversorgung anschließen
- Connect the power cable to the AC IN port on the rear of the soundbar.
- Stecken Sie das andere Ende des Stromkabels in eine Wandsteckdose.
5.3 Audioverbindungen
Choose one of the following methods to connect the soundbar to your TV or other audio source:
- HDMI ARC/CEC (Empfohlen):
Connect an HDMI cable (not included) from the HDMI ARC port on the soundbar to the HDMI ARC port on your TV. This connection allows for audio return and control via your TV remote.
- Optisch:
Connect an optical cable (not included) from the OPTICAL port on the soundbar to the optical digital output on your TV or audio source.
- AUX:
Connect a 3.5mm audio cable (not included) from the AUX port on the soundbar to the headphone jack or audio output on your TV or audio source.
5.4 Wandmontage
Befolgen Sie diese Schritte für eine sichere Wandmontage:
- Bestimmen Sie den gewünschten Montageort an der Wand und achten Sie darauf, dass er waagerecht ist und sich in Reichweite von Strom- und Audiokabeln befindet.
- Mark the positions for the two wall mount brackets using a pencil. The distance between the brackets should match the mounting points on the soundbar.
- Drill pilot holes at the marked positions. Insert the wall plugs if mounting into drywall or plaster.
- Secure the wall mount brackets to the wall using the provided screws.
- Carefully attach the soundbar to the mounted brackets. Ensure it is securely seated.
6. Bedienungsanleitung
6.1 Ein-/Ausschalten
- Drücken Sie die Leistung Zum Ein- und Ausschalten des Geräts dient eine Taste an der Soundbar oder auf der Fernbedienung.
6.2 Quellenauswahl
Drücken Sie die Quelle button on the soundbar or remote control repeatedly to cycle through the available input sources:
- HDMI-ARC: Für Audio von einem über HDMI ARC angeschlossenen Fernseher.
- OPTISCH: Für Audio von einem Gerät, das über ein optisches Kabel angeschlossen ist.
- AUX: For audio from a device connected via 3.5mm audio cable.
- BLUETOOTH: Für drahtloses Audio-Streaming.
- USB: For audio playback from a USB drive.
6.3 Lautstärkeregelung
- Drücken Sie die Volume + Taste, um die Lautstärke zu erhöhen.
- Drücken Sie die Lautstärke - Taste, um die Lautstärke zu verringern.
6.4 Bluetooth-Kopplung
- Turn on the soundbar and select the Bluetooth source. The LED indicator will flash, indicating pairing mode.
- Aktivieren Sie Bluetooth auf Ihrem Smartphone, Tablet oder einem anderen Gerät.
- Suchen nach "SHARP HT-SB145" in your device's Bluetooth list and select it to pair.
- Once paired, the LED indicator on the soundbar will glow steadily. You can now stream audio wirelessly.
6.5 USB-Wiedergabe
The soundbar supports MP3/WAV audio playback from a USB drive.
- Insert a USB drive containing MP3/WAV audio files in den USB-Anschluss auf der Rückseite der Soundbar einstecken.
- Select the USB source using the Source button.
- Playback will begin automatically. Use the remote control to navigate tracks (if supported).
The USB port also provides 5V 500mA for charging compatible devices.
7. Wartung
- Reinigung: Reinigen Sie die Oberfläche der Soundbar mit einem weichen, trockenen Tuch. Verwenden Sie keine flüssigen Reinigungsmittel oder Scheuermittel.
- Lagerung: Wenn Sie das Gerät über einen längeren Zeitraum lagern, ziehen Sie den Netzstecker und bewahren Sie es an einem kühlen, trockenen Ort auf.
8. Fehlerbehebung
| Problem | Mögliche Ursache | Lösung |
|---|---|---|
| Kein Strom | Stromkabel nicht angeschlossen oder Steckdose nicht aktiv. | Stellen Sie sicher, dass das Netzkabel fest angeschlossen ist und die Steckdose funktioniert. |
| Kein Ton | Incorrect input source selected, volume too low, or cable connection issue. | Wählen Sie die richtige Eingangsquelle. Erhöhen Sie die Lautstärke. Überprüfen Sie die Audiokabelverbindungen. |
| Die Bluetooth-Kopplung schlägt fehl | Soundbar not in pairing mode, or device too far. | Ensure soundbar is in Bluetooth pairing mode (flashing LED). Move device closer. Try re-pairing. |
| Fernbedienung funktioniert nicht | Batteries depleted or obstructed signal. | Tauschen Sie die Batterien aus. Stellen Sie sicher, dass sich keine Hindernisse zwischen Fernbedienung und Soundbar befinden. |
9. Spezifikationen
| Besonderheit | Detail |
|---|---|
| Modellname | HT-SB145 |
| Lautsprechertyp | Soundbar |
| Kanäle | 2.0 Kanäle |
| Maximale Ausgangsleistung | 150 Watt |
| Bluetooth-Version | 5.3 |
| Konnektivität | HDMI ARC/CEC, Optical, AUX, Bluetooth, USB |
| USB-Wiedergabe | MP3 / WAV |
| USB-Ladeausgang | 5 V, 500 mA |
| Produktabmessungen (L x B x H) | 80 cm x 6.2 cm x 6.3 cm (31.5 Zoll x 2.4 Zoll x 2.5 Zoll) |
| Artikelgewicht | 1.4 Kilogramm (3.1 Pfund) |
| Im Lieferumfang enthaltene Komponenten | Remote Control, Power Cable, Wall Mount Brackets, AAA Batteries |

Image 9.1: Diagram illustrating the dimensions of the SHARP HT-SB145 Soundbar: 800mm length, 63mm height, and 63mm depth.
10. Garantie und Support
Informationen zur Garantie und zum technischen Support finden Sie auf der Ihrem Produkt beiliegenden Garantiekarte oder auf der offiziellen Sharp-Website. webBewahren Sie Ihren Kaufbeleg für Garantieansprüche auf.
For further assistance, contact Sharp customer service.


