Einführung
Thank you for choosing the AOSU Solar Wall Light Camera System. This system integrates a security camera with a solar-powered wall light, offering comprehensive surveillance and illumination for your property. This manual provides detailed instructions for installation, operation, maintenance, and troubleshooting to ensure optimal performance of your device.
Packungsinhalt
Please check the package for the following items. If any items are missing or damaged, please contact AOSU customer support.
- AOSU Solar Wall Light Camera Unit
- Abnehmbares Solarpanel
- Montagehalterung
- Montageschrauben-Set (Schrauben, Dübel)
- USB-Ladekabel
- Kurzanleitung
- Bohrschablone
Produkt überview
Familiarize yourself with the components of your AOSU Solar Wall Light Camera System.
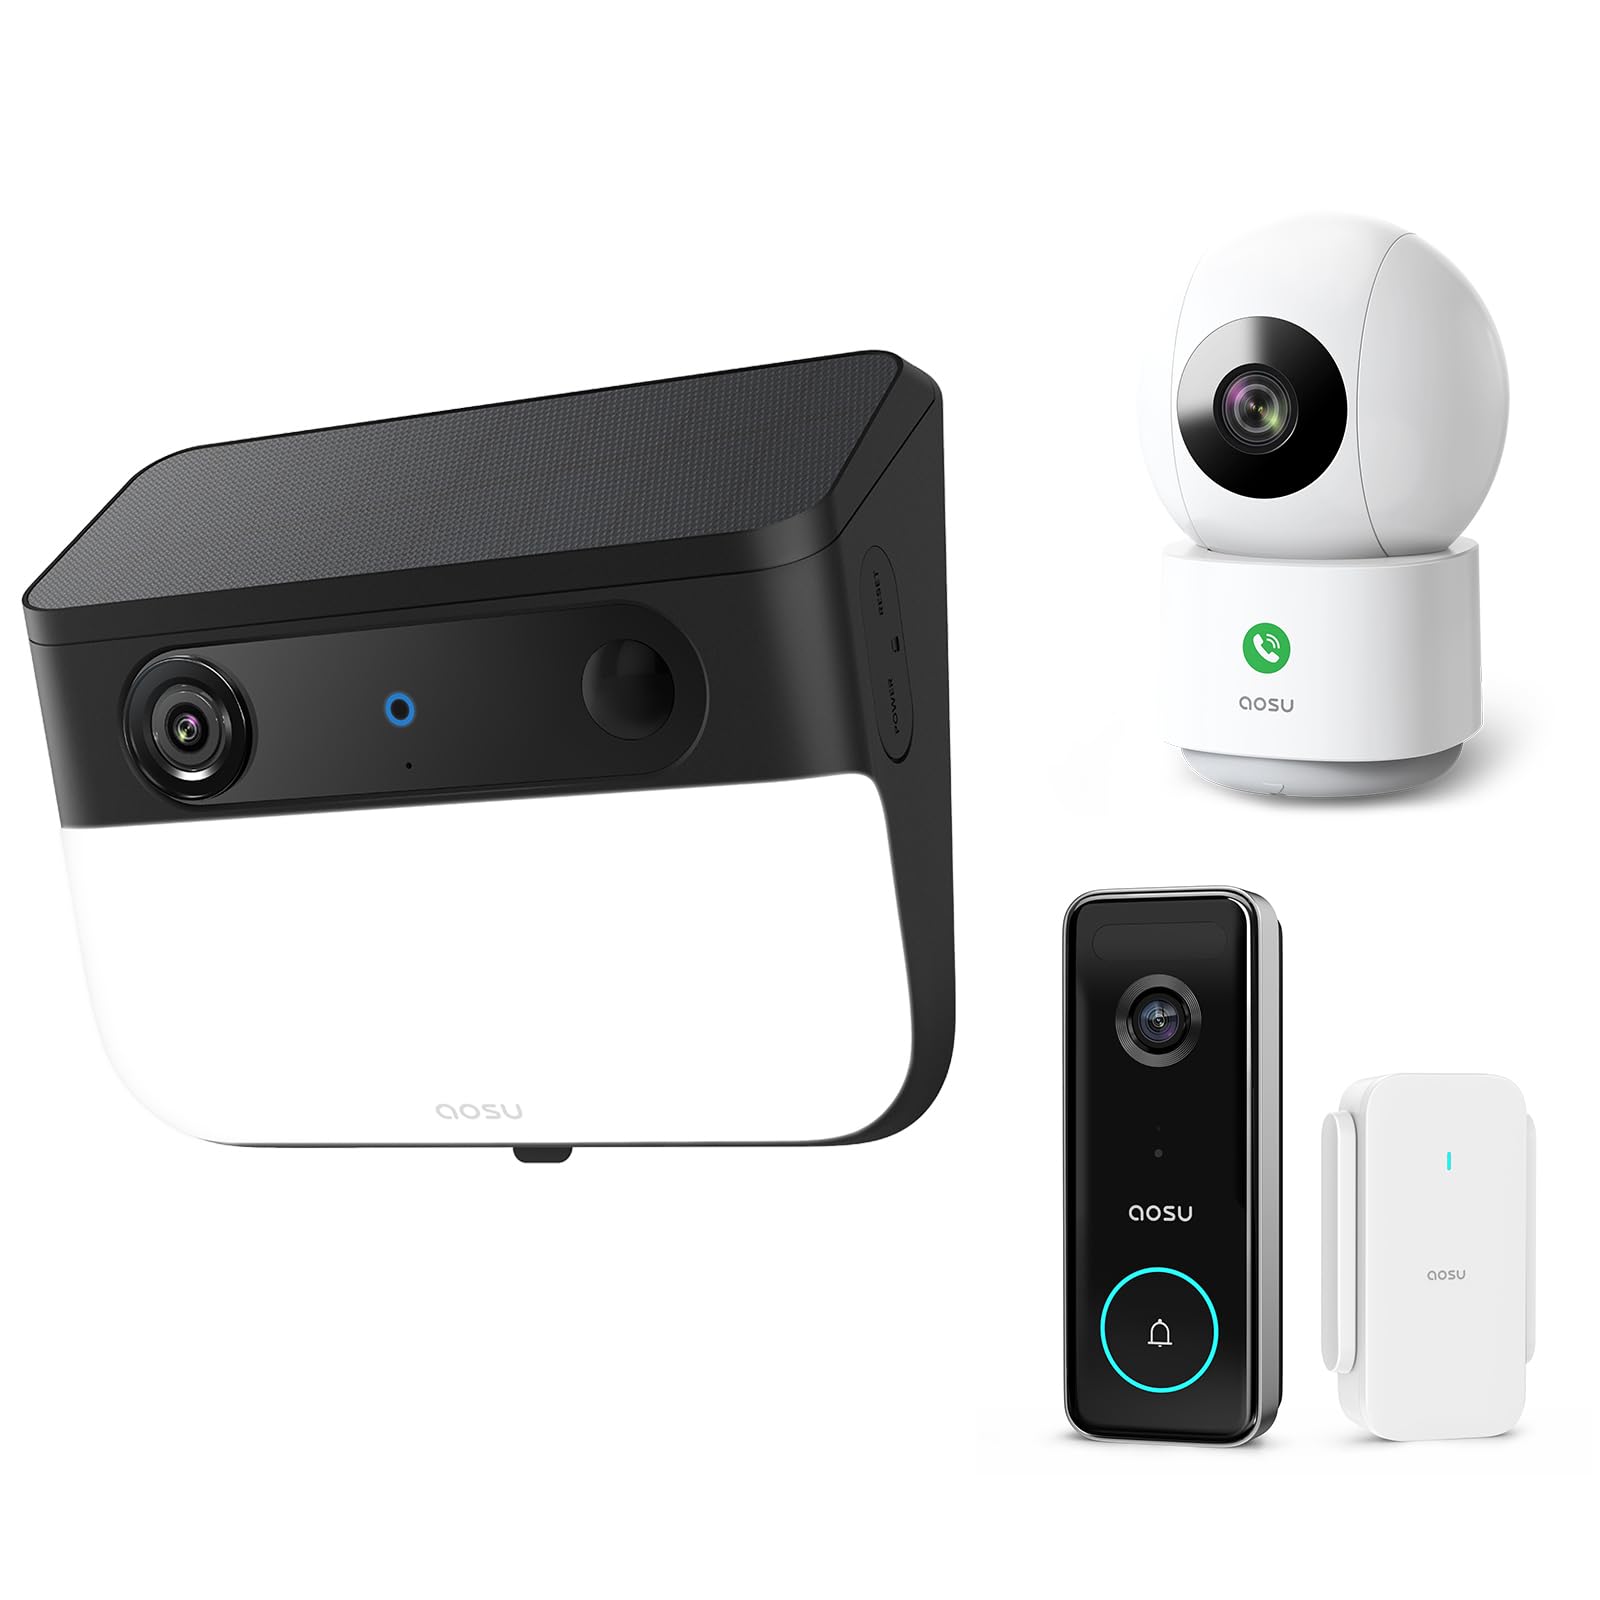
Image 1: AOSU Solar Wall Light Camera System. This image displays the main camera unit integrated with a wall light, alongside its detachable solar panel.
- Kameraobjektiv: Nimmt Videoaufnahmen auftage.
- LED-Lichtpanel: Provides 400-lumen illumination.
- PIR-Sensor: Detects passive infrared motion.
- Radarsensor: Enhances motion detection accuracy.
- Mikrofon: Nimmt Ton auf.
- Lautsprecher: Enables two-way audio communication and siren.
- Solarpanel-Anschluss: Connects the detachable solar panel for charging.
- Reset-Taste: Used for factory reset (typically located under a cover).
- Statusanzeigeleuchte: Shows device status (e.g., charging, connected, recording).
Aufstellen
1. Erstes Aufladen
Before installation, fully charge the camera unit using the provided USB cable. Connect the USB cable to the charging port on the camera and a standard 5V/2A USB power adapter (not included). The status indicator light will show charging progress.
2. App-Installation und Kontoerstellung
- Download the "AOSU Security" app from the Apple App Store or Google Play Store.
- Öffne die App und erstelle ein neues Konto oder melde dich an, falls du bereits eines hast.
3. Gerätekopplung
- Tippen Sie in der AOSU Security App auf das "+"-Symbol, um ein neues Gerät hinzuzufügen.
- Select "Solar Wall Light Camera" from the list of devices.
- Follow the on-screen instructions to power on the camera and scan the QR code displayed in the app using the camera's lens.
- Connect the camera to your 2.4GHz Wi-Fi network. Ensure your Wi-Fi signal is strong at the installation location.
- Once connected, name your device and complete the pairing process.
4. Montage der Kamera und des Solarpanels
Wählen Sie einen Montageort, der eine klare Sicht ermöglicht. view des Bereichs, den Sie überwachen möchten und empfängt ampdas direkte Sonnenlicht für das Solarpanel.
- Markierung: Use the drill template to mark the screw positions on the wall.
- Bohren: Drill holes at the marked positions. Insert wall anchors if mounting on masonry or stucco.
- Montagehalterung: Befestigen Sie die Montagehalterung mit den mitgelieferten Schrauben an der Wand.
- Kamera anschließen: Slide the camera unit onto the mounting bracket until it clicks into place. Adjust the camera angle as needed.
- Installation der Solarmodule:
- Mount the detachable solar panel in a location that receives maximum direct sunlight throughout the day.
- Connect the solar panel cable to the solar panel port on the camera unit. Ensure a secure connection.
Bedienungsanleitung
Live View und Aufzeichnung
- Open the AOSU Security app and select your camera to access the live view.
- Aus dem Leben view, you can manually record video, take screenshots, and use two-way audio.
- Recorded events are stored in the cloud or on a local storage card (if installed).
Bewegungserkennung und Alarme
- The camera utilizes advanced radar and PIR motion sensors for accurate detection.
- Configure motion detection sensitivity and activity zones within the app settings.
- Aktivieren Sie Push-Benachrichtigungen, um auf Ihrem Smartphone Warnmeldungen zu erhalten, sobald eine Bewegung erkannt wird.
- Intelligente Bewegungsverfolgung: Activate this feature in the app to allow the camera to automatically follow detected objects within its field of view.
Wall Light Operation
- The 400-lumen wall light automatically activates at night when motion is detected.
- Adjust light duration and brightness settings via the AOSU Security app.
Farb-Nachtsicht
The camera provides vivid, full-color images even in low-light conditions or complete darkness, thanks to its advanced color night vision technology. This feature activates automatically.
Doorbell Camera Functionality (if applicable)
If your model includes doorbell functionality, visitors can press the doorbell button. This will trigger a notification on your phone, allowing you to see and speak to the visitor via the app.
Wartung
- Reinigung: Regularly wipe the camera lens, light panel, and solar panel with a soft, damp Mit einem Tuch Staub und Schmutz entfernen. Keine scharfen Chemikalien verwenden.
- Wirkungsgrad der Solarmodule: Ensure the solar panel remains free from obstructions (e.g., leaves, snow) to maximize charging efficiency.
- Firmware-Updates: Periodically check the AOSU Security app for available firmware updates. Keeping your device's firmware up-to-date ensures optimal performance and security. Follow the in-app instructions for updates.
- Batteriepflege: While solar-powered, extreme cold or prolonged periods without sunlight may reduce battery performance. Ensure the solar panel receives adequate sunlight.
Fehlerbehebung
Kamera verbindet sich nicht mit WLAN
- Stellen Sie sicher, dass Ihr WLAN-Netzwerk mit 2.4 GHz arbeitet. Die Kamera unterstützt kein 5-GHz-WLAN.
- Check Wi-Fi signal strength at the camera's location. Move the router closer or use a Wi-Fi extender if necessary.
- Überprüfen Sie, ob das in der App eingegebene WLAN-Passwort korrekt ist.
- Try resetting the camera by pressing the reset button for 5 seconds until you hear a prompt.
Schlechte Bildqualität
- Reinigen Sie die Kameralinse, um Flecken oder Schmutz zu entfernen.
- Ensure there is adequate lighting in the monitored area, especially for color night vision.
- Überprüfen Sie Ihre Internetgeschwindigkeit. Eine langsame Verbindung kann Live-Übertragungen beeinträchtigen. view Qualität.
Motion Detection Not Working or Too Many False Alerts
- Passen Sie die Empfindlichkeitseinstellungen der Bewegungserkennung in der App an.
- Define specific activity zones to focus detection on critical areas and ignore irrelevant movements.
- Stellen Sie sicher, dass die Kamera view wird nicht durch sich bewegende Objekte wie Baumäste behindert.
Solarpanel lädt nicht
- Prüfen Sie, ob das Kabel des Solarpanels fest mit der Kamera verbunden ist.
- Ensure the solar panel is positioned to receive direct sunlight for several hours daily, free from shade.
- Clean the surface of the solar panel to remove any dirt or debris.
Technische Daten
| Auflösung | 5MP Ultra HD (3K) |
| Nachtsicht | Fortschrittliche Farbnachtsicht |
| Lichtleistung | 400 Lumen |
| Bewegungserkennung | Triple Motion Detection (Radar + PIR + Human Detection) |
| Sendungsverfolgung | Intelligente Bewegungsverfolgung |
| Konnektivität | 2.4 GHz WLAN |
| Stromquelle | Wiederaufladbarer Akku, Solarpanel |
| Optische Linse | 7-piece ultra-clear optical glass lens |
| ASIN | B0F7Y1PRVT |
| Zuerst verfügbar | 25. März 2025 |
Garantie und Support
AOSU provides a limited warranty for this product. For detailed warranty information, please refer to the warranty card included in your package or visit the official AOSU webFür technischen Support, Produktanfragen oder Garantieansprüche wenden Sie sich bitte an den AOSU-Kundendienst über die auf der offiziellen Website angegebenen Kontaktdaten. webWebsite oder innerhalb der AOSU Security App.
Offiziell WebWebsite: www.aosu.com (Hinweis: Dies ist ein Platzhalter. URLBitte konsultieren Sie die Dokumentation Ihres Produkts für die korrekte Angabe. webWebsite.)


