1. Einleitung
Vielen Dank für Ihren Einkauf.asing the Zenwire A10 Mini Portable Projector. This device is designed to provide a versatile and convenient projection experience, allowing you to display content from various sources, including smartphones, tablets, and computers. Please read this manual carefully before using the projector to ensure proper operation and to maximize its lifespan.
2. Wichtige Sicherheitshinweise
- Schauen Sie nicht direkt in die Projektorlinse, wenn der lamp ist eingeschaltet.
- Sorgen Sie für ausreichende Belüftung um den Projektor herum, um eine Überhitzung zu vermeiden. Blockieren Sie die Lüftungsöffnungen nicht.
- Verwenden Sie ausschließlich das mit dem Projektor gelieferte Netzteil.
- Halten Sie den Projektor von Wasser, Feuchtigkeit und brennbaren Materialien fern.
- Versuchen Sie nicht, den Projektor selbst zu zerlegen oder zu reparieren. Wenden Sie sich an qualifiziertes Servicepersonal.
- Stellen Sie den Projektor auf eine stabile, ebene Fläche.
- Bei Gewittern oder längerer Nichtbenutzung sollte der Projektor vom Stromnetz getrennt werden.
3. Packungsinhalt
Bitte überprüfen Sie den Packungsinhalt nach dem Auspacken. Sollten Artikel fehlen oder beschädigt sein, wenden Sie sich bitte an Ihren Händler.
- Zenwire A10 Mini Portable Projector
- Fernbedienung
- Netzteil
- Bedienungsanleitung
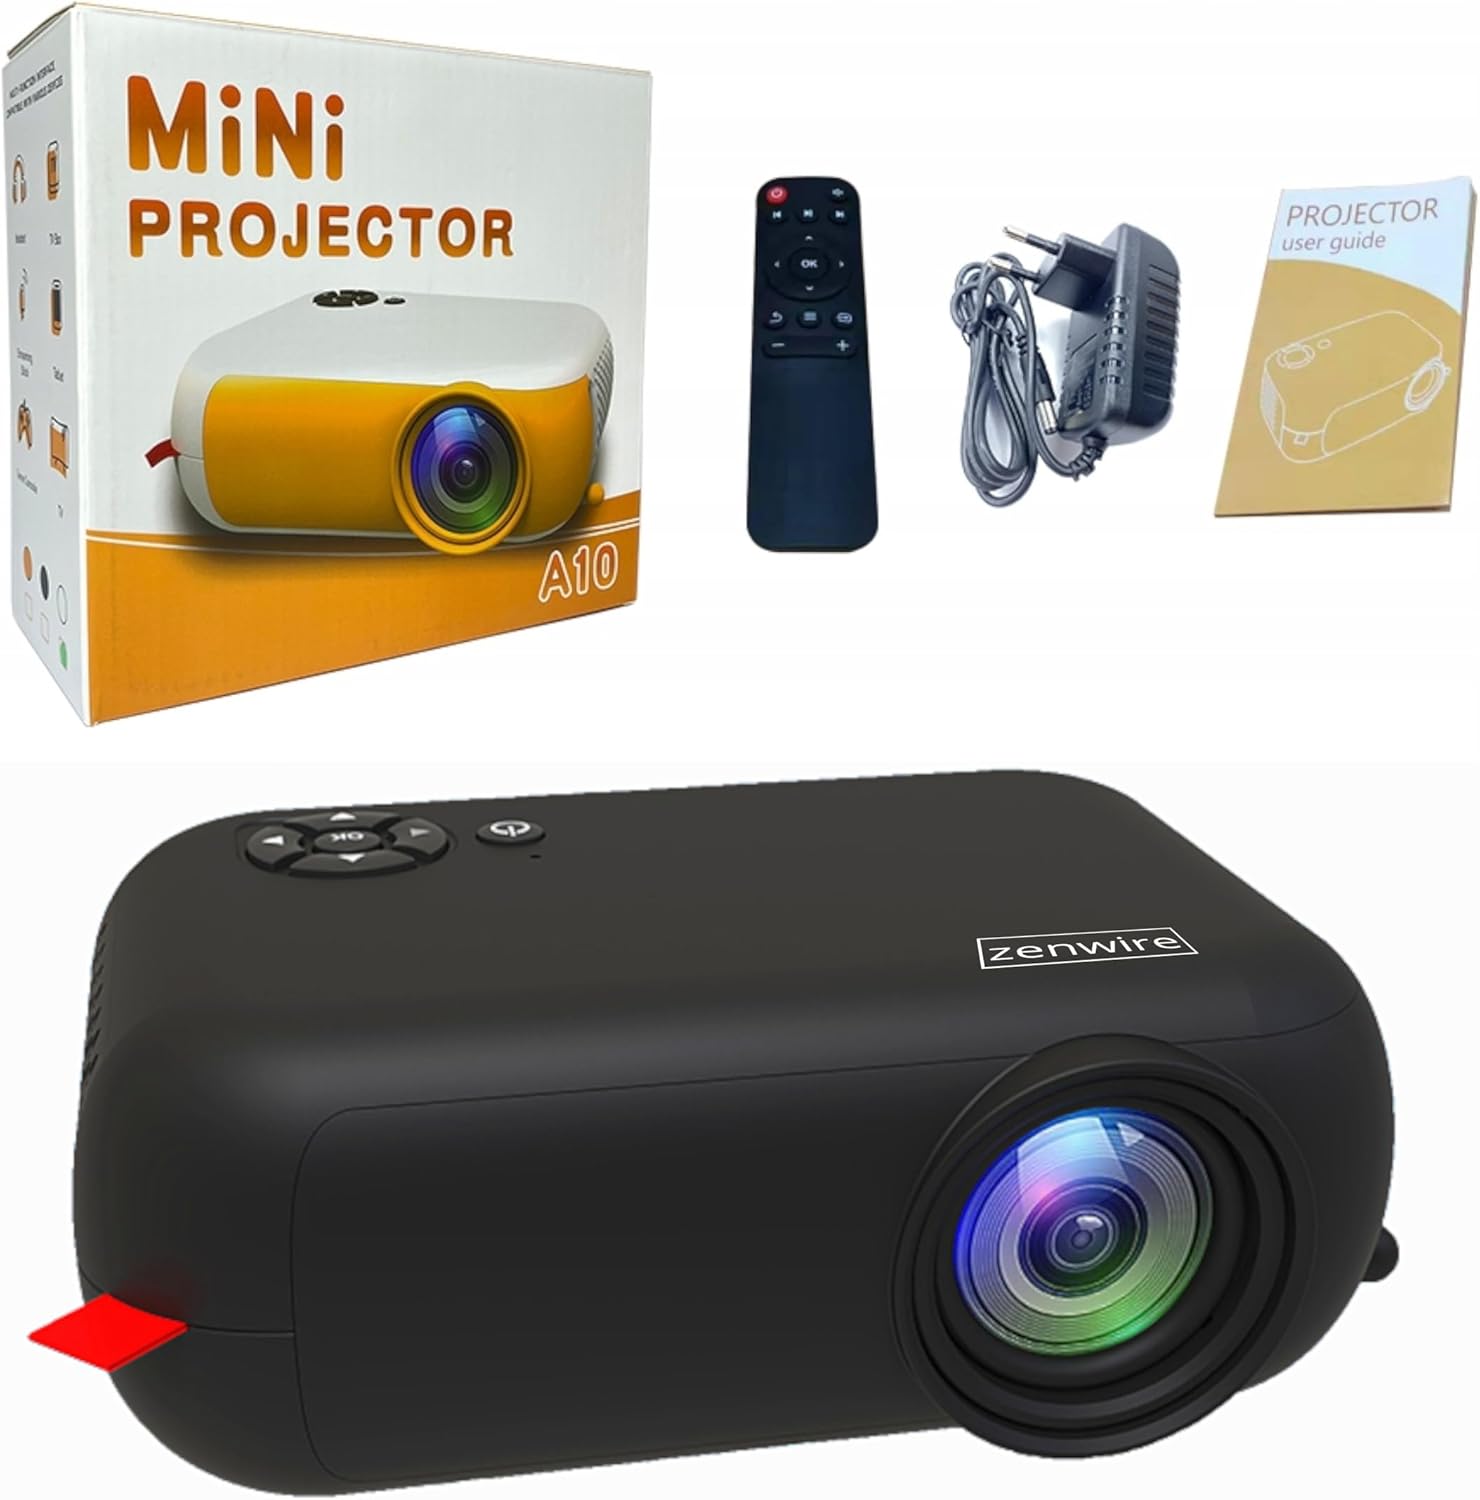
Image: Contents of the Zenwire A10 Mini Projector package, including the projector, remote control, power adapter, and user manual.
4. Produktüberschreitungview
4.1 Projector Dimensions and Design
The Zenwire A10 is designed for portability, featuring a compact and lightweight form factor. Its dimensions are approximately 14cm x 10cm x 5.5cm, making it easy to carry and set up in various locations.

Image: The Zenwire A10 Mini Projector held in a hand, illustrating its compact size and portability.
4.2 Anschlüsse und Bedienelemente
The projector features a range of input and output ports for versatile connectivity, along with intuitive controls.

Image: Rear panel of the Zenwire A10 Mini Projector, showing the 5V-IN DC power input, IR receiver, USB port, 3.5mm audio jack, HDMI port, and SD card slot.
- 5V-IN DC: Stromanschluss für den Projektor.
- IR: Infrarot-Empfänger für die Fernbedienung.
- USB: Schließen Sie USB-Speichergeräte zur Medienwiedergabe an.
- Kopfhöreranschluss (3.5 mm): Schließen Sie externe Lautsprecher oder Kopfhörer an.
- HDMI: Connect devices such as laptops, gaming consoles, or streaming sticks.
- SD: Insert Micro SD cards for media playback.
- Fokusrad: Adjust image sharpness (located on the side).
- Bedienfeld: Buttons on top for navigation and selection.
5. Einrichtung
5.1 Stromanschluss
- Schließen Sie das mitgelieferte Netzteil an das Gerät an. 5V-IN DC Anschluss am Projektor.
- Stecken Sie das Netzteil in eine Wandsteckdose.
- Drücken Sie den Netzschalter am Projektor oder an der Fernbedienung, um ihn einzuschalten.
5.2 Placement and Focus Adjustment
- Place the projector on a stable surface or mount it according to your preference. Ensure the projector lens is facing the projection surface (wall or screen).
- Adjust the distance between the projector and the screen to achieve your desired image size. The projector supports screen sizes up to 100 inches.
- Rotate the focus wheel (typically located near the lens) until the projected image appears clear and sharp.

Image: Diagram illustrating the Zenwire A10 Mini Projector's capability to project various screen sizes, from 13 inches up to 100 inches, depending on the projection distance.
6. Bedienung des Projektors
6.1 Wireless Connection (Miracast & Airplay)
The Zenwire A10 supports wireless screen mirroring via 2.4/5GHz WiFi, compatible with Android (Miracast) and iOS (Airplay) devices.
- Stellen Sie sicher, dass Ihr Projektor und Ihr Mobilgerät mit demselben WLAN-Netzwerk verbunden sind.
- On the projector's main menu, select the 'Screen Mirroring' or 'Wireless Display' option.
- Für Android: On your Android phone/tablet, enable 'Wireless Display', 'Screen Mirroring', 'Smart View', or similar function (names may vary by device). Select the projector from the list of available devices.
- Für iOS: On your iPhone/iPad, open Control Center and tap 'Screen Mirroring'. Select the projector from the list of available devices.
- The content from your mobile device should now be mirrored on the projector screen.
6.2 Kabelverbindungen
The projector offers multiple wired input options for various devices.

Image: The Zenwire A10 Mini Projector connected to various devices such as smartphones, tablets, laptops, desktop computers, gaming consoles, and media players, highlighting its versatile connectivity.
- HDMI: Connect a laptop, PC, gaming console (e.g., Xbox, PlayStation), or streaming device (e.g., Amazon Fire TV Stick, Google Chromecast) using an HDMI cable. Select the HDMI input source on the projector.
- USB: Insert a USB flash drive or external hard drive into the USB port. The projector's media player will allow you to browse and play supported video, audio, and image files.
- Micro SD: Insert a Micro SD card into the SD card slot. Similar to USB, you can access media files through the projector's interface.
- Audioausgang (3.5-mm-Klinkenbuchse): Connect external speakers or headphones to enhance the audio experience.
6.3 Menünavigation
Use the remote control or the buttons on the projector to navigate through the on-screen menu. Select input sources, adjust picture settings (brightness, contrast, color), sound settings, and other system preferences.
7. Wartung
- Linsenreinigung: Verwenden Sie ein weiches, fusselfreies Tuch, das speziell für optische Linsen entwickelt wurde, um die Projektorlinse vorsichtig abzuwischen. Vermeiden Sie die Verwendung von Scheuermitteln oder übermäßigen Druck.
- Staubentfernung: Regularly clean the projector's exterior with a soft, dry cloth. Use a small brush or compressed air to clear dust from the ventilation openings to ensure proper airflow.
- Lagerung: Bewahren Sie den Projektor bei Nichtgebrauch an einem kühlen, trockenen Ort, geschützt vor direkter Sonneneinstrahlung und extremen Temperaturen, auf. Verwenden Sie die Originalverpackung oder eine Schutzhülle, um Staubansammlungen und Beschädigungen zu vermeiden.
8. Fehlerbehebung
If you encounter issues with your Zenwire A10 projector, refer to the following common problems and solutions:
| Problem | Mögliche Ursache | Lösung |
|---|---|---|
| Kein Bild auf dem Bildschirm | Stromanschluss fehlt; Falsche Eingangsquelle; Gerät nicht ordnungsgemäß angeschlossen. | Check power cable; Select correct input source (HDMI, USB, etc.); Reconnect source device. |
| Bild ist verschwommen | Fokus nicht eingestellt; Projektor zu nah/zu weit von der Leinwand entfernt. | Adjust the focus wheel; Adjust projection distance. |
| Kein Ton | Lautstärke zu niedrig; Stummgeschaltet; Externes Audiogerät nicht angeschlossen/ausgewählt. | Increase volume; Unmute; Check external speaker connection or select internal speaker. |
| Probleme mit der drahtlosen Verbindung | Not on same Wi-Fi network; Device not compatible; Interference. | Ensure both devices are on the same Wi-Fi; Verify device compatibility; Try moving closer to Wi-Fi router. |
9. Spezifikationen
| Besonderheit | Detail |
|---|---|
| Marke | Zenwire |
| Modellnummer | A10 |
| Produkttyp | Compact and Portable Projector |
| Native Auflösung | 480 x 360p |
| Maximale Bildschirmauflösung | 1920 x 1080 (Full HD) |
| Helligkeit | 1800lm / 60 ANSI |
| Kontrastverhältnis | 2000:1 |
| Anzeigetyp | LED |
| Konnektivitätstechnologie | Wi-Fi (2.4/5GHz), HDMI, USB, Micro SD, 3.5mm Audio Jack |
| Wireless-Funktionen | Miracast, Airplay |
| Kompatible Geräte | Smartphones (Android, iOS), Tablets, Laptops, PCs, Gaming Consoles |
| Empfohlene Verwendung | Heimkino |
| Abmessungen (ca.) | 14cm x 10cm x 5.5cm |
10. Garantie und Support
The Zenwire A10 Mini Portable Projector comes with a standard manufacturer's warranty. For specific warranty terms and conditions, please refer to the documentation provided at the time of purchase or contact your retailer. For technical support or service inquiries, please reach out to Zenwire customer service through their official webWebsite oder die mit Ihrem Produkt gelieferten Kontaktinformationen.


