Produkt überview
The NICREW C10 Plants LED Aquarium Light is designed to provide optimal lighting for aquatic plants, featuring a full spectrum, adjustable brightness, and a programmable day/night cycle. Its robust construction ensures durability and efficient heat management.

Image: NICREW C10 Plants LED Aquarium Light, designed to maximize plant growth potential.
Hauptmerkmale
- Excellent Spectrum: Combines 6500K white, 460nm blue, and TRUE 665nm deep red LEDs for efficient photosynthesis.
- Helligkeit einstellbar: Individual dimming from 0% to 100% for CH1 (white and red LEDs) and CH2 (blue LEDs), offering 10,000 color temperature combinations.
- Day+Night Cycle: Simulates natural day and night cycles with gradual ramp-up and dim-down features for sunrise and sunset.
- Nature-Centered Design: Gentle light transitions prevent startling fish. Light is completely off at night for fish rest.
- Water-Resistant and Effective Heat Management: Aluminum alloy body with heat sinks for durability and cooling.
Setup und Installation
Follow these steps for initial setup and installation of your NICREW C10 Plants LED Aquarium Light.
Montage der Leuchte
The light features adjustable mounting arms to fit various aquarium sizes. Simply extend the brackets to rest securely on the edges of your rimless tank.

Image: The NICREW C10 light with adjustable brackets, showing how it fits various aquarium sizes and its dimensions.
Controller-Einrichtung
The C10 light includes an inline digital controller for easy programming. Refer to the video below for a detailed guide on setting up the controller.
Video: This video from NICREW demonstrates how to use the C10 Plants LED Controller, including first-time setup, setting the current time, and programming the timer and color spectrum.
First Time Setup (Reset to Factory Settings)
- Halten Sie die Einstellungen Knopf und Leistung button simultaneously for 3 seconds to reset the unit to default factory settings.
Aktuelle Uhrzeit einstellen
- Halten Sie die Einstellungen button for 3 seconds. The current time will begin to flash.
- Verwenden Sie die + Und - Tasten zum Einstellen der Stunden.
- Drücken Sie die Einstellungen button to advance to the minutes setting.
- Verwenden Sie die + Und - Tasten zum Einstellen der Minuten.
- Drücken Sie die Einstellungen button again to set the time. This will advance you to the sunrise time setting.
Set the Timer (Sunrise, Sunset, Sleep)
After setting the current time, the LCD display will flash the sunrise time. Follow these steps to set the timer and color spectrum:
- Verwenden Sie die + Und - buttons to set the desired sunrise hour. Press Einstellungen to save and advance to minutes. Repeat for minutes.
- Drücken Sie die Einstellungen button to move to the sunset time setting. Use + Und - to set hours and minutes.
- Drücken Sie die Einstellungen button to move to the sleep time setting. Use + Und - to set hours and minutes.
- Tipp: If you want to use only the day cycle and not the night cycle, press the Leistung button when the sleep time is flashing. Sleep time will change to OFF, and the night cycle will be disabled. The lights will begin to dim at sunset time and turn off completely after 15 minutes.
Set the Color Spectrum (Daylight and Moonlight)
After setting the sleep time, the LCD display will flash the daylight spectrum settings.
- Verwenden Sie die + Und - buttons to set the brightness of the white and red LEDs (CH1).
- Drücken Sie die Einstellungen button to advance to the brightness of blue LEDs (CH2) setting.
- Verwenden Sie die + Und - buttons to set the brightness of the blue LEDs.
- Drücken Sie die Einstellungen button. The moonlight color spectrum will be set, and the setup is complete.

Bild: Nahaufnahme view of the NICREW C10 controller, showing its clear display and intuitive buttons for easy programming.
Bedienung des Lichts
Once programmed, the light will operate automatically according to your settings. You can also manually control the light or adjust brightness as needed.
Manual On/Off and Mode Cycling
If at any time you wish to turn your light on or off manually, simply press the Leistung Taste. Drücken Sie die Leistung button again to cycle through different modes (e.g., full spectrum, blue only, off).
Anpassen der Helligkeit
When the light is on, you can adjust the brightness of the white/red LEDs (CH1) and blue LEDs (CH2) individually using the + Und - buttons. This allows for fine-tuning the light intensity and color temperature to suit your aquarium's needs.

Image: The controller display illustrating the individual dimming controls for Channel W (White & Red LEDs) and Channel B (Blue LEDs), allowing for precise brightness adjustments from 0% to 100%.

Image: A split aquarium view demonstrating the difference between vibrant daylight illumination and natural lunar-simulated moonlight, highlighting the light's versatile modes.
Wartung
Proper maintenance ensures the longevity and optimal performance of your aquarium light and the health of your aquatic environment.
Light Unit Care
- The light is constructed from aluminum alloy with heat sinks for efficient heat dissipation. This design helps keep the LEDs cool and extends their lifespan.
- The unit is water-resistant, designed to withstand daily splashes and humidity. However, avoid submerging the unit.
- Regularly wipe the light surface with a soft, damp cloth to remove dust and water spots, ensuring maximum light output.
Algenbekämpfung
Effective algae control is crucial for a healthy aquarium. The following practices are recommended:
- Proper Lighting Period: Limit aquarium lighting to 8-10 hours per day. Excessive light can promote algae growth.
- Regelmäßiger Wasserwechsel: Perform water changes of about 15-20% every other week to reduce nutrient buildup.
- Avoid Overfeeding the Fish: Observe your fish's food consumption and adjust meal sizes as needed to prevent excess food from decaying and contributing to algae.
- Choose the Location Wisely: Keep your aquarium away from direct sunlight, which can significantly increase algae growth.
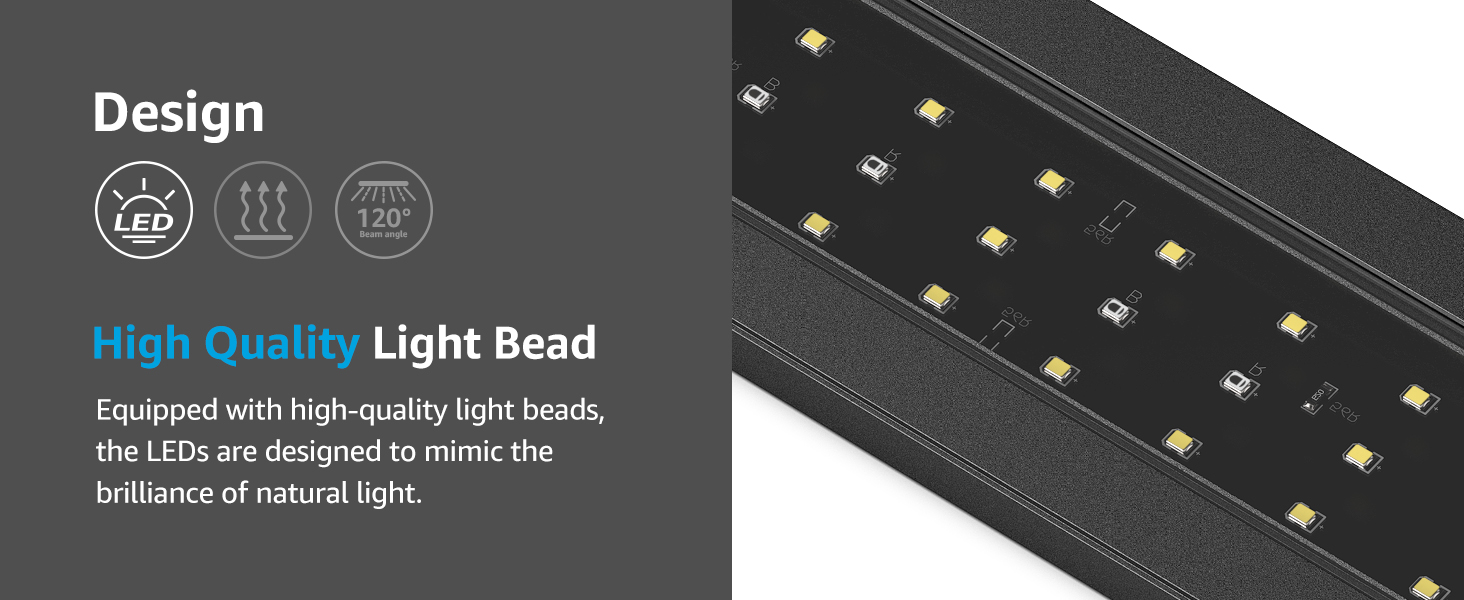
Image: Visual guide offering tips on how to effectively control algae blooming in an aquarium, including proper lighting, water changes, feeding, and placement.
Fehlerbehebung
If you encounter issues with your NICREW C10 Plants LED Aquarium Light, try the following steps:
- Licht geht nicht an: Check all power connections. Ensure the adapter is securely plugged into both the light and the power outlet.
- Incorrect Timing/Brightness: Refer to the 'Setup and Installation' section to re-program the controller. You can also perform a factory reset as described in the 'First Time Setup' section.
- Flackernde Lichter: Ensure the power supply is stable. If flickering persists, try resetting the unit.
- Anzeigeprobleme des Controllers: If the display is blank or unresponsive, check connections. A factory reset may resolve minor software glitches.
For persistent issues, please contact NICREW customer support.
Technische Daten
| Besonderheit | Spezifikation |
|---|---|
| Marke | NICREW |
| Modellname | C10 V2 |
| Artikelmodellnummer | N81214 |
| Größe | 30 - 36 Zoll |
| Wastage | 20 Watt |
| Produktabmessungen (L x B x H) | 28 x 3.1 x 0.39 Zoll |
| Artikelgewicht | 2.05 Pfund |
| Material | Aluminium |
| Lichtquellentyp | LED |
| Farbtemperatur | 6500 Kelvin |
| Lampenmerkmale | Adjustable Brightness, Day+Night Cycle, Sunrise/Sunset Simulation |
| Im Lieferumfang enthaltene Komponenten | Adapter |
Garantie
This NICREW C10 Plants LED Aquarium Light comes with a 1 Jahr HerstellergarantieBitte bewahren Sie Ihren Kaufbeleg für Garantieansprüche auf.
Unterstützung
For further assistance, technical support, or warranty inquiries, please visit the official NICREW webWebsite oder wenden Sie sich an die Kundendienstabteilung.


