1. Einrichtung
This section guides you through the initial setup of your NEC VY24G/D-9 laptop.
1.1 Auspacken und erste Inspektion
Nehmen Sie alle Komponenten vorsichtig aus der Verpackung. Prüfen Sie, ob folgende Teile vorhanden sind:
- NEC VY24G/D-9 Laptop
- Netzteil und Netzkabel
- Recovery CD
- Any additional software CDs (e.g., WinDVD, Roxio Creator)
Inspect the laptop and accessories for any visible damage. Note that the exterior casing and LCD screen may have minor cosmetic scratches from previous use, which do not affect functionality.
1.2 Anschließen des Netzteils
Before first use, connect the AC adapter to the laptop and a power outlet to charge the battery and provide power.
- Plug the DC output connector of the AC adapter into the power input port on the side of the laptop.
- Schließen Sie das Netzkabel an das Netzteil an.
- Stecken Sie das andere Ende des Netzkabels in eine geerdete Steckdose.
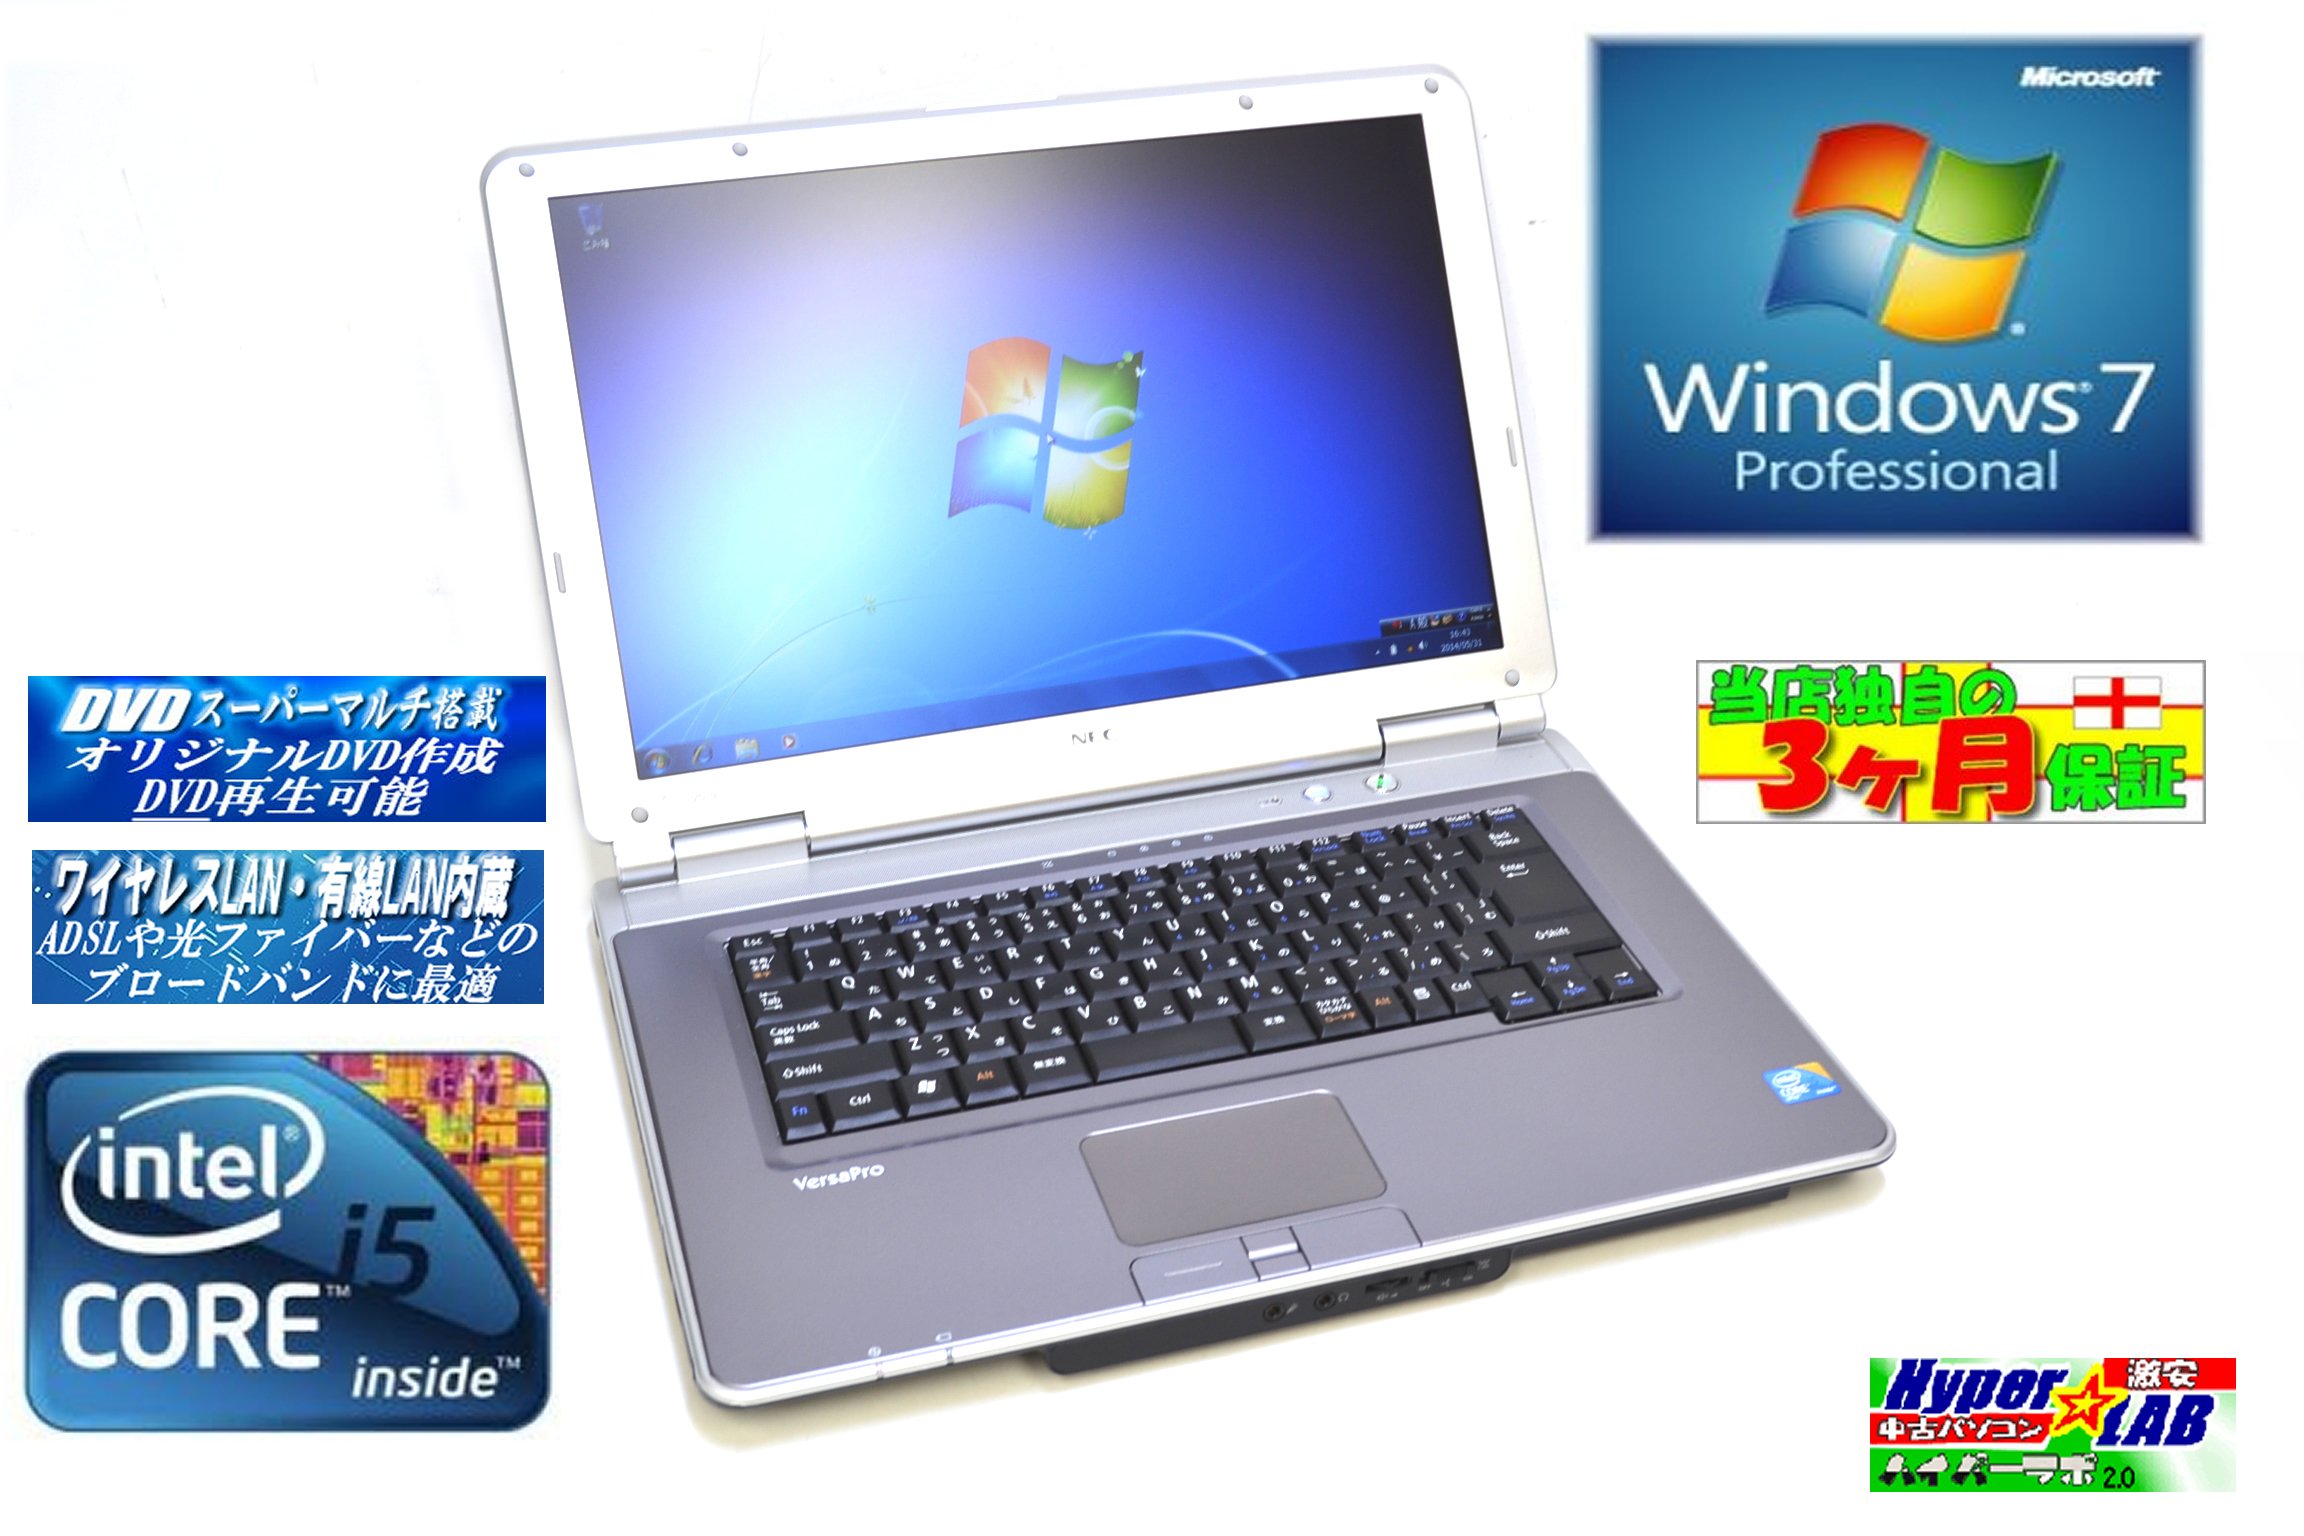
Image 1.1: The NEC VY24G/D-9 laptop shown with its AC adapter and included software/recovery CDs. The laptop is silver with a black base, and the AC adapter is a black rectangular unit with a power cord.
1.3 Erste Inbetriebnahme und Einrichtung des Betriebssystems
Press the power button to turn on the laptop. The system comes with Windows 7 Professional 32-bit pre-installed. Follow the on-screen prompts to complete the initial operating system setup, which may include setting up user accounts, time zone, and network connections.
2. Bedienungsanleitung
This section covers the basic operation of your NEC VY24G/D-9 laptop.
2.1 Ein-/Ausschalten
- So schalten Sie das Gerät ein: Drücken Sie den Netzschalter am Laptop.
- So fahren Sie herunter: Click the Start button in Windows, then select "Shut Down."
- Neustarten: Click the Start button, then select "Restart."
- Zum Schlafen: Click the Start button, then select "Sleep."
2.2 Using the DVD Multi Drive
The laptop is equipped with a DVD Multi optical drive for reading and writing CDs and DVDs.
- Drücken Sie die Auswurftaste am optischen Laufwerk, um das Fach zu öffnen.
- Legen Sie eine CD oder DVD mit der beschrifteten Seite nach oben in das Fach.
- Schieben Sie das Fach vorsichtig wieder in den Laptop, bis es einrastet.
- The operating system will typically detect the disc automatically.
2.3 Verbindung zu einem Netzwerk herstellen
The laptop supports both wired and wireless network connections.
- Kabelgebundenes LAN: Connect an Ethernet cable to the LAN port on the side of the laptop.
- Wireless LAN (802.11bgn): Use the Windows network settings to connect to available Wi-Fi networks. Ensure the wireless adapter is enabled (check for a physical switch or function key combination if Wi-Fi is not detected).
2.4 Using USB Ports and PC Card Slot
The laptop features multiple USB 2.0 ports and a PC Card slot for connecting external devices.
- USB 2.0-Anschlüsse (x5): Connect USB devices such as mice, keyboards, external hard drives, or flash drives.
- PC Card Slot (x1): Insert compatible PC Cards for expanded functionality, such as additional network adapters or storage.

Abbildung 2.1: Seite A view of the NEC VY24G/D-9 laptop, illustrating the arrangement of its various ports, including USB, LAN, and potentially VGA or serial ports.
3. Wartung
Durch sachgemäße Wartung wird die Langlebigkeit und optimale Leistung Ihres Laptops sichergestellt.
3.1 Reinigung des Laptops
- Exterieur: Mit einem weichen, fusselfreien Tuch leichtampMit Wasser oder einer milden Reinigungslösung abspülen. Scharfe Chemikalien vermeiden.
- Bildschirm: Use a microfiber cloth specifically designed for electronics screens. Do not spray liquid directly onto the screen.
- Tastatur: Verwenden Sie Druckluft, um Staub und Schmutz zwischen den Tasten zu entfernen.
3.2 Softwareaktualisierungen
Regularly check for and install updates for Windows 7 Professional and any installed applications to ensure security and performance.
3.3 Batteriepflege
To maximize battery life, avoid extreme temperatures and allow the battery to discharge partially before recharging. If storing the laptop for an extended period, ensure the battery is charged to about 50%.
4. Fehlerbehebung
Dieser Abschnitt bietet Lösungen für häufig auftretende Probleme.
4.1 Laptop lässt sich nicht einschalten
- Stellen Sie sicher, dass das Netzteil sowohl mit dem Laptop als auch mit einer funktionierenden Steckdose fest verbunden ist.
- Überprüfen Sie die Funktionsfähigkeit der Steckdose, indem Sie ein anderes Gerät anschließen.
- Bei Verwendung eines Akkus stellen Sie sicher, dass dieser geladen ist.
4.2 Keine Anzeige auf dem Bildschirm
- Prüfen Sie, ob der Laptop eingeschaltet ist.
- Adjust the screen brightness using the function keys (Fn + brightness keys).
- Connect an external monitor to determine if the issue is with the laptop's internal display.
4.3 Probleme mit der Netzwerkverbindung
- Verdrahtet: Ensure the Ethernet cable is properly connected and the network router/modem is working.
- Kabellos: Verify that Wi-Fi is enabled and you are connecting to the correct network with the correct password. Restart your router/modem.
4.4 Systemwiederherstellung
If the operating system becomes unstable or corrupted, you can use the provided Recovery CD to restore the system to its factory settings. Refer to the instructions included with the Recovery CD for detailed steps.
5. Spezifikationen
Detailed technical specifications for the NEC VY24G/D-9 laptop.
| Besonderheit | Spezifikation |
|---|---|
| Marke | NEC |
| Modellname | VY24G/D-9 (VersaPro VY24G/D-9) |
| Bildschirmgröße | 15.4 Zoll |
| Auflösung | 1280 x 800 |
| CPU-Marke | Intel |
| CPU Typ | Core i5 (520M) |
| CPU-Geschwindigkeit | 2.4 GHz |
| Anzahl der Prozessoren | 1 |
| RAM-Größe | 2 GB |
| HDD-Kapazität | 160 GB |
| HDD-Schnittstelle | Serielles ATA |
| Optisches Laufwerk | DVD Multi |
| Kabelloser Typ | 802.11bgn |
| Wired LAN | Ja |
| USB-Anschlüsse | USB 2.0 x 5 |
| PC-Kartensteckplatz | x 1 |
| Betriebssystem | Windows-7 Professional (32-bit) |
| Hardware-Plattform | PC |
6. Garantie und Support
This section provides information regarding the product warranty and how to obtain support.
6.1 Produktgarantie
This NEC VY24G/D-9 laptop comes with a 3 Monate Garantie from the date of purchase. This warranty covers manufacturing defects and hardware malfunctions under normal use. It does not cover damage caused by misuse, accidents, unauthorized modifications, or normal wear and tear.
6.2 Technischer Support
For technical assistance or warranty claims, please contact your retailer or the authorized NEC service center. Have your purchase receipt and the laptop's serial number ready when contacting support.


