Einführung
This manual provides essential instructions for the safe and effective use of your Panasonic DMC-ZS9 14.1MP Digital Camera. Please read this manual thoroughly before using the camera and keep it for future reference.
The Panasonic DMC-ZS9 is a compact digital camera featuring a 14.1-megapixel sensor, a 16x optical zoom LEICA DC VARIO-ELMAR lens, and a 3-inch LCD screen. It is designed for capturing high-quality still images and HD videos with ease.
Hauptmerkmale
- 14.1-megapixel resolution with a 1/2.33-inch CCD sensor for high-resolution images.
- 16x optical zoom and 21x Intelligent Zoom function for versatile telephoto capabilities.
- 24mm wide-angle Leica DC Vario-Elmar lens system.
- POWER O.I.S. (Optical Image Stabilizer) for reduced blur from camera shake.
- 3.0-inch, 230,000-dot TFT-LCD screen for clear viewund Wiedergabe.
- iA (Intelligent Auto) Mode for automatic scene detection and optimal settings.
- AF Tracking for continuous focus on moving subjects.
- HD video recording capability.
- Compatibility with SD/SDHC memory cards (not included).
Lieferumfang
Überprüfen Sie, ob alle Artikel im Paket vorhanden sind:
- Panasonic DMC-ZS9 Digital Camera
- Ladegerät
- Akku
- AV-Kabel
- USB-Kabel
- Handschlaufe
- CD-ROM (containing full user manual and software)
Aufstellen
1. Laden des Akkus
Insert the supplied battery pack into the battery charger. Connect the charger to a power outlet. The charging indicator will illuminate during charging and turn off when charging is complete. Ensure the battery is fully charged before first use.
2. Einlegen des Akkus und der Speicherkarte
Öffnen Sie die Abdeckung des Batterie-/Speicherkartenfachs an der Unterseite der Kamera.
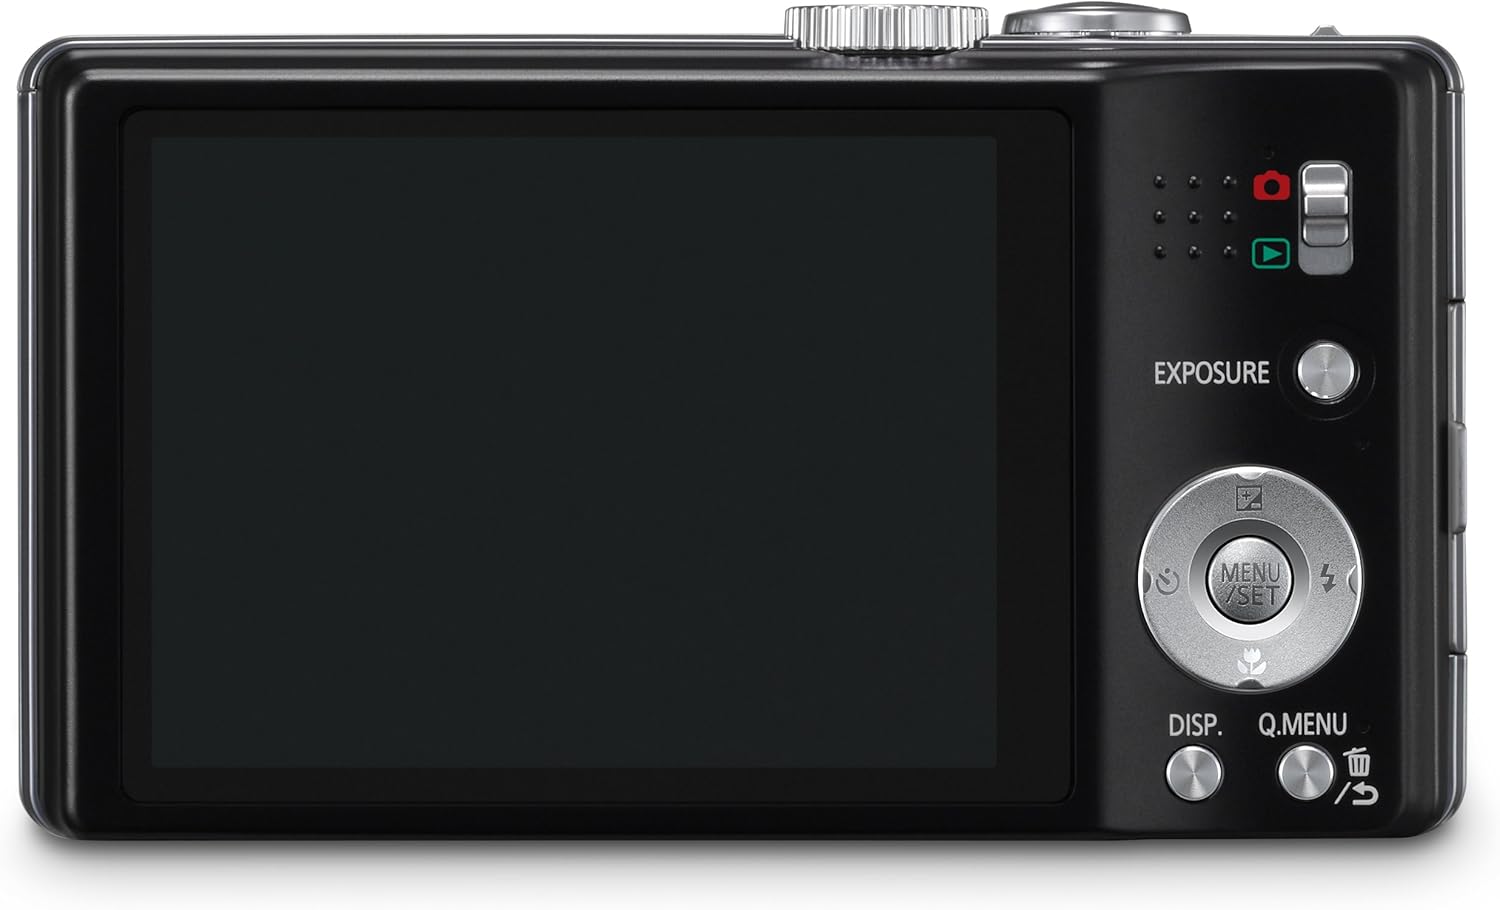
Bild: Rückseite view of the camera, illustrating the LCD screen and control layout.
- Insert the charged battery pack into the battery compartment with the correct orientation, ensuring it clicks into place.
- Insert an SD/SDHC/SDXC memory card into the card slot until it clicks. Ensure the card is inserted correctly to avoid damage.
- Close the battery/card compartment cover securely.
3. Anbringen der Handschlaufe
Fädeln Sie die Handschlaufe durch die Öse an der Seite der Kamera, um ein versehentliches Fallenlassen zu verhindern.
Bedienung der Kamera
1. Ein-/Ausschalten
Slide the ON/OFF switch located on the top of the camera to power on or off.
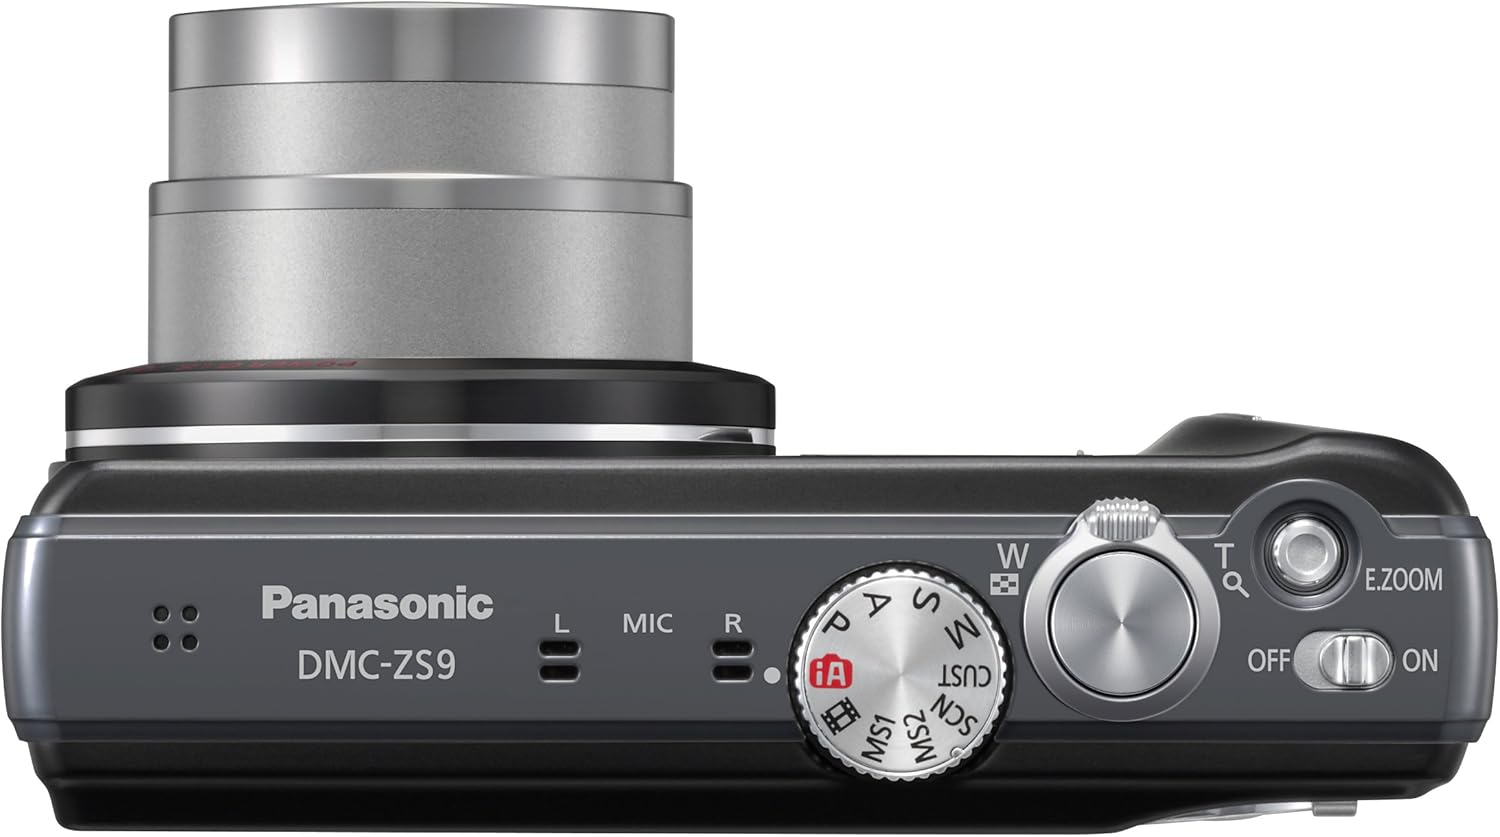
Bild: Oben view of the camera, highlighting the power switch and mode dial.
2. Mode Dial Selection
Drehen Sie das Moduswahlrad, um den gewünschten Aufnahmemodus auszuwählen:
- iA (Intelligent Auto) Mode: The camera automatically detects the scene and optimizes settings for best results. Recommended for beginners.
- P (Program AE) Mode: Allows more control over settings while the camera sets exposure.
- A (Aperture Priority AE) Mode: Sie stellen die Blende ein, die Kamera die Verschlusszeit.
- S (Shutter Priority AE) Mode: Sie stellen die Verschlusszeit ein, die Kamera die Blende.
- M (Manual Exposure) Mode: Volle manuelle Kontrolle über Blende und Verschlusszeit.
- SCN (Szenenmodus): Choose from various preset scene modes like Portrait, Scenery, Macro, etc.
- MS1/MS2 (My Scene Mode): Custom modes for frequently used settings.
3. Fotos machen
Fokussierung: Gently press the shutter button halfway down to focus. The focus frame will turn green when focus is achieved.
Schießen: Drücken Sie den Auslöser vollständig durch, um das Foto aufzunehmen.
4. Zoomfunktion
Use the zoom lever around the shutter button to adjust the zoom. Push towards 'W' for wide-angle and 'T' for telephoto.

Bild: Frontansicht view of the camera, illustrating the lens and zoom capabilities.
- Optischer Zoom (16x): Provides high-quality magnification without loss of detail.
- Intelligent Zoom (21x): Extends the zoom range beyond optical zoom with minimal image degradation, especially in iA Mode.
5. Videos aufnehmen
To start recording a video, press the dedicated video record button. Press it again to stop recording. The camera supports HD video recording.
6. Wiedergabemodus
Press the playback button (usually indicated by a triangle icon) to view your captured photos and videos on the LCD screen.
7. LUMIX Image Uploader
The LUMIX Image Uploader software, found on the supplied CD-ROM, facilitates sharing photos and videos to social media platforms like Facebook and YouTube. Connect the camera or memory card to your computer, and follow the on-screen instructions after installing the software.
Wartung
1. Reinigung der Kamera
- Kameragehäuse: Mit einem weichen, trockenen Tuch abwischen. Bei hartnäckigem Schmutz ein Tuch leicht andrücken.ampened with water, then wipe dry.
- Linse: Verwenden Sie einen Objektivpinsel oder ein weiches, sauberes Tuch, das speziell für Kameraobjektive entwickelt wurde. Vermeiden Sie es, die Objektivoberfläche mit den Fingern zu berühren.
- LCD Bildschirm: Gently wipe with a soft, dry cloth. Do not apply pressure.
2. Batteriepflege
- Bewahren Sie Batterien an einem kühlen, trockenen Ort auf, wenn Sie sie nicht verwenden.
- Vermeiden Sie, Batterien extremen Temperaturen auszusetzen.
- Schließen Sie die Batteriepole nicht kurz.
3. Speicherung
When storing the camera for an extended period, remove the battery and memory card. Store the camera in a dry, well-ventilated area, away from direct sunlight and high humidity.
Fehlerbehebung
If you encounter issues with your camera, refer to the following common solutions. For more detailed troubleshooting, consult the full user manual provided on the CD-ROM.
- Die Kamera lässt sich nicht einschalten: Stellen Sie sicher, dass der Akku vollständig geladen und richtig eingelegt ist.
- Darf keine Fotos machen: Check if the memory card is inserted and has sufficient free space. Ensure the lens cap is removed.
- Die Bilder sind unscharf: Check if the POWER O.I.S. is active. Ensure proper focus before shooting. Clean the lens if necessary.
- Flash is too bright/dark: Adjust flash settings in the camera menu or use a different shooting mode.
- Noisy photos (grainy): This can occur in low light or at high ISO settings. Try shooting in better light or using a lower ISO if possible.
- Die Kamera friert ein oder reagiert nicht mehr: Um die Kamera zurückzusetzen, nehmen Sie die Batterie heraus und setzen Sie sie wieder ein.
Technische Daten
| Besonderheit | Detail |
|---|---|
| Marke | Panasonic |
| Modellname | Panasonic DMC-ZS9 |
| Auflösung des Fotosensors | 14.1 Megapixel |
| Fotosensor-Technologie | CCD |
| Optischer Zoom | 16x |
| Maximale Brennweite | 384 mm (entspricht 35 mm) |
| Minimale Brennweite | 24 mm (entspricht 35 mm) |
| Bildstabilisierung | Optischer (POWER OIS) |
| Bildschirmgröße | 3 Zoll |
| Anzeigetyp | LCD |
| Unterstützt File Format | JPEG, RAW |
| Videoauflösung | 1080p-Auflösung |
| Videoaufnahmeformat | MP4 |
| Flash-Speichertyp | SD/SDHC/SDXC |
| Konnektivitätstechnologie | USB, HDMI |
| Akku-Typ | Lithium-Ionen |
| Farbe | Schwarz |
Garantie und Support
Garantieinformationen
The Panasonic DMC-ZS9 Digital Camera comes with a lifetime warranty. Please refer to the warranty card included in your package or the full user manual on the CD-ROM for complete terms and conditions.
Kundenservice
For technical assistance, service, or further inquiries, please contact Panasonic customer support. Contact information can typically be found on the Panasonic official webauf der Website oder im vollständigen Benutzerhandbuch.