1. Einleitung
This manual provides essential information for the proper installation, operation, and maintenance of your Murray 91846MA Key Switch. This key switch is a genuine Murray replacement part designed for use in various lawn mower models. Please read this manual thoroughly before attempting any installation or repair to ensure safe and correct usage.
2. Produktüberschreitungview
The Murray 91846MA Key Switch is a critical component in your lawn mower's ignition system. It controls the electrical circuit that allows the engine to start and stop. This switch features multiple terminals for electrical connections, ensuring proper functionality within the mower's wiring harness.
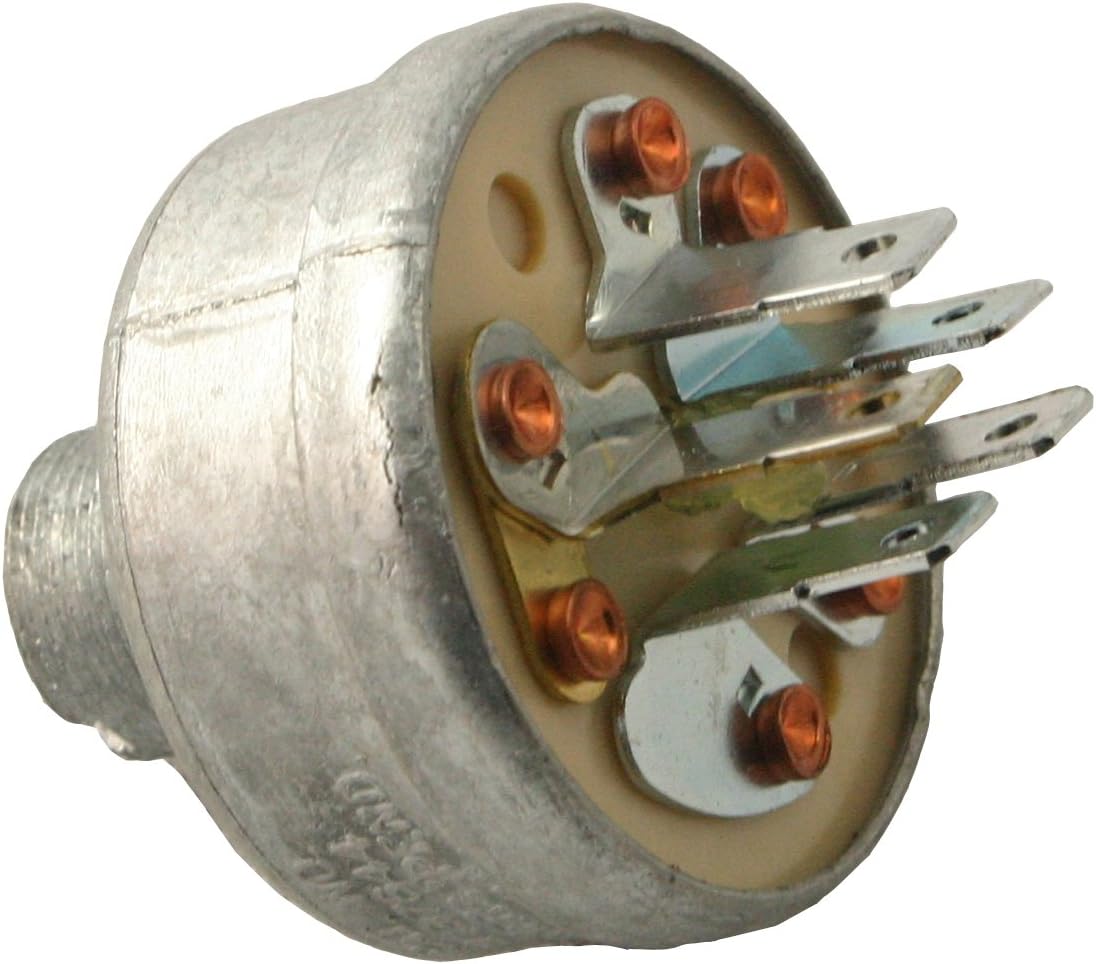
Abbildung 1: Murray 91846MA Key Switch. This image displays the cylindrical metal body of the key switch with a beige plastic base. Protruding from the base are several copper-colored posts and silver spade terminals, designed for electrical wiring connections within a lawn mower's ignition system.
3. Kompatibilität
This Murray 91846MA Key Switch is a direct replacement for the following Murray part numbers:
- Murray 91846
- Murray 300687
Always verify the part number required for your specific lawn mower model before purchasing und installieren.
4. Sicherheitshinweise
Before performing any work on your lawn mower, observe the following safety precautions:
- Trennen Sie die Batterie: Always disconnect the negative (-) battery cable before working on electrical components to prevent accidental starting or electrical shock.
- Remove Spark Plug Wire: For additional safety, remove the spark plug wire to prevent the engine from accidentally starting.
- Schutzausrüstung tragen: Verwenden Sie geeignete persönliche Schutzausrüstung, wie z. B. Handschuhe und Augenschutz.
- Consult Your Mower's Manual: Refer to your lawn mower's specific owner's manual for detailed safety instructions and wiring diagrams.
- Professionelle Hilfe: Wenn Sie sich bei einem Arbeitsschritt unsicher sind, wenden Sie sich an einen qualifizierten Servicetechniker.
5. Installation
Follow these steps to replace the key switch:
- Den Rasenmäher vorbereiten: Ensure the lawn mower is turned off, the engine is cool, and the spark plug wire is disconnected. Disconnect the negative (-) battery terminal.
- Locate the Existing Key Switch: Identify the current key switch on your mower's control panel.
- Dokumentenverdrahtung: Before disconnecting any wires, carefully note or photograph the position and color of each wire connected to the existing key switch terminals. This is crucial for correct reinstallation.
- Kabel trennen: Carefully remove each wire from the terminals of the old key switch. Use appropriate tools if terminals are tight.
- Alten Schalter entfernen: Depending on your mower model, the switch may be held in place by a retaining nut, clips, or screws. Remove these fasteners and carefully extract the old key switch from the control panel.
- Neuen Schalter installieren: Insert the new Murray 91846MA Key Switch into the opening on the control panel. Secure it with the retaining nut, clips, or screws, ensuring it is firmly seated.
- Kabel anschließen: Refer to your documentation (notes or photos) and connect each wire to the corresponding terminal on the new key switch. Ensure all connections are secure and tight.
- Reconnect Battery and Spark Plug: Reconnect the negative (-) battery cable and the spark plug wire.
- Testfunktionalität: Insert the key and attempt to start the mower to verify the new switch is functioning correctly. If the mower does not start or exhibits unusual behavior, recheck all wiring connections.
6. Betrieb
Once installed, the key switch operates as follows:
- AUS-Position: The engine is off, and the ignition circuit is open.
- ON/RUN Position: The ignition circuit is closed, allowing the engine to run.
- Startposition: Momentarily engages the starter motor to crank the engine. The key will spring back to the ON/RUN position once released.
Always ensure the key is fully inserted and turned to the correct position for the desired operation.
7. Wartung
The Murray 91846MA Key Switch is a sealed unit and generally requires no routine maintenance. However, to ensure its longevity and reliable operation:
- Sauber halten: Periodically clean the exterior of the switch and surrounding area to prevent dirt and debris buildup.
- Verbindungen prüfen: During routine mower maintenance, visually inspect the wiring connections to the key switch for any signs of corrosion, looseness, or damage.
- Gewalt vermeiden: Do not force the key when turning the switch. If the key is stiff, check for obstructions or damage to the key or switch mechanism.
8. Fehlerbehebung
If you experience issues after installing the new key switch, consider the following:
- Mower Does Not Start:
- Check battery connections and charge level.
- Verify all wires are securely connected to the correct terminals on the key switch.
- Ensure the spark plug wire is properly connected.
- Confirm the key is fully inserted and turned to the START position.
- Engine Cranks but Does Not Start:
- This may indicate an issue beyond the key switch, such as fuel delivery or spark plug problems.
- Der Schlüssel ist schwergängig oder lässt sich nur schwer drehen:
- Ensure the key is not bent or damaged.
- Check for debris around the keyhole.
If troubleshooting steps do not resolve the issue, consult your mower's service manual or a qualified technician.
9. Spezifikationen
| Besonderheit | Spezifikation |
|---|---|
| Modellnummer | 91846 mA |
| Ersetzt Teilenummern | 91846, 300687 |
| Technische Daten | 0.39 x 0.39 x 0.39 Zoll |
| Artikelgewicht | 2.72 Unzen |
| Hersteller | Murray |
10. Garantie und Support
For warranty information regarding your Murray 91846MA Key Switch, please refer to the original purchase documentation or contact the seller directly. As a genuine Murray part, it typically adheres to the manufacturer's standard warranty policies for replacement components.
For technical support or further assistance, please contact Murray customer service or an authorized Murray service center. Always have your mower's model and serial number, along with the key switch part number (91846MA), ready when seeking support.


