![]()
Datacolor Ticket
Installation Guide
Datacolor Ticket Stand-Alone Installation Guide (September, 2011)
All efforts have been made to ensure the accuracy of the information presented in this format. However, should any errors be detected, Datacolor appreciates your efforts to notify us of these oversights.
Changes are periodically made to this information and are incorporated into forthcoming versions. Datacolor reserves the right to make improvements and/or changes in the product(s) and/or program(s) described in this material at any time.
© 2008 Datacolor. Datacolor, SPECTRUM and other Datacolor product trademarks are the property of Datacolor.
Microsoft and Windows are either registered trademarks of Microsoft Corporation in the United States and/or other countries.
To obtain information on local agents, sales or support contact, visit our website at https://www.datacolor.com/contact/business-solutions-contacts/
Support Questions? If you need help with a Datacolor product, please contact support at: http://industrial.datacolor.com/support.
Committed to Excellence. Dedicated to Quality. Certified to ISO 9001 in Manufacturing Centers Worldwide.
1 Installation Overview
This document describes the installation of Datacolor Software to your computer’s hard disk. If you have purchased your computer from us, the software will be already installed. If you purchased your own computer, follow these instructions to install our software on your computer.
Before you begin the installation, you should have all ISO images, and Microsoft Windows* should be properly installed on your computer. Have a valid license activation code with a maintenance date greater than the release date of the installer. For Offline and Local License Server activation and installation, please refer to their respective installation instructions
1.1 System Requirements
The system requirements shown below are the minimum configuration to ensure effective operation of the standard Datacolor MATCH TEXTILE software. Configurations below stated requirements may work, but are not supported by Datacolor.
| Component | Recommended | Notes |
| Processor | Dual Core Processor | 1 |
| Memory RAM | 8 GB | 1 |
| Free Hard Drive Capacity | 500 GB | 1 |
| Video Resolution | True Color | 2 |
| DVD Drive | DVD Writer | 3 |
| Available Ports | (1) RS-232 Serial (for older spectrophotometers) (3) USB | 4 |
| Operating System | Windows® 11 Pro | 5 |
| Email (for supported level) | Outlook 2007 or above, POP3 | |
| Authenticated Sybase Database, supplied with the system | Sybase V17.0.10.6089 | |
| Optional Database upon request | Microsoft SQL Server 2019 (supports 2016, 2019, 2022) | 6 |
| Server OS | Microsoft Server 2019 (supports 2016, 2019, 2022) | 7 |
Notes:
1) Minimum system configurations may limit performance, data capacity and operation of some features. Faster processor, more cores, more memory and faster hard drives will significantly enhance performance. Accurate on-screen color display requires monitor calibration and truecolor video mode.
2) Datacolor Match Textile is supplied on on one ISO image and Sybase 17 is supplied on a separate ISO image. Recommend a DVD writer for data backup and file transfer from standalone systems.
3) Datacolor spectrophotometers use either an RS-232 Serial or USB connectors. Datacolor Spyder™ requires a universal serial bus (USB) connection. Printer port requirements (Parallel or USB…) depend on the specific printer selected.
4) Windows 32 bit and 64 bit operating systems are supported. 64 bit hardware running Windows 32 bit operating system is supported. Datacolor Tools is a 32 bit application.
5) Microsoft SQL Server database is only available for the textile database format.
6) Microsoft Server 2016, 2019 and 2022 are supported.
1.2 Datacolor Ticket Installation set
There are 2 ISO images for Installing:.
- Sybase ISO Image
- Datacolor Ticket ISO Image
Important, Before You Begin! You must have Administrator Rights to install this software and you must have installed Sybase first!
1.3 Sybase Installation Options
There are 2 different Sybase Installation options on the Sybase ISO image:
1. Standard Client Installation - This is a silent install that will not ask which components to install or ask about the number of licensed users. This should be used for all stand-alone PC systems as well as for client installations for PCs on a traditional LAN.
2. Install Sybase Server - This installation will ask which components to install and also allow you to set the number of licensed users. This should be used for the server installation on a traditional LAN and for a terminal server application.
Select either the Standard Client Installation or Install Sybase Server from the Sybase Installation Menu to perform the installation desired:

2 Installing Ticket on a System with Match Textile (non-upgrade case)
2.1 Standalone System
This is a dedicated, single-user system that does not share the database. The Sybase database server and the Datacolor applications software is installed on the same system. To install on a standalone system, follow these steps:
- Mount the Sybase ISO image, select Standard Client Installation from the installation menu and follow the prompts. For step-by-step instructions, see the document SybaseInstallationGuide_REV_14.pdf.
- After Sybase has been installed, mount the Ticket ISO image and select the option to install Datacolor Ticket.
2.2 Local Area Network Installation
This is a group of systems that share a common database. The Datacolor application software is installed on each client machine, and the database is located on a server that can be accessed by all of the client computers.
2.2.1 Server Installation
This installation procedure is performed on the server computer.
- Mount the Sybase ISO image, select Install Sybase Server from the installation menu and follow the prompts. For step-by-step instructions see the document SybaseInstallationGuide_REV_14.pdf.
- Create a Windows database service for the Sybase Adaptive Server program. For step-by-step instructions, see also Appendix, Sybase Database Service in SybaseInstallationGuide_REV_14.pdf. .
2.2.2 Client Installation
This installation procedure must be repeated for each client computer on the network.
- Mount the Sybase ISO image, select Standard Client Installation from the installation menu and follow the prompts. For step-by-step instructions, see also Detailed Installation Instructions, Sybase Client Installation in SybaseInstallationGuide_REV_14.pdf.
- Install Datacolor Ticket and Datacolor Match Textile on each client computer. For step-by-step instructions, see also the Installation Guide for the specific application.
- Modify the ODBC connection on each client computer. This directs the program to look for the databases on the network. For step- by-step instructions, see also Appendix, ODBC Connection in SybaseInstallationGuide_REV_14.pdf. .
3 STEP-By-Step installation of TICKET (Standalone System)
To install your software, do the following:
- Start Windows.
- Mount the Product ISO image and run the Menu.exe.. If you do not see the menu window, do the following: Click the Start button from the start menu, choose Run… in the Run dialog box, type D: MENU and click OK. (If your ISO image Drive is a letter other than D, use that letter in the dialog box.)

When the Main Installation Menu is displayed, choose “Install Datacolor TICKET” The Datacolor Ticket installation will guide you through installing Datacolor Ticket on your computer
The setup continues with the Welcome dialog
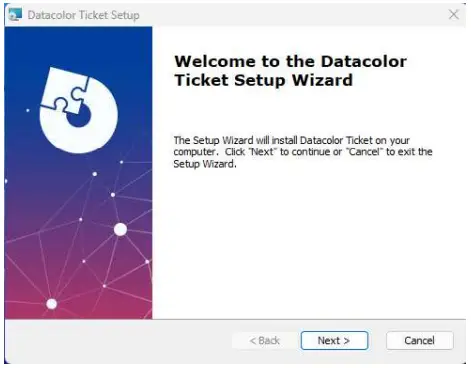
If you are installing Datacolor TICKET for the first time, click “Next” to access the Datacolor Software License Agreement dialog. You must select the acceptance radio button in order to install Datacolor TICKET
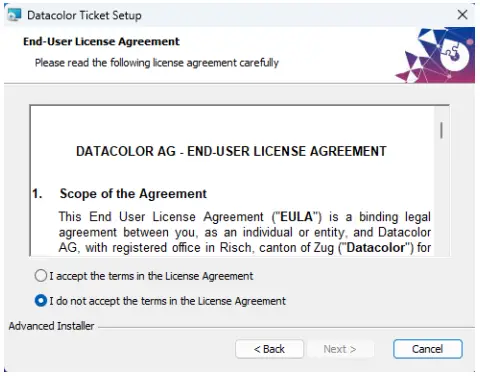
Check the license agreement and click the “Next” button to proceed.
3.1.1 Ready to Install
Select the install button to being the installation.
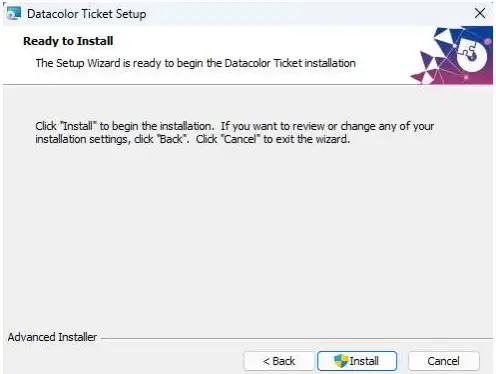
Setup starts transferring the files
The installation will then ask for the License Manager to be installed:

Select the Yes button, then the license manager will be installed:
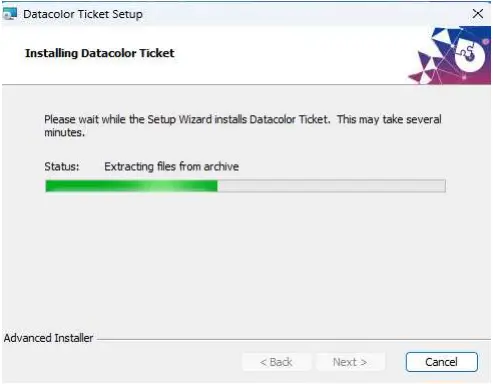
It will then ask if you want to allow the Datacolor Ticket installation to make changes to your system:
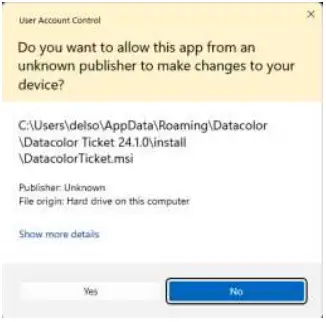
Select the Yes to allow the Datacolor Ticket to make changes and the installation will install the necessary files:
Now the License Manage will ask for the Activation Code:
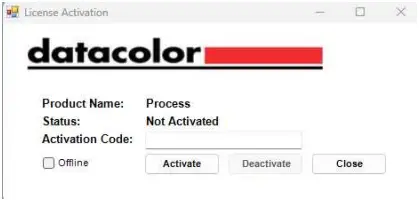
Enter the activation code from the email you received from Datacolor and press the Activation Button:

The software is now activated. Press the Close button and the Installation will continue:
The installation wizard asks to update the database
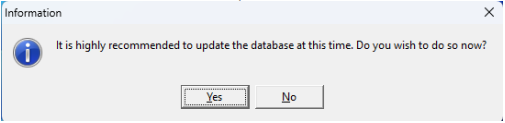
Select Yes, and you will see the database update scripts being run:

When all the updates have been completed you will see the Updated Finished Dialog:

Press the Finish button. And the installation will be complete:
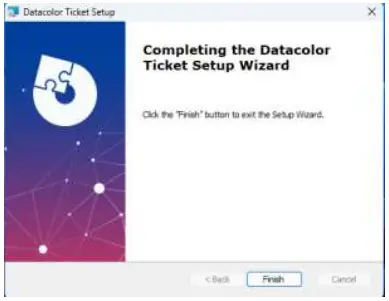
Click “Finish” to exit the installation.
Datacolor Ticket is now installed on your system!
4 Creating a Sybase Service
Refer to the document SybaseInstallationGuide_Rev_14.pdf on the Sybase 17 ISO for information on creating a Sybase Service
Refer to the document DatacolorUpgradeGuide_Rev_14.pdf for upgrading from Sybase 12.
ODBC Data Source Administrator
Documents / Resources
 |
datacolor Ticket Dye Production Optimization Software for Process and Ticket [pdf] Installation Guide Ticket Dye Production Optimization Software for Process and Ticket, Ticket Dye Production Optimization Software for Process and Ticket, Dye Production Optimization Software for Process and Ticket, Optimization Software for Process and Ticket, Software for Process and Ticket, for Process and Ticket, Process and Ticket, and Ticket, Ticket |