Indledning
This manual provides essential instructions for the safe and correct installation and maintenance of your Craftsman 180552 replacement wheels. These wheels are designed for 14-inch walk-behind lawn mowers from brands such as Poulan, Husqvarna, and AYP, replacing part number 151138. Please read this manual thoroughly before proceeding with installation.
Sikkerhedsoplysninger
- Always wear appropriate personal protective equipment, including gloves and eye protection, when working on machinery.
- Ensure the lawn mower is turned off, the spark plug wire is disconnected, and the engine is cool before attempting any installation or maintenance.
- Use proper lifting techniques or seek assistance when handling heavy equipment.
- Hold børn og kæledyr væk fra arbejdsområdet.
- Refer to your lawn mower's original owner's manual for specific safety instructions related to your model.
Pakkens indhold
Bekræft at alle varer er til stede i pakken:
- 2 x Craftsman 180552 14-inch Replacement Wheels
Opsætning og installation
This section guides you through the process of replacing the wheels on your walk-behind lawn mower.
Nødvendige værktøjer:
- Wrench or socket set (appropriate size for wheel nuts/bolts)
- Pry bar or flathead screwdriver (optional, for stubborn caps)
- Arbejdshandsker
- Sikkerhedsbriller
Installationstrin:
- Forbered plæneklipperen: Ensure the lawn mower is turned off, the spark plug wire is disconnected, and the engine is cool. Tilt the mower onto its side (with the carburetor facing up to prevent fuel leakage) or use a sturdy jack to elevate the side where the wheel will be replaced.
- Fjern det gamle hjul:
- Locate the center cap or nut cover on the old wheel. Carefully pry it off with a flathead screwdriver if present.
- Using the appropriate wrench or socket, loosen and remove the nut or bolt securing the wheel to the axle.
- Slide the old wheel off the axle. Note the position of any washers or spacers for reinstallation.
- Monter det nye hjul:
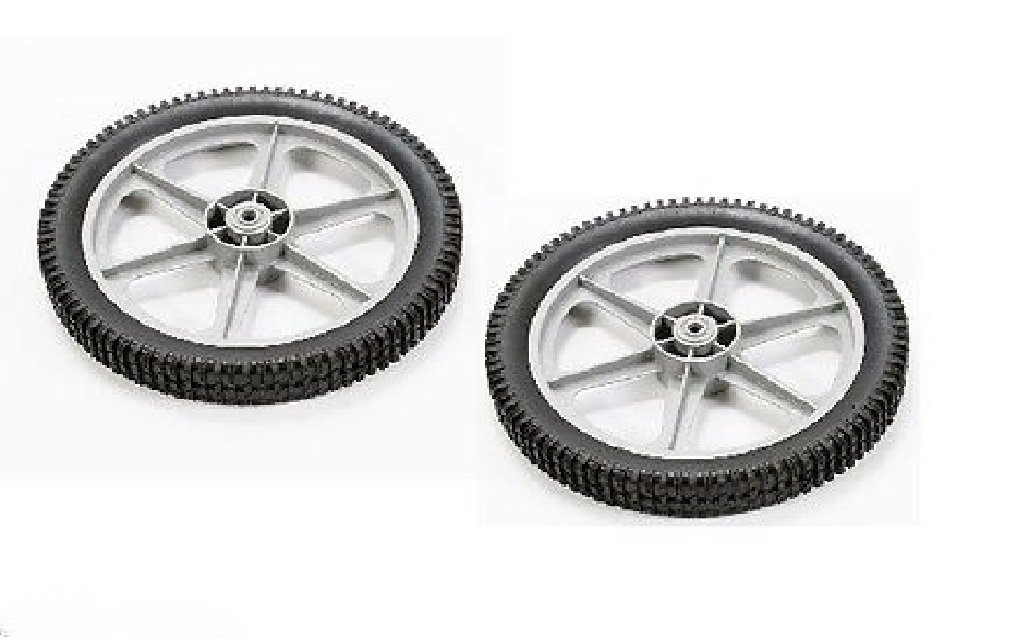
Image: Two Craftsman 180552 14-inch replacement wheels. These wheels are designed for durability and proper fit on compatible lawn mowers.
- Align the new Craftsman 180552 wheel with the axle. Ensure any washers or spacers are correctly positioned as they were with the old wheel.
- Slide the new wheel onto the axle.
- Secure the wheel with the original nut or bolt. Tighten it firmly with the wrench or socket. Do not overtighten, as this can damage the wheel or axle.
- If applicable, replace the center cap or nut cover.
- Test installationen: Gently spin the newly installed wheel to ensure it rotates freely without binding. Lower the mower and check for stability.
Drift
Once the new wheels are installed, ensure they are functioning correctly before operating the lawn mower. The wheels should roll smoothly and provide adequate traction. If you notice any wobbling, binding, or unusual noises, re-check the installation steps and ensure all fasteners are securely tightened.
Opretholdelse
- Regelmæssig inspektion: Periodically inspect the wheels for wear, cracks, or damage. Check for any loose nuts or bolts and tighten them as necessary.
- Rensning: Keep the wheels free of grass clippings, dirt, and debris. A stiff brush and water can be used for cleaning. Avoid harsh chemicals that may damage the wheel material.
- Opbevaring: Store the lawn mower in a clean, dry area to prevent premature wear or corrosion of the wheels and other components.
Fejlfinding
| Problem | Mulig årsag | Løsning |
|---|---|---|
| Hjulet vakler eller er løst | Nut/bolt not tightened sufficiently; incorrect washer placement. | Ensure the securing nut/bolt is tightened properly. Verify washers/spacers are correctly installed. |
| Hjulet drejer ikke frit | Overtightened nut/bolt; debris caught in axle; incorrect installation. | Loosen the nut/bolt slightly if overtightened. Clean any debris from the axle area. Re-check installation steps. |
| Usædvanlig støj fra hjulet | Debris in wheel hub; damaged wheel bearing (if applicable); loose components. | Inspect for and remove any debris. If noise persists, consult a qualified service technician. |
Specifikationer
- Modelnummer: 180552 (Erstatter 151138)
- Hjulstørrelse: 14 tommer
- Mærke: HÅNDVÆRKER
- Køretøjsservicetype: Mower (Poulan, Husqvarna, AYP walk-behind mowers)
- Varens vægt: Cirka 10.88 pund (for parret)
- UPC: 705788550203
Garanti og support
For warranty information or technical support, please refer to the original purchase documentation or contact the retailer where the product was purchased. Specific warranty terms may vary.