1. Introduktion
Thank you for choosing the Sealey RT003 Long Reach Trim Clip Tool. This manual provides essential information for the safe and effective use, maintenance, and care of your tool. Please read these instructions thoroughly before use and retain them for future reference.
Produkt overview
The Sealey RT003 is a specialized hand tool designed to simplify the removal of trim clips and trim studs, particularly in hard-to-reach areas. It features a hardened and tempered carbon steel shaft with a clawed head, engineered for durability and effective leverage. The contoured, textured comfort grip handle ensures secure handling during operation.
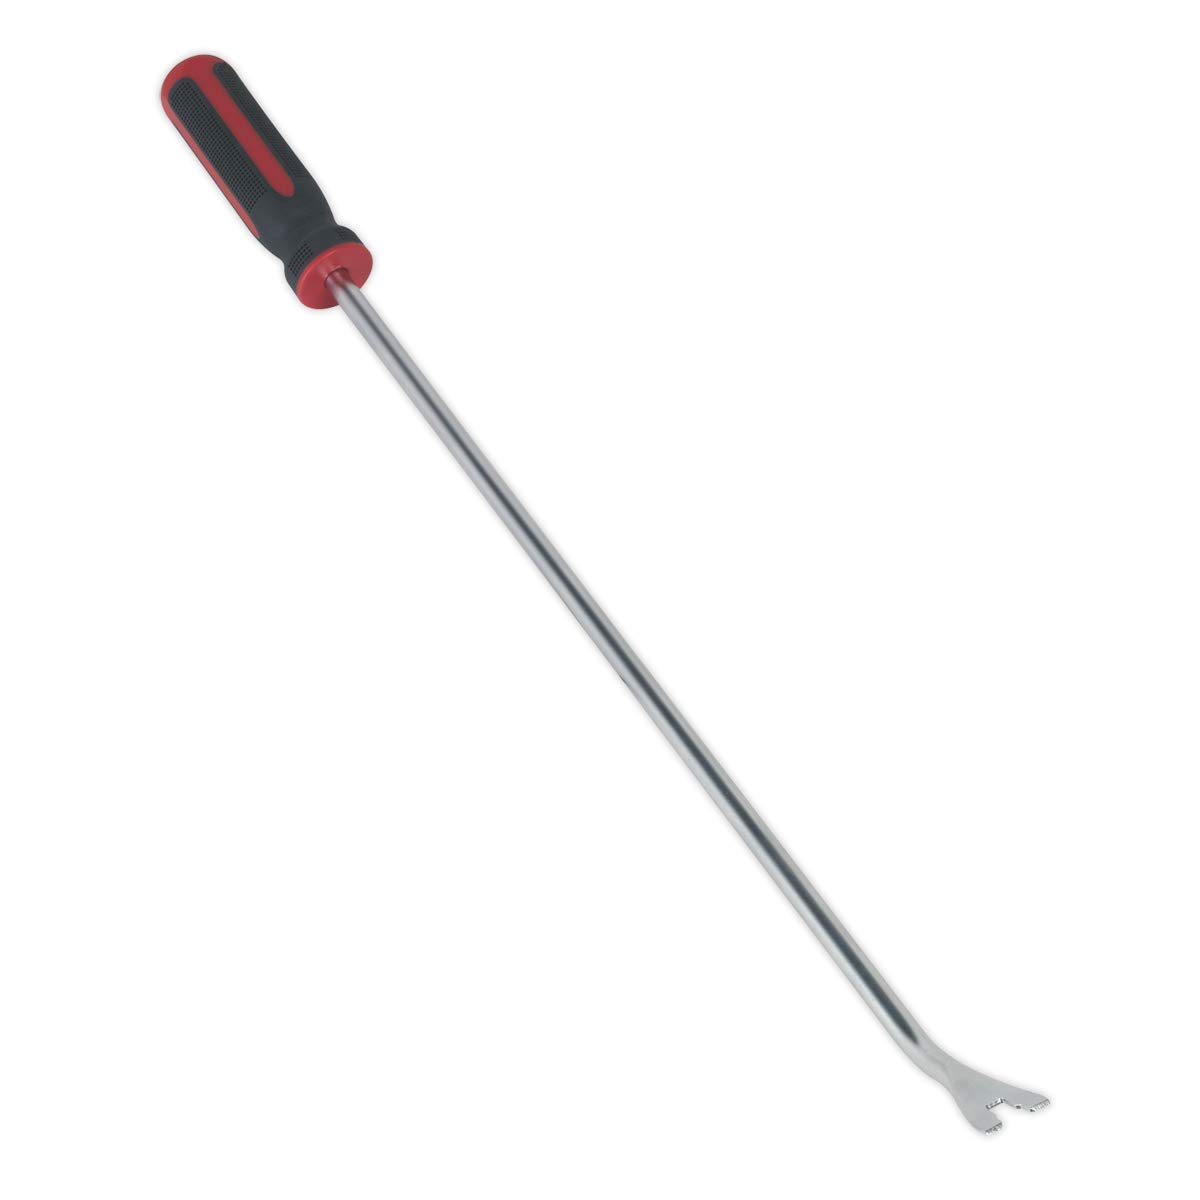
Figure 1: The Sealey RT003 Long Reach Trim Clip Tool, showing its clawed head and long shaft.
2. Sikkerhedsoplysninger
Always observe general safety precautions when using hand tools. Failure to do so may result in injury or damage to property.
- Brug passende personlige værnemidler (PPE), inklusive sikkerhedsbriller, for at beskytte mod flyvende genstande.
- Efterse værktøjet før hver brug for any signs of damage, wear, or deformation. Do not use a damaged tool.
- Ensure a stable working environment. Keep your work area clean and well-lit.
- Brug det rigtige værktøj til opgaven. This tool is specifically designed for removing trim clips and studs. Do not use it for prying, chiseling, or other unintended applications.
- Hold hænder og fingre fri of the working end of the tool and the trim clips being removed.
- Opbevar værktøjet sikkert when not in use, out of reach of children and in a dry environment.
3. Opsætning
Udpakning og indledende inspektion
- Carefully remove the Sealey RT003 tool from its packaging.
- Inspect the tool for any visible damage that may have occurred during transit. If any damage is found, do not use the tool and contact your supplier.
- Familiarize yourself with the tool's design, including the clawed head, shaft, and comfort grip handle.
4. Betjeningsvejledning
The Sealey RT003 is designed for efficient removal of automotive trim clips and studs. Follow these steps for optimal performance and safety:
- Identify the Trim Clip/Stud: Locate the trim clip or stud that needs to be removed. Ensure there is sufficient access for the tool's long reach.
- Position the Clawed Head: Carefully slide the clawed head of the RT003 tool under the edge of the trim clip or around the base of the trim stud. The design of the claw allows for effective engagement with various clip types.
- Anvend gearing: Once the clawed head is securely positioned, apply steady, controlled leverage by gently prying the tool upwards or outwards. The long shaft provides extended reach and improved leverage, reducing the effort required.
- Remove the Clip/Stud: Continue applying leverage until the trim clip or stud disengages from its mounting point. Avoid excessive force, which could damage the trim, the mounting surface, or the tool itself.
- Inspicer området: After removal, inspect the surrounding area and the removed clip/stud for any damage.
Note: For stubborn clips, a slight twisting motion may assist in disengagement, but always prioritize controlled force to prevent damage.
5. Vedligeholdelse
Proper maintenance ensures the longevity and reliable performance of your Sealey RT003 tool.
- Rensning: After each use, wipe the tool clean with a dry cloth to remove any dirt, grease, or debris. For stubborn grime, a mild cleaning solution can be used, followed by thorough drying.
- Smøring: The carbon steel shaft does not require regular lubrication. However, if the tool is exposed to moisture, a light coat of rust-preventative oil can be applied to the metal parts before storage.
- Opbevaring: Store the tool in a dry, clean environment, away from corrosive materials and extreme temperatures. Keep it out of reach of children.
- Inspektion: Periodically inspect the tool for any signs of wear, bending, or damage to the clawed head or shaft. If the tool shows significant wear or damage, it should be replaced to ensure safe and effective operation.
6. Fejlfinding
This section addresses common issues you might encounter with your Sealey RT003 tool.
| Problem | Mulig årsag | Løsning |
|---|---|---|
| Tool head bends or deforms. | Excessive force applied; tool used for unintended prying tasks; material of clip/stud is too rigid for the tool's design. | Ensure the tool is used only for trim clip and stud removal. Avoid using it as a general pry bar. If the tool is damaged, replace it. |
| Difficulty engaging with the clip/stud. | Incorrect angle of approach; clip/stud design is unusual; obstruction. | Adjust the angle of the tool. Ensure the clawed head is fully engaged. Clear any obstructions. |
| Trim or surrounding material gets damaged. | Lack of care during operation; excessive force; incorrect tool positioning. | Exercise caution and apply gentle, controlled force. Ensure the tool is positioned correctly to lift only the clip/stud. |
7. Specifikationer
- Model: RT003
- Mærke: Sealey
- Materiale: Hardened and tempered carbon steel shaft
- Hovedtype: Clawed
- Håndtag: Contoured, textured comfort grip
- Længde: 510mm (approximately 20 inches)
- Varens vægt: Cirka 9.7 ounce (275 gram)
- Produktdimensioner: Cirka 1.42 x 3.86 x 24.41 tommer (3.6 x 9.8 x 62 cm)
- Batterier påkrævet: Ingen
8. Garantioplysninger
Sealey products are manufactured to high standards and are subject to strict quality control. This product is covered by a manufacturer's warranty against defects in materials and workmanship. The specific terms and duration of the warranty may vary by region and retailer. Please refer to the warranty card included with your purchase or visit the official Sealey webwebstedet for detaljerede garantioplysninger.
Note: The warranty typically covers manufacturing defects and does not cover damage resulting from misuse, abuse, normal wear and tear, or unauthorized modifications.
9. Kundesupport
For technical assistance, spare parts, or any questions regarding your Sealey RT003 Long Reach Trim Clip Tool, please contact your original retailer or visit the official Sealey webwebsted for supportressourcer og kontaktoplysninger.
Sealey Officiel Webwebsted: www.sealey.co.uk (Dette er et midlertidigt link, det faktiske link kan variere)


