1. Introduzione
Thank you for choosing the Batavia Telescopic Loft Ladder. This manual provides essential information for the safe and efficient use of your new loft ladder. The Batavia Telescopic Loft Ladder is designed for convenient access to lofts or storage attics between 2.3 and 2.7 metres in height. It is constructed from lightweight, yet durable aluminum, featuring an automatic locking system, extra-wide steps, and rubber feet for enhanced safety and floor protection. Its compact design allows for secure storage within the ceiling space, minimizing storage requirements.
2. Istruzzioni di sicurità
Always prioritize safety when using the loft ladder. Failure to follow these instructions may result in injury or damage.
- Verificate a scala prima di ogni usu per eventuali danni, parti allentate o usura. Ùn aduprate micca se dannighjata.
- Ensure the ladder is fully extended and locked into position before ascending or descending.
- Place the ladder on a firm, level, and non-slip surface. Ensure the rubber feet are clean and make full contact with the floor.
- Maintain three points of contact (two hands and one foot, or one hand and two feet) with the ladder at all times.
- Do not overload the ladder. The maximum load capacity is 150kg.
- Do not use the ladder in strong winds or adverse weather conditions.
- Keep the area around the base and top of the ladder clear of obstructions.
- Do not overreach while on the ladder. Descend and reposition the ladder if necessary.
- Sempre di fronte à a scala quandu ascende o scende.
- Ensure the loft hatch opening is clear and secure before deploying the ladder.
3. Setup è Installazione
The Batavia Telescopic Loft Ladder is designed for relatively straightforward installation into a suitable loft opening. Professional installation is recommended if you are unsure.
3.1 Preparing the Loft Opening
Ensure your loft opening meets the minimum required dimensions for proper installation and safe operation. The minimum hatch opening required is 60 x 90.5-107.5cm.

Imagine: Da cima à fondu view of the Batavia Telescopic Loft Ladder installed within a wooden loft hatch frame, showing the compact folded state and mounting brackets.
3.2 Mounting the Ladder
The ladder comes with mounting hardware designed to secure it to the loft opening frame. Follow the detailed instructions provided in the separate installation guide for precise mounting steps. Ensure all bolts and screws are tightened securely.

Image: The Batavia Telescopic Loft Ladder folded and neatly stored within a loft opening, appearing flush with the ceiling when not in use.
4. Operating Instructions
The Batavia Telescopic Loft Ladder is designed for easy extension and retraction.
4.1 Extending the Ladder
- Carefully open the loft hatch.
- Grasp the bottom rung of the folded ladder.
- Pull the ladder downwards gently until it fully extends and locks into position. You should hear distinct clicks as each section locks.
- Ensure all sections are fully extended and locked before use.
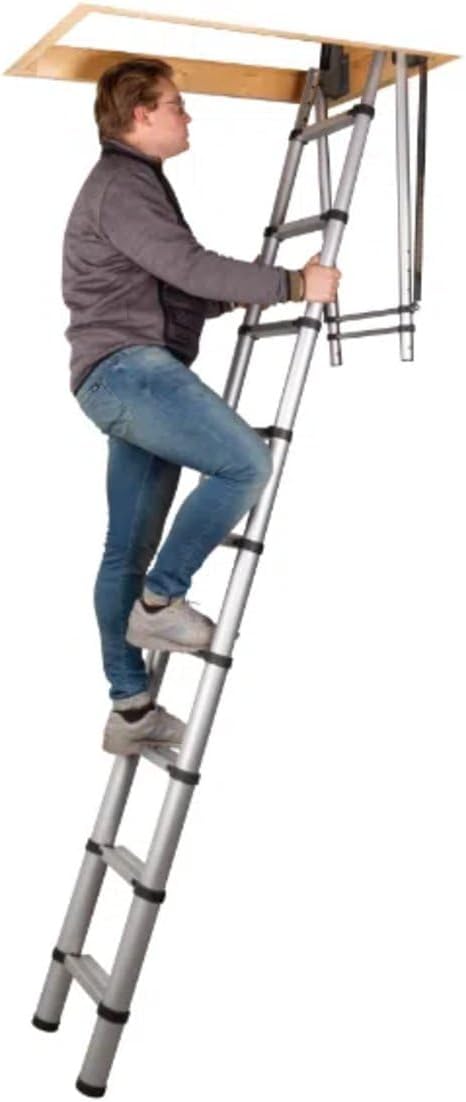
Image: A person ascending the fully extended Batavia Telescopic Loft Ladder, demonstrating its use for accessing a loft space.
4.2 Retracting the Ladder
- Ensure no one is on the ladder.
- Locate the release mechanisms (usually buttons or levers) on the sides of the ladder, typically near the top of each section.
- Press the release mechanisms simultaneously on the lowest section and gently guide the section upwards until it retracts.
- Repeat this process for each subsequent section until the ladder is fully retracted and stored within the loft opening.
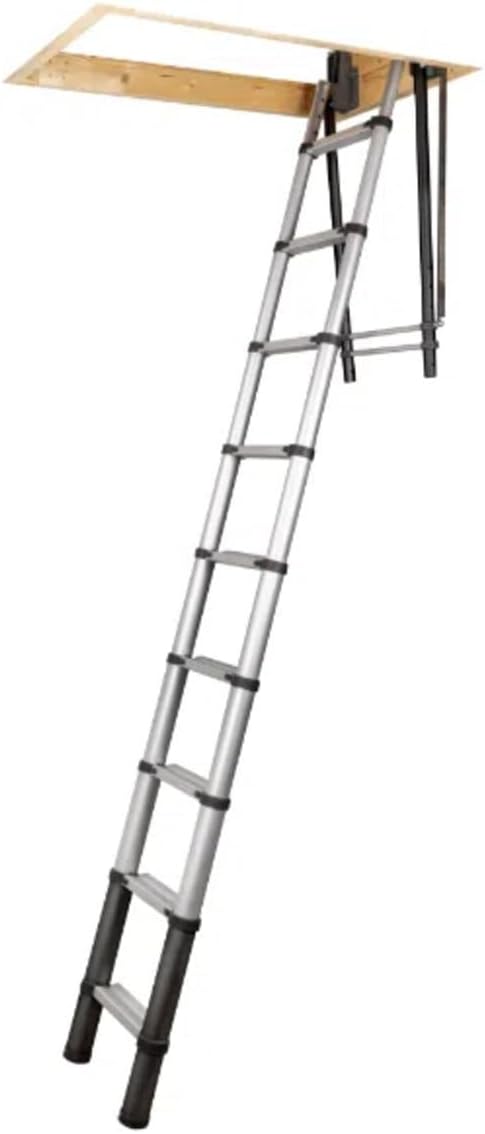
Image: The Batavia Telescopic Loft Ladder fully extended and angled for use, highlighting its robust aluminum construction and wide steps, ready for ascent or descent.
5. Mantenimentu
Regular maintenance ensures the longevity and safe operation of your ladder.
- Pulizia: Wipe down the ladder with a damp pannu per caccià a terra è i detriti. Evitate i detergenti abrasivi.
- Ispezione: Periodically check all moving parts, locking mechanisms, and rubber feet for wear or damage. Ensure all fasteners are tight.
- Lubrificazione: Lightly lubricate moving parts and locking pins with a silicone-based spray if they become stiff.
- Conservazione: Store the ladder in its intended position within the loft opening, ensuring it is fully retracted and secured.
6. Risoluzione di prublemi
Eccu alcuni prublemi cumuni è e so suluzioni putenziali:
| Prublemu | Causa Possibile | Soluzione |
|---|---|---|
| Ladder sections do not lock. | Dirt/debris in locking mechanism; bent section; not fully extended. | Clean mechanisms; inspect for damage; ensure each section is fully extended until it clicks. |
| Ladder is difficult to retract. | Lack of lubrication; dirt in mechanism; improper release. | Apply silicone spray to moving parts; clean mechanisms; ensure release buttons are fully pressed. |
| A scala si sente instabile. | Not fully extended/locked; uneven surface; damaged feet. | Verify all sections are locked; place on a firm, level surface; check rubber feet for wear and replace if necessary. |
7. Specificazioni
Key specifications for the Batavia Telescopic Loft Ladder:
| Feature | Detail |
|---|---|
| Numero di mudellu | 1 |
| Materiale | Alluminiu |
| Number of Rungs | 9 + 1 |
| Loft Height Compatibility | 2.3 - 2.7m |
| Minimum Length (folded) | 90.5 cm |
| Maximum Length (extended) | 2.85 m |
| Larghezza | 60 cm |
| Minimum Hatch Opening | 60 x 90.5-107.5cm |
| Capacità massima di carica | 150 kg |
| Pesu di l'articulu | 13.2 kg |
| Dimensioni di u produttu (imballatu) | 55 x 12.67 x 85 cm |
8. Garanzia è Support
For information regarding warranty coverage, returns, or technical support, please refer to your purchase documentation or contact the retailer where the product was purchased. You may also visit the official Batavia website or their Amazon store for further assistance and contact details.
Batavia Store Link: Visit the Batavia Store on Amazon


