1. Introducció
This manual provides detailed instructions for the installation, operation, maintenance, and troubleshooting of the Hikvision DS-9632NI-I8 32-Channel 4K Network Video Recorder (NVR). Please read this manual thoroughly before using the product to ensure proper and safe operation. Keep this manual for future reference.
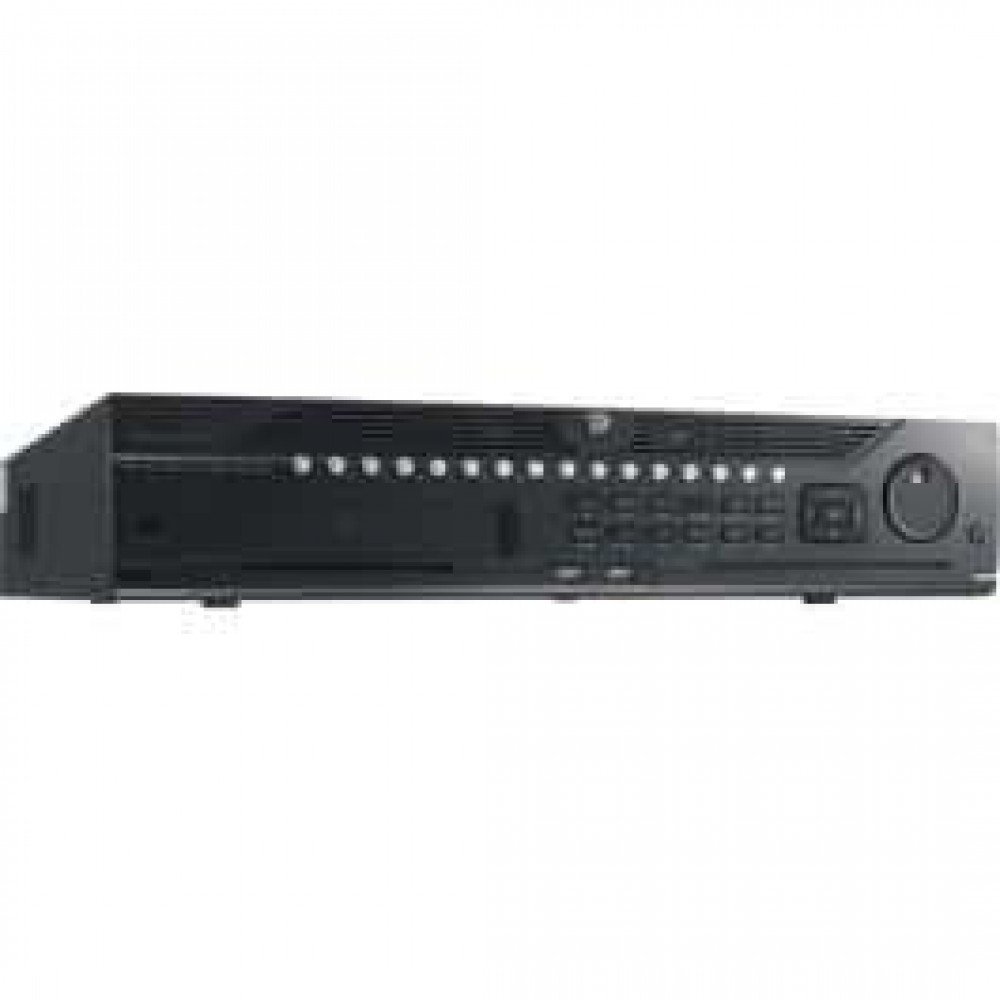
Figura 1: Frontal view of the Hikvision DS-9632NI-I8 NVR, showing its robust chassis and various interface ports.
2. Informació de seguretat
Always follow basic safety precautions to reduce the risk of fire, electric shock, and injury to persons. This includes, but is not limited to:
- Feu servir només l'adaptador de corrent especificat pel fabricant.
- Assegureu-vos una ventilació adequada per evitar el sobreescalfament.
- Do not expose the NVR to water or moisture.
- Avoid placing the NVR near heat sources or in direct sunlight.
- Demaneu tot el servei a personal de servei qualificat.
3. Contingut del paquet
Verify that all items are present and in good condition. If any item is missing or damaged, contact your dealer immediately.
- Hikvision DS-9632NI-I8 NVR Unit
- Adaptador/cable de corrent
- Ratolí USB
- Screws for HDD Installation
- Guia d'inici ràpid
- CD-ROM (que conté programari i manual complet)
4. Configuració
4.1 Instal·lació de maquinari
- Prepare Hard Disk Drives (HDDs): The DS-9632NI-I8 supports up to 8 SATA HDDs. Install HDDs into the NVR chassis using the provided screws. Ensure each HDD is securely mounted.
- Connecteu els perifèrics:
- Connecteu un monitor al port de sortida HDMI o VGA.
- Connect the included USB mouse to a USB port.
- Connecteu l'NVR a la vostra xarxa mitjançant un cable Ethernet.
- Encès: Connect the power adapter to the NVR and then to a power outlet. Press the power button on the front panel.
4.2 Configuració inicial
Upon first boot, the NVR will guide you through an initial setup wizard.
- Estableix la contrasenya de l'administrador: Create a strong password for the 'admin' user.
- Configuració de la xarxa: Configure network parameters (DHCP or Static IP). Ensure the NVR is accessible on your local network.
- Data i hora: Estableix la data, l'hora i la zona horària correctes.
- HDD Initialization: The NVR will prompt you to initialize the installed HDDs. This process will format the drives for recording.
- Afegir càmeres IP: Use the wizard to search for and add compatible Hikvision IP cameras to the NVR.
5. Instruccions de funcionament
5.1 Viu View
Després d'iniciar la sessió, l'NVR mostrarà la imatge en directe view interface, showing feeds from connected cameras. You can switch between different camera views i dissenys.
- Càmera única View: Double-click a camera window to view ho a pantalla completa.
- Selecció de disseny: Use the layout icons at the bottom of the screen to choose different grid arrangements (e.g., 4-channel, 9-channel).
5.2 Gestió d'enregistraments
The NVR supports continuous, scheduled, and event-triggered recording.
- Configure Recording Schedule: Navega a Configuració > Emmagatzematge > Configuració de la programació to define recording times for each camera.
- Enregistrament manual: Click the record icon on the live view interface to start/stop manual recording.
5.3 Reproducció
Per tornarview foo gravattage:
- Aneu a la Reproducció menú.
- Seleccioneu la(es) càmera(es) desitjada(es) i l'interval de data/hora.
- Feu servir la cronologia per navegar per les gravacions.
- Playback controls (play, pause, fast forward, rewind) are available.
5.4 Accés remot
Es pot accedir a l'NVR de forma remota mitjançant un web browser or Hik-Connect mobile app.
- Web Navegador: Introduïu l'adreça IP de l'NVR en un web navegador.
- Hik-Connect: Baixeu l'aplicació Hik-Connect, registreu un compte i afegiu el vostre NVR escanejant el seu codi QR o introduint el seu número de sèrie.
6. Manteniment
6.1 actualitzacions de microprogramari
Regularly check for and install firmware updates to ensure optimal performance and security. Firmware can be downloaded from the official Hikvision weblloc.
- Navega a Configuration > System > Maintenance > Upgrade.
- Follow the on-screen instructions to perform the upgrade. Do not power off the NVR during the update process.
6.2 Gestió del disc dur
Monitor the health of your HDDs and manage storage space.
- HDD Status: Check HDD status in Configuration > Storage > HDD Management.
- Mode de sobreescritura: Configure the NVR to overwrite old recordings when storage is full (default behavior).
6.3 Neteja
Keep the NVR clean to prevent dust buildup, which can affect performance and lifespan.
- Power off and unplug the NVR before cleaning.
- Feu servir un drap suau i sec per netejar l'exterior.
- Feu servir aire comprimit per treure la pols de les obertures de ventilació.
7. Solució De Problemes
| Problema | Causa possible | Solució |
|---|---|---|
| No hi ha sortida de vídeo al monitor. | Loose cable connection, incorrect input source on monitor, NVR not powered on. | Check HDMI/VGA cable connections. Ensure monitor is set to correct input. Verify NVR power. |
| No es pot accedir a l'NVR de forma remota. | Network configuration issues, firewall blocking, incorrect port forwarding. | Verify NVR network settings. Check router firewall and port forwarding rules. Ensure Hik-Connect is properly configured. |
| Càmeres que no graven. | HDD not initialized, recording schedule not set, HDD full. | Initialize HDDs. Configure recording schedule. Check HDD status and capacity. |
| He oblidat la contrasenya de l'administrador. | Contrasenya perduda. | Refer to the full manual or Hikvision support for password reset procedures. This often involves a security code or a physical reset button. |
8. Especificacions
| Característica | Detall |
|---|---|
| Model | DS-9632NI-I8 |
| Entrada de vídeo | 32-Channel IP Video Input |
| Sortida de vídeo | HDMI (fins a 4K), VGA |
| Format de descodificació | H.265+/H.265/H.264+/H.264 |
| Entrada/sortida d'àudio | 1-ch, RCA (2.0 Vp-p, 1 kΩ) / 2-ch, RCA (Linear, 1 kΩ) |
| SATA | 8 interfícies SATA per a 8 discs durs |
| Capacitat | Up to 10 TB for each HDD (example, actual capacity may vary) |
| Interfície de xarxa | 2 RJ-45 10M/100M/1000M self-adaptive Ethernet interfaces |
| Interfície USB | Panell frontal: 2 × USB 2.0; Panell posterior: 1 × USB 3.0 |
| Dimensions (L × P × A) | 23 x 22 x 8 polzades (aproximadament) |
| Font d'alimentació | 100 a 240 VAC, 50 a 60 Hz |
9. Garantia i Suport
9.1 Garantia limitada
Hikvision products are covered by a limited warranty. The specific terms and duration of the warranty may vary by region and product type. Please refer to the official Hikvision weblloc web o la documentació de compra per obtenir informació detallada sobre la garantia.
- Conserveu el vostre comprovant de compra per a reclamacions de garantia.
- Unauthorized repairs or modifications may void the warranty.
9.2 Suport tècnic
For technical assistance, product inquiries, or service requests, please contact Hikvision support through the following channels:
- Oficial Weblloc: Visita www.hikvision.com for support resources, FAQs, and contact information.
- Atenció al client: Refer to the contact details provided on the Hikvision weblloc web per a la vostra regió específica.
- Distribuïdors autoritzats: Your authorized Hikvision dealer can also provide support and service.


