1. Въведение
Thank you for choosing the LG 34 Inch UltraWide WQHD Curved Monitor. This manual provides essential information for the safe and efficient use of your new monitor. Please read it thoroughly before operating the device and keep it for future reference.
Съдържание на пакета
- LG 34 Inch UltraWide Curved Monitor
- Стойка за монитор (основа и шия)
- Захранващ кабел
- HDMI кабел
- DisplayPort кабел
- USB-C кабел
- Ръководство за потребителя и гаранционна карта
2. Ключови характеристики
- 34-inch WQHD UltraWide Curved Display: Expansive 21:9 screen (3440 x 1440) for enhanced productivity and immersive viewинж.
- HDR Display with 99% sRGB: Delivers vibrant, natural colors and distinct image layers, supporting HDR brightness performance.
- Висока честота на опресняване от 120Hz: Ensures fluid scrolling and dynamic content for a comfortable visual experience.
- 5ms (GTG) Response Time: Provides quick pixel response for smooth motion.
- LG Switch for Multitasking & Eye Care: Enables quick split-screen functionality, customizable layouts, and Reader Mode to reduce eye strain.
- Регулируема стойка: Supports height, tilt, and swivel adjustments for optimal viewъгли.
- Вградени високоговорители: Вграден звук за удобство.
- Множество опции за свързване: Includes DisplayPort and HDMI inputs.
3. Настройка
3.1 Сглобяване на стойката
Carefully remove the monitor and stand components from the packaging. Follow the instructions below to attach the stand to the monitor.
- Поставете монитора с екрана надолу върху мека, чиста повърхност, за да предотвратите надраскване.
- Прикрепете стойката към задния панел на монитора. Уверете се, че щраква здраво на мястото си.
- Attach the stand base to the bottom of the stand neck. Tighten the screw(s) firmly to secure the base.
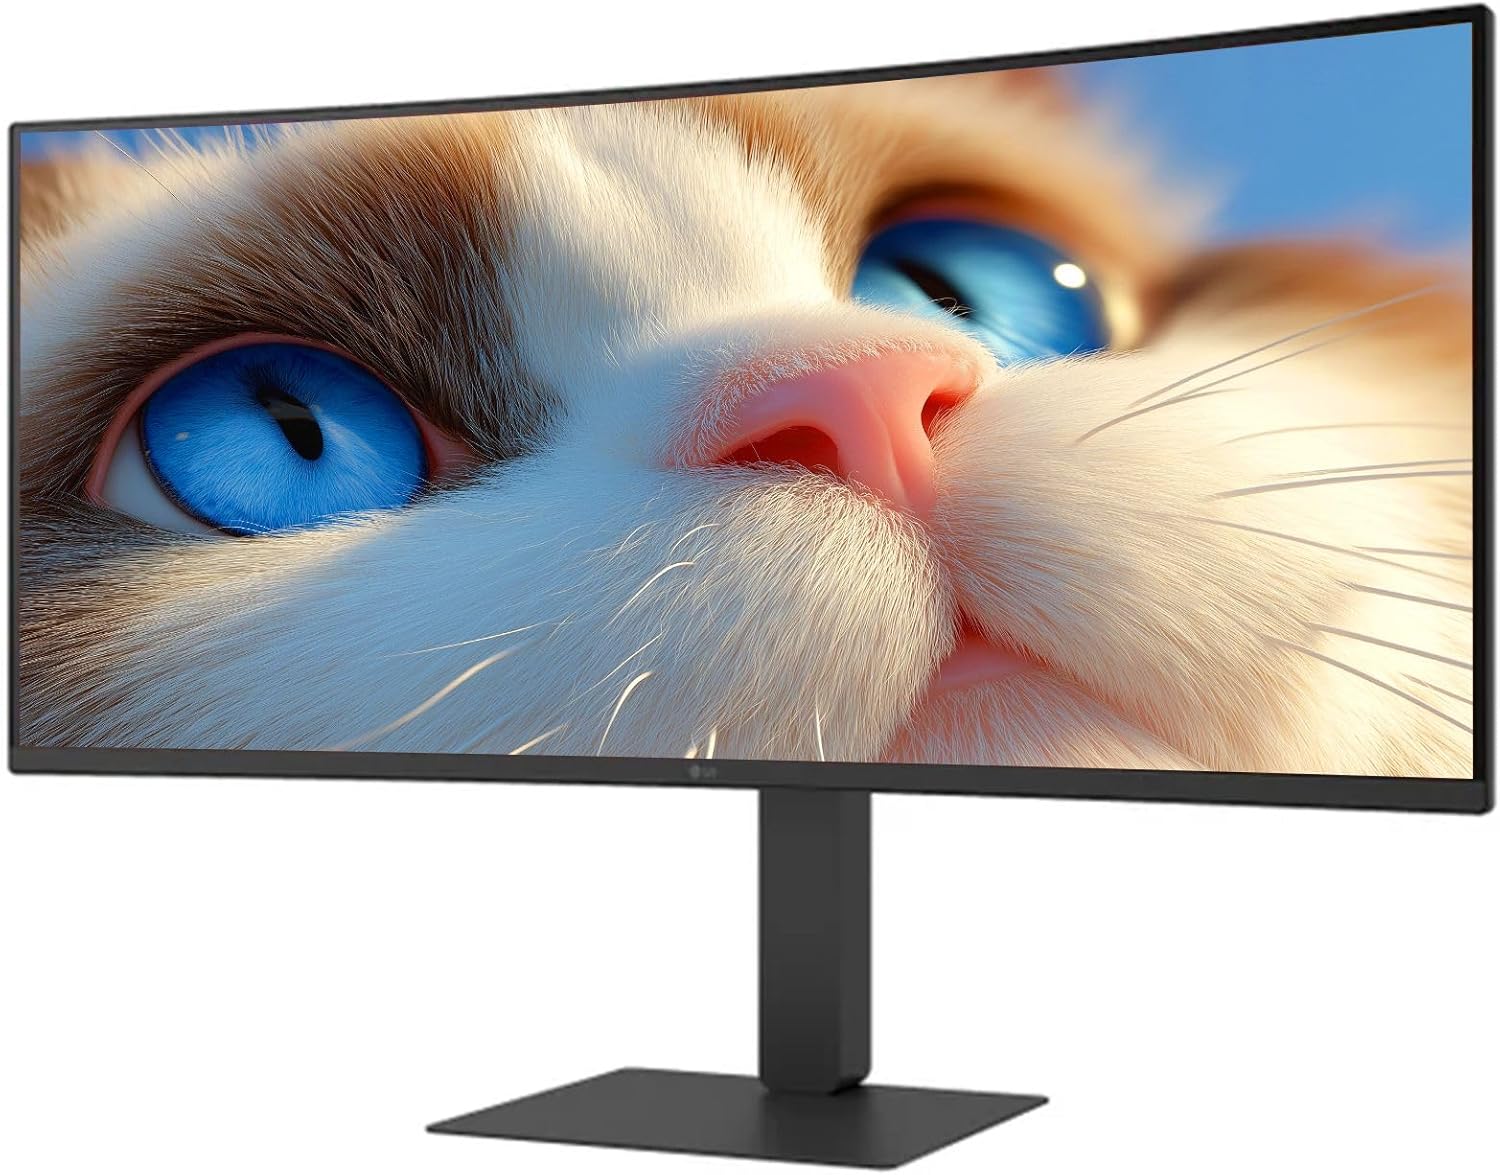
Фигура 1: Отпред view of the LG 34 Inch UltraWide Curved Monitor with stand.

Фигура 2: Страна view of the LG 34 Inch UltraWide Curved Monitor with stand.
3.2 Свързване на монитора
Свържете монитора към вашия компютър или други устройства, като използвате подходящите кабели.
- Свържете захранващия кабел към входа за захранване на монитора и след това към електрически контакт.
- For video input, connect either an HDMI cable or a DisplayPort cable from your computer's graphics card to the corresponding port on the monitor.
- If your computer supports USB-C, you can use the provided USB-C cable for video, audio, and data transfer.

Фигура 3: Задна част view of the monitor showing available ports for connectivity.
4. Работа с монитора
4.1 Включване/изключване
Press the power button, usually located on the bottom center of the monitor, to turn the monitor on or off. The power indicator light will illuminate when the monitor is on.
4.2 Екранно меню (OSD)
The OSD menu allows you to adjust various monitor settings. Use the joystick button (typically located on the bottom center) to navigate the menu.
- Режим на картината: Select from various preset modes (e.g., Custom, Reader, HDR Effect) or customize settings like brightness, contrast, and sharpness.
- вход: Manually select the input source (HDMI, DisplayPort, USB-C).
- Общи: Access settings for language, OSD transparency, and power-saving options.
4.3 Регулиране на стойката
The monitor stand offers ergonomic adjustments for your comfort:
- Регулиране на височината: Gently push or pull the monitor up or down to your desired height.
- Регулиране на наклона: Hold both sides of the monitor and tilt it forwards or backwards.
- Регулиране на въртене: Завъртете монитора наляво или надясно върху основата му.
5. Поддръжка
5.1 Почистване на монитора
За да осигурите дълготрайността и оптималната работа на вашия монитор, следвайте тези указания за почистване:
- Винаги изключвайте монитора от контакта преди почистване.
- Използвайте леко мека кърпа без мъх dampс вода или специализиран препарат за почистване на екрани.
- Не пръскайте почистващия препарат директно върху екрана.
- Avoid using abrasive cleaners, solvents, or ammonia-based products.
6. Отстраняване на проблеми
Ако срещнете проблеми с монитора си, вижте следните често срещани решения:
- Без захранване: Уверете се, че захранващият кабел е здраво свързан както към монитора, така и към електрическия контакт. Проверете дали електрическият контакт работи.
- Няма сигнал: Verify that the video cable (HDMI, DisplayPort, or USB-C) is correctly connected to both the monitor and your computer. Ensure the correct input source is selected in the OSD menu.
- Трептящ екран: Check the video cable connection. Try adjusting the refresh rate in your computer's display settings.
- Изкривяване на изображението: Reset the monitor to factory settings via the OSD menu. Ensure your computer's display resolution matches the monitor's native resolution (3440 x 1440).
- Няма звук от вградените високоговорители: Check the volume settings on both the monitor and your computer. Ensure the audio output is correctly routed to the monitor.
If the problem persists after trying these steps, please contact LG customer support.
7. Спецификации
| Характеристика | Спецификация |
|---|---|
| Марка | LG |
| Номер на модела | 195174134092 |
| Размер на екрана | 34 инча |
| Максимална резолюция | WQHD (3440 x 1440) |
| Честота на опресняване | 120Hz |
| Време за реакция | 5 ms (GTG) |
| Съотношение на страните | 21:9 |
| Цветова гама | sRGB 99% |
| Поддръжка на HDR | HDR10 |
| Viewъгъл на ъгъл | 178 degrees (R/L), 178 degrees (U/D) |
| Съединители за дисплей | 1 x HDMI, 1 x DisplayPort |
| Функции за облекчаване на видимостта | Low blue light, Flicker-free, Anti-glare, Reader Mode |
| Вградени високоговорители | да |
| Размери на продукта (със стойка) | 8.7" Д x 32.1" Ш x 19.2" В |
| Тегло на продукта (със стойка) | 16.8 паунда |
8. Гаранция и поддръжка
Your LG 34 Inch UltraWide Curved Monitor comes with a standard manufacturer's warranty. Please refer to the warranty card included in your package for detailed terms and conditions.
For technical support, service, or further inquiries, please visit the official LG website or contact their customer service hotline. Keep your purchase receipt and product serial number (located on the back of the monitor) handy when contacting support.