1. Інфармацыя па бяспецы
Read and understand all safety instructions before operating the Garvee Snow Pusher Shovel.
- Always assemble the snow shovel according to the included instructions before use.
- Always check that all bolts and parts are securely tightened before each use.
- Use the snow shovel only on flat, stable surfaces to avoid accidents or damage.
- Do not overload the shovel with excessive, heavy snow to ensure optimal performance and prevent damage.
- Wear appropriate winter clothing and footwear for traction and warmth.
- Трымайце дзяцей і хатніх жывёл далей ад працоўнай зоны падчас працы.
2. Прадукт скончыўсяview
The Garvee 29-inch Snow Pusher Shovel with Wheels is designed for efficient snow removal from various surfaces. It features a large, adjustable blade and an ergonomic handle for user comfort.
Асноўныя характарыстыкі:
- Oversized Adjustable Blade: 29x20 inch blade with 5-position adjustable angle for versatile snow removal (pushing, lifting, scraping).
- Customizable & Ergonomic Handle: 2-gear, 5-angle telescopic handle with T-shaped, non-slip grip to reduce back strain.
- Трывалая канструкцыя: Powder-coated steel to resist rust and wear. Features an exchangeable bottom strip for extended lifespan.
- Effortless Rolling: Two 8-inch anti-skid textured tires for excellent traction and control on icy and snowy conditions.
- Easy Upright Storage: Handle locks upright for convenient, space-saving storage.
3. Інструкцыя па зборцы
The Garvee Snow Pusher Shovel is designed for quick and hassle-free assembly. Follow these steps to set up your shovel.
- Распакуйце кампаненты: Carefully remove all parts from the packaging. Verify that all components listed in the parts diagram (not provided in this manual, refer to original packaging) are present.
- Attach Wheels to Frame: Securely attach the two 8-inch anti-skid wheels to the main frame using the provided hardware. Ensure they are firmly in place for stability.
- Connect Blade to Frame: Mount the 29x20 inch blade to the front of the frame. Use the designated bolts and nuts to ensure a secure connection. The blade's connector allows for angle adjustment.
- Install Handle Assembly: Attach the telescopic handle to the main frame. The handle features a 2-gear, 5-angle adjustment mechanism. Ensure all locking pins or bolts are engaged to fix the handle at your desired height and angle.
- Канчатковая праверка: Before first use, double-check all connections, bolts, and adjustments to ensure they are tight and secure.

Image: Key components of the Garvee Snow Pusher Shovel, including the comfortable T-shape handle, powder-coated metal blade, anti-slip textured inflatable tire, and exchangeable bottom strip.
4. Інструкцыя па эксплуатацыі
This section details how to effectively use your Garvee Snow Pusher Shovel for optimal snow removal.
4.1 Рэгуляванне вугла ляза
The shovel's blade can be adjusted to 5 different positions, allowing you to direct snow to the left, right, or straight ahead.
- Locate the adjustable connector mechanism at the base of the blade.
- Loosen the locking mechanism (e.g., wing nut or pin) that secures the blade's current angle.
- Pivot the blade to the desired angle (up to 45 degrees left or right).
- Securely tighten the locking mechanism to ensure the blade remains fixed during operation.

Image: Illustration of the flexible angled blade with its 5-position adjustment and 45-degree range, showing the adjustable connector.
4.2 Рэгуляванне вышыні ручкі
The telescopic handle can be adjusted to suit users of different heights, promoting an ergonomic posture and reducing back strain.
- Identify the handle adjustment points on the telescopic rods.
- Release the locking pins or levers on both sides of the handle.
- Extend or retract the handle to one of the 2-gear, 5-angle positions that feels most comfortable for your height.
- Ensure the locking pins or levers are fully re-engaged to secure the handle at the chosen height.

Image: Diagram illustrating the 5-level adjustable handle with various height settings (15 to 46 inches) and adjustable tilt for user comfort.
4.3 Snow Removal Technique
Push the shovel forward, allowing the blade to collect snow. The wheels will assist in maneuvering the load. For deeper snow, take smaller passes. Angle the blade to push snow to the side of your path.

Image: A person demonstrating the use of the Garvee Snow Pusher Shovel to clear snow from a driveway, highlighting its solid steel construction and efficient design.
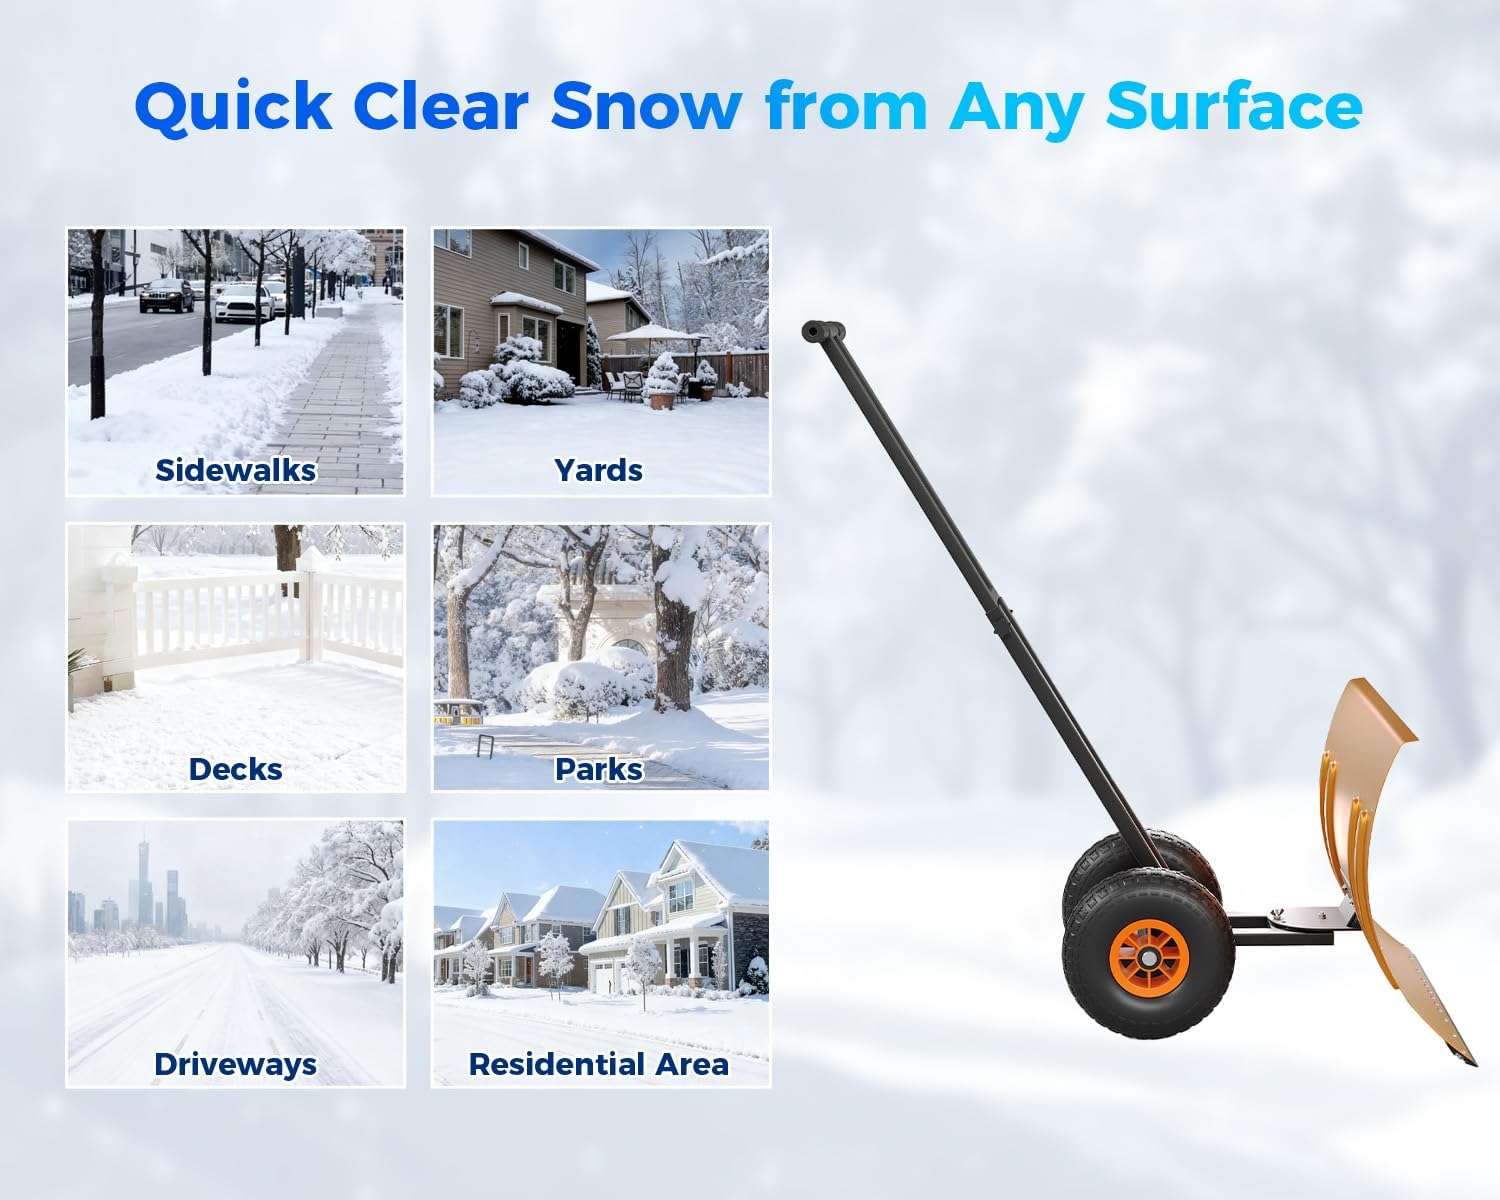
Image: Visual representation of various surfaces where the snow pusher shovel can be used, including sidewalks, yards, residential areas, decks, parks, and driveways.
5. Тэхнічнае абслугоўванне
Proper maintenance ensures the longevity and optimal performance of your Garvee Snow Pusher Shovel.
- Уборка: After each use, clear any remaining snow, ice, or debris from the blade and wheels. Wipe down metal parts to prevent rust.
- агляд: Regularly inspect all bolts, nuts, and connections for tightness. Tighten any loose fasteners.
- Blade Strip Replacement: The innovative blade features an exchangeable bottom strip. When one side shows signs of wear, simply flip and remount it for double the lifespan. Replacement strips can be purchased separately.
- змазка: Periodically apply a silicone-based lubricant to moving parts and adjustment mechanisms to ensure smooth operation.

Image: A comparison showing the 29-inch wide blade of the Garvee shovel versus a smaller 20-inch blade, emphasizing its efficiency in snow removal.
6. Захоўванне
For convenient and space-saving storage, the handle of the Garvee Snow Pusher Shovel can be locked in an upright position.
- Clean the shovel thoroughly before storing.
- Adjust the handle to its shortest position if desired.
- Engage the upright locking mechanism on the handle to allow the shovel to stand freely.
- Store the shovel in a dry, covered area to protect it from elements and prolong its life.

Image: The Garvee Snow Pusher Shovel stored upright against a wall, demonstrating its space-saving design for narrow spaces.
7. Выпраўленне непаладак
If you encounter issues with your Garvee Snow Pusher Shovel, refer to the following common problems and solutions.
| праблема | Магчымая прычына | Рашэнне |
|---|---|---|
| Shovel not moving smoothly | Wheels are clogged with snow/ice; loose wheel attachment. | Clear debris from wheels. Check and tighten wheel bolts. |
| Blade angle shifts during use | Locking mechanism for blade is not fully tightened. | Ensure the blade's locking mechanism is securely fastened after adjustment. |
| Ручка хістаецца | Telescopic handle locking pins/levers are not fully engaged. | Verify that all handle adjustment locks are properly secured. |
| Excessive wear on blade strip | Prolonged use on one side of the strip. | Flip and remount the exchangeable bottom strip. Replace if both sides are worn. |
If you experience missing or damaged parts, please contact customer support for assistance.
8. Тэхнічныя характарыстыкі
| Асаблівасць | Дэталь |
|---|---|
| Марка | Гарві |
| Нумар мадэлі | RiUs9DnYM02634abdYlOAwQolcr |
| Матэрыял | Metal (Powder-coated steel, Alloy Steel blade) |
| Колер | Аранжавы |
| Памеры прадукту (Д х Ш х У) | 30.51 х 20.94 х 6.1 цалі |
| Вага прадмета | 29.8 фунта |
| Памер клінка | 29 х 20 цалі |
| Рэгуляванне кута ляза | 5-position, up to 45 degrees |
| Рэгуляванне ручкі | 2-gear, 5-angle telescopic |
| Памер колы | 8 inches (anti-skid textured tires) |
| UPC | 199809475420 |
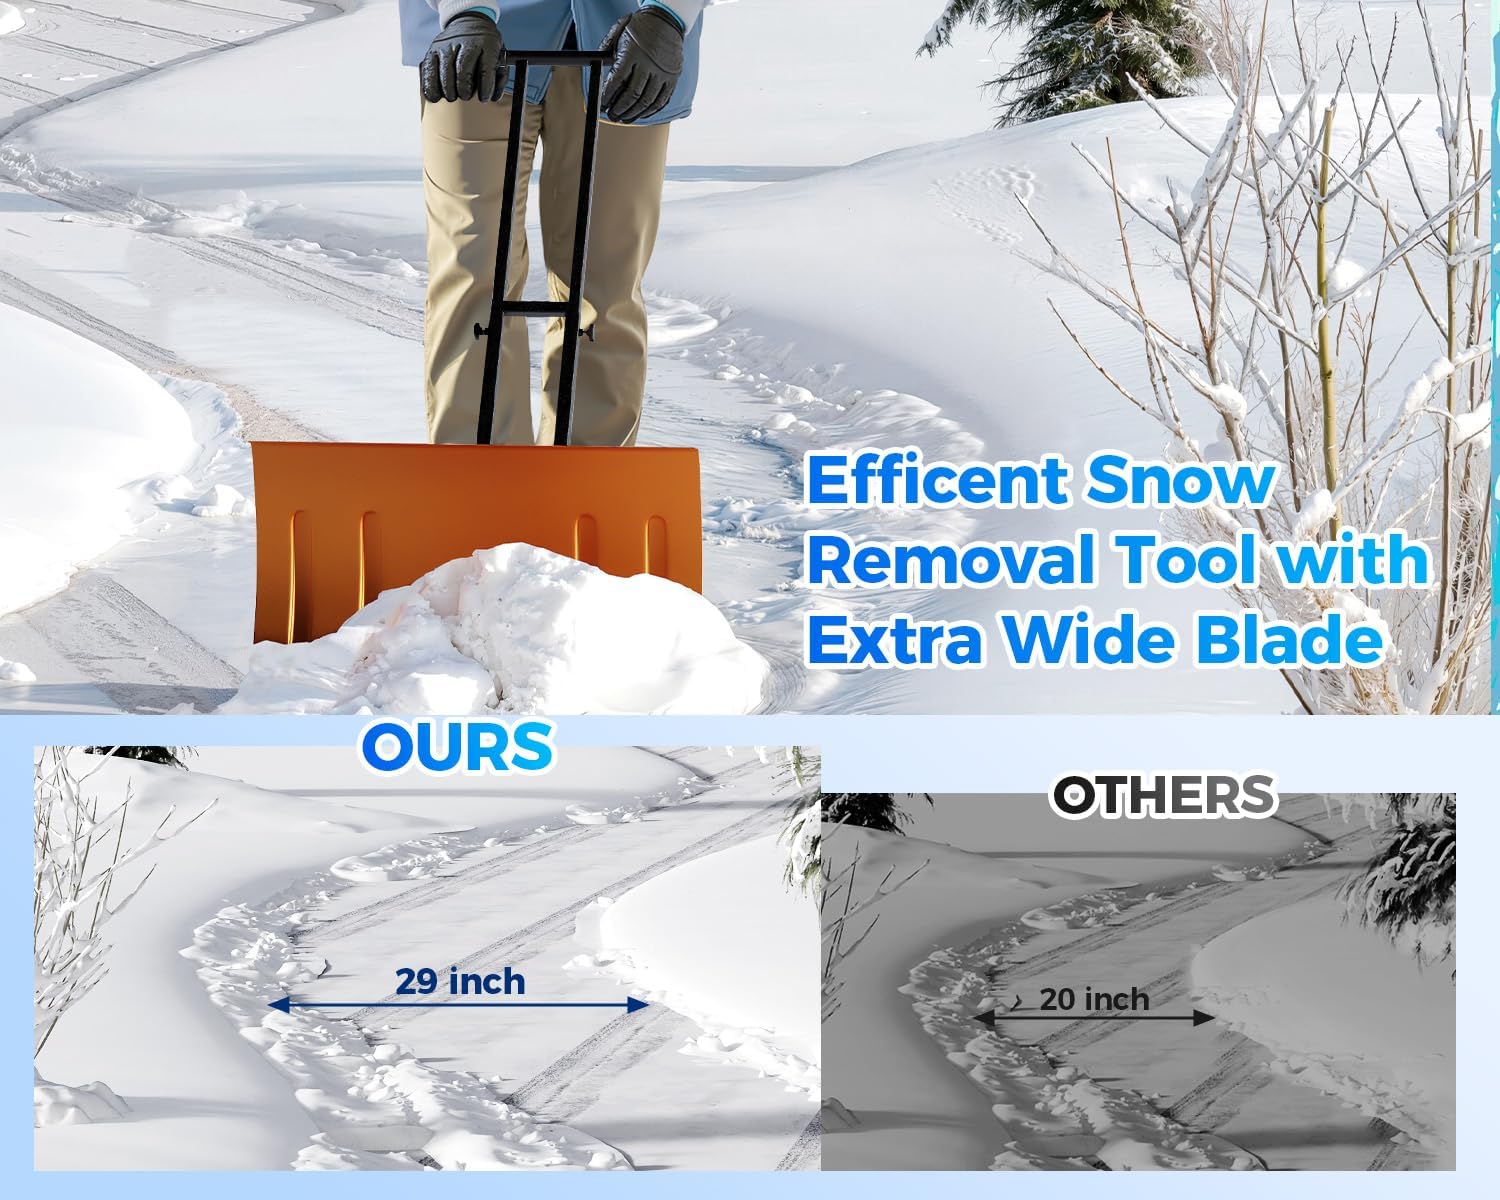
Image: Detailed dimensions of the Garvee Snow Pusher Shovel, including overall size, blade width (29 inches), blade height (19.68 inches), and wheel diameter (15.74 inches), along with material details (Thicken Alloy Steel).
9. Падтрымка кліентаў
For any questions, concerns, or assistance with your Garvee Snow Pusher Shovel, please contact our customer support team.
- электронная пошта: Refer to your product packaging or purchase documentation for specific contact email.
- Інтэрнэт: Наведайце ст Garvee Store on Amazon для атрымання дадатковай інфармацыі і рэсурсаў падтрымкі.


