
Introduction
Thank you for choosing the HOSTACK 75" Tall Kitchen Pantry Storage Cabinet. This versatile furniture piece combines modern farmhouse design with practical features like a built-in charging station and LED lighting. This manual provides detailed instructions for assembly, operation, maintenance, and troubleshooting to ensure you get the most out of your new cabinet.
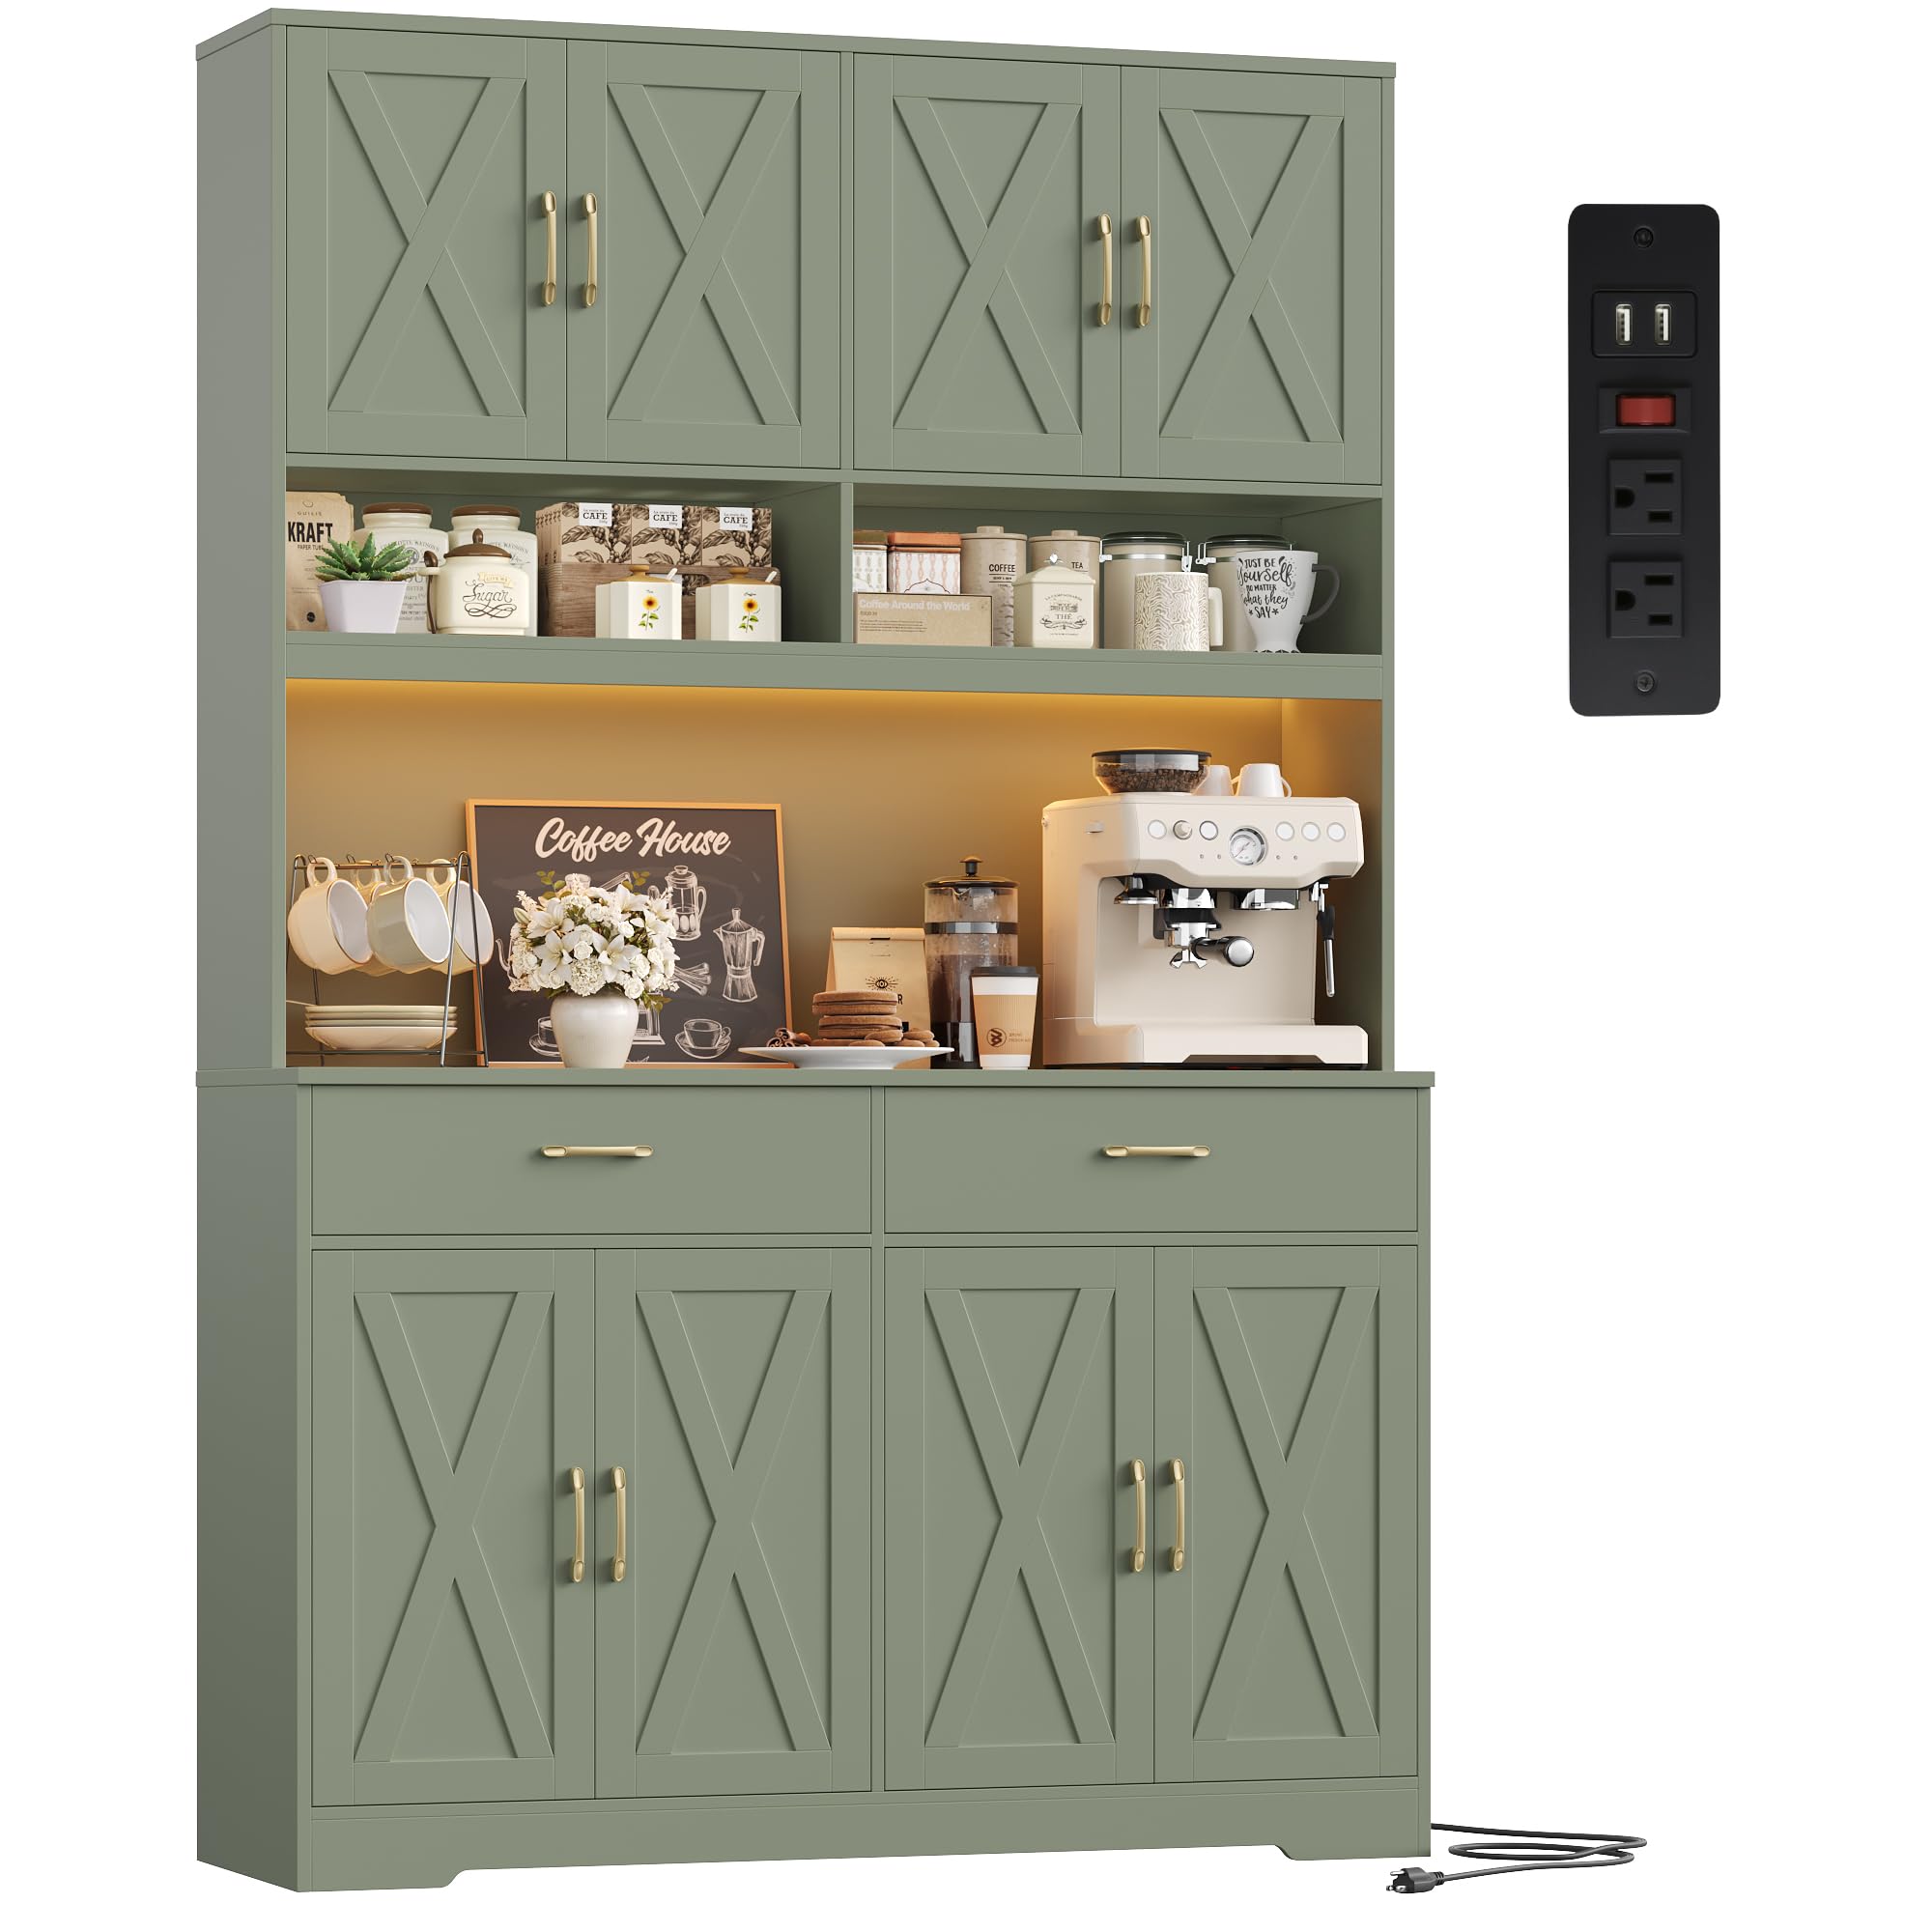
Image: The HOSTACK 75" Tall Kitchen Pantry Storage Cabinet in Sage Green, showcasing its design and storage capabilities.
Product Specifications
| Brand | HOSTACK |
| Model Name | Pantry Storage Cabinet with Charging Station |
| Color | Sage Green |
| Material | Engineered Wood |
| Overall Dimensions (D x W x H) | 15.16"D x 45.28"W x 75.39"H |
| Item Weight | 131 pounds |
| Weight Capacity (Maximum) | 375 pounds |
| Number of Drawers | 2 |
| Number of Shelves | 4 (adjustable) |
| Number of Doors | 2 (X-grain barn doors) |
| Charging Station | 2 AC outlets, 2 USB ports, 1500W max rating, overload protection |
| Lighting | RGB LED strips (60,000+ colors, adjustable brightness, music sync) |

Image: Detailed product dimensions and interior drawer measurements, along with a note that the product ships in two boxes.
Assembly Instructions
Before You Begin
- Confirm all parts are intact and complete. Refer to the parts list provided in your packaging.
- Review the full assembly guide thoroughly before starting.
- If any parts are missing or damaged, please contact customer support for replacements.
- Due to the substantial size and weight of the cabinet, two adults are recommended for safe and efficient assembly.
- The product ships in 2 separate packages (Box 1 and Box 2). These may arrive 1-3 business days apart due to logistics sorting and transit. All parts and accessories are included across both packages.

Image: An illustration showing the contents of the package (parts list, instructions, pre-labeled panels, pre-labeled hardware) and a pre-assembly checklist.

Image: A shipping notice graphic explaining that the item ships in two separate packages (Box 1 and Box 2) which may arrive on different days.
Assembly Tools
This product includes a free Hex tool. For faster and easier installation, using a power screwdriver with a Phillips head is recommended.

Image: Visual guide to assembly tools, showing a Hex tool (included), a Phillips screwdriver (faster), and a power screwdriver (most efficient).
Step-by-Step Assembly
Follow the detailed, labeled instructions provided in your product manual. Ensure all components are securely fastened. An anti-tipping device is included to enhance overall safety; please install it according to the instructions.
Operating Instructions
Integrated Charging Hub
The cabinet features a built-in power station with 2 AC outlets and 2 USB ports, ideal for small kitchen appliances like coffee makers or charging mobile devices. Cable management holes are provided to keep cords tidy. The charging hub has a 1500W maximum rating and built-in overload protection for safe operation.
- Power On/Off: Use the integrated switch to control power to the outlets and USB ports.
- Overload Protection: If the total power consumption exceeds 1500W, the overload protection will activate, cutting power to prevent damage. Reduce the load and reset the switch if this occurs.

Image: A detailed view of the built-in charging station, showing the two AC outlets, two USB ports, and the on/off switch.
RGB LED Lighting System
Enhance the ambiance of your space with the premium built-in RGB LED strips. These lights offer over 60,000 vivid colors and adjustable brightness.
- Control: The LED lights can be controlled via a dual app system on your smartphone or through the convenient physical switch.
- Features: Enjoy seamless music synchronization and various lighting modes to create different atmospheres, from vibrant entertaining to a soothing evening setting.

Image: The HOSTACK cabinet with its RGB LED lighting system active, demonstrating the personalized ambiance and control options.
Maintenance
To ensure the longevity and appearance of your HOSTACK pantry cabinet, follow these simple maintenance guidelines:
- Cleaning: Wipe surfaces with a soft, damp cloth. Avoid harsh chemicals or abrasive cleaners, which can damage the finish.
- Spills: Clean up spills immediately to prevent staining or moisture damage to the engineered wood.
- Sunlight: Avoid prolonged exposure to direct sunlight to prevent fading of the finish.
- Heat: Do not place hot items directly on the cabinet surface without protection.
- Hardware: Periodically check and tighten all screws and hardware to maintain stability.
Troubleshooting
Cabinet Door Alignment Issues
If you experience issues with cabinet door alignment, such as gaps, overlapping, or doors not closing flush, follow these hinge adjustment steps. For more detailed instructions, refer to the last page of your product manual.
- Large Gap Between Doors: If the gap between the doors is too large, turn screw C clockwise to reduce the gap.
- Gaps on Upper or Lower Doors: If there are gaps on the upper or lower doors, loosen screws A and B, adjust the door to the desired height, then re-tighten screws to secure the door.
- Cabinet Doors Overlapping or Not in Right Position: If cabinet doors are overlapping or not in the correct position, turn screw C counter-clockwise to adjust.
- Bouncy Door Front: If the door front is bouncy, loosen screws D and push the door in to ensure it is flush, then re-tighten screws.

Image: A visual guide illustrating four common cabinet door alignment problems and the corresponding hinge adjustment steps using screws A, B, C, and D.
Video: This video demonstrates how to adjust the door gap on a cabinet, providing a visual guide to the hinge adjustment process.
Customer Support
For any questions, missing parts, or technical assistance, please contact HOSTACK customer service. Our support team is available to help you.
You can typically reach us via the "Contact Seller" option on the Amazon product page where you made your purchase. Please have your order details and model number ready when contacting support.