
Introduction
The Mastrad M°classic+ Cooking Thermometer Probe is a modern, precise, and intuitive tool designed for continuous temperature control, ensuring perfect cooking results every time. It is programmable for various meat types and desired cooking levels, providing real-time monitoring and an alert when the target temperature is reached. The display also shows the remaining cooking time for enhanced control.
This thermometer is compatible with ovens, barbecues, and induction cooktops. It features a 1-meter probe cable and a practical magnetic back for convenient placement. The device operates with one AAA battery, which is included.

Image: The Mastrad M°classic+ thermometer display unit and probe, shown next to a perfectly cooked steak.
Package Contents
- 1x Mastrad M°classic+ Thermometer Display Unit
- 1x Stainless Steel Probe with 1-meter Cable
- 1x AAA Battery
Setup
- Install Battery: Open the battery compartment on the back of the display unit. Insert the included AAA battery, ensuring correct polarity (+/-). Close the compartment securely.
- Connect Probe: Insert the probe cable connector firmly into the port on the side of the display unit.
- Power On: Press the power button (usually located on the back or front panel) to turn on the device.
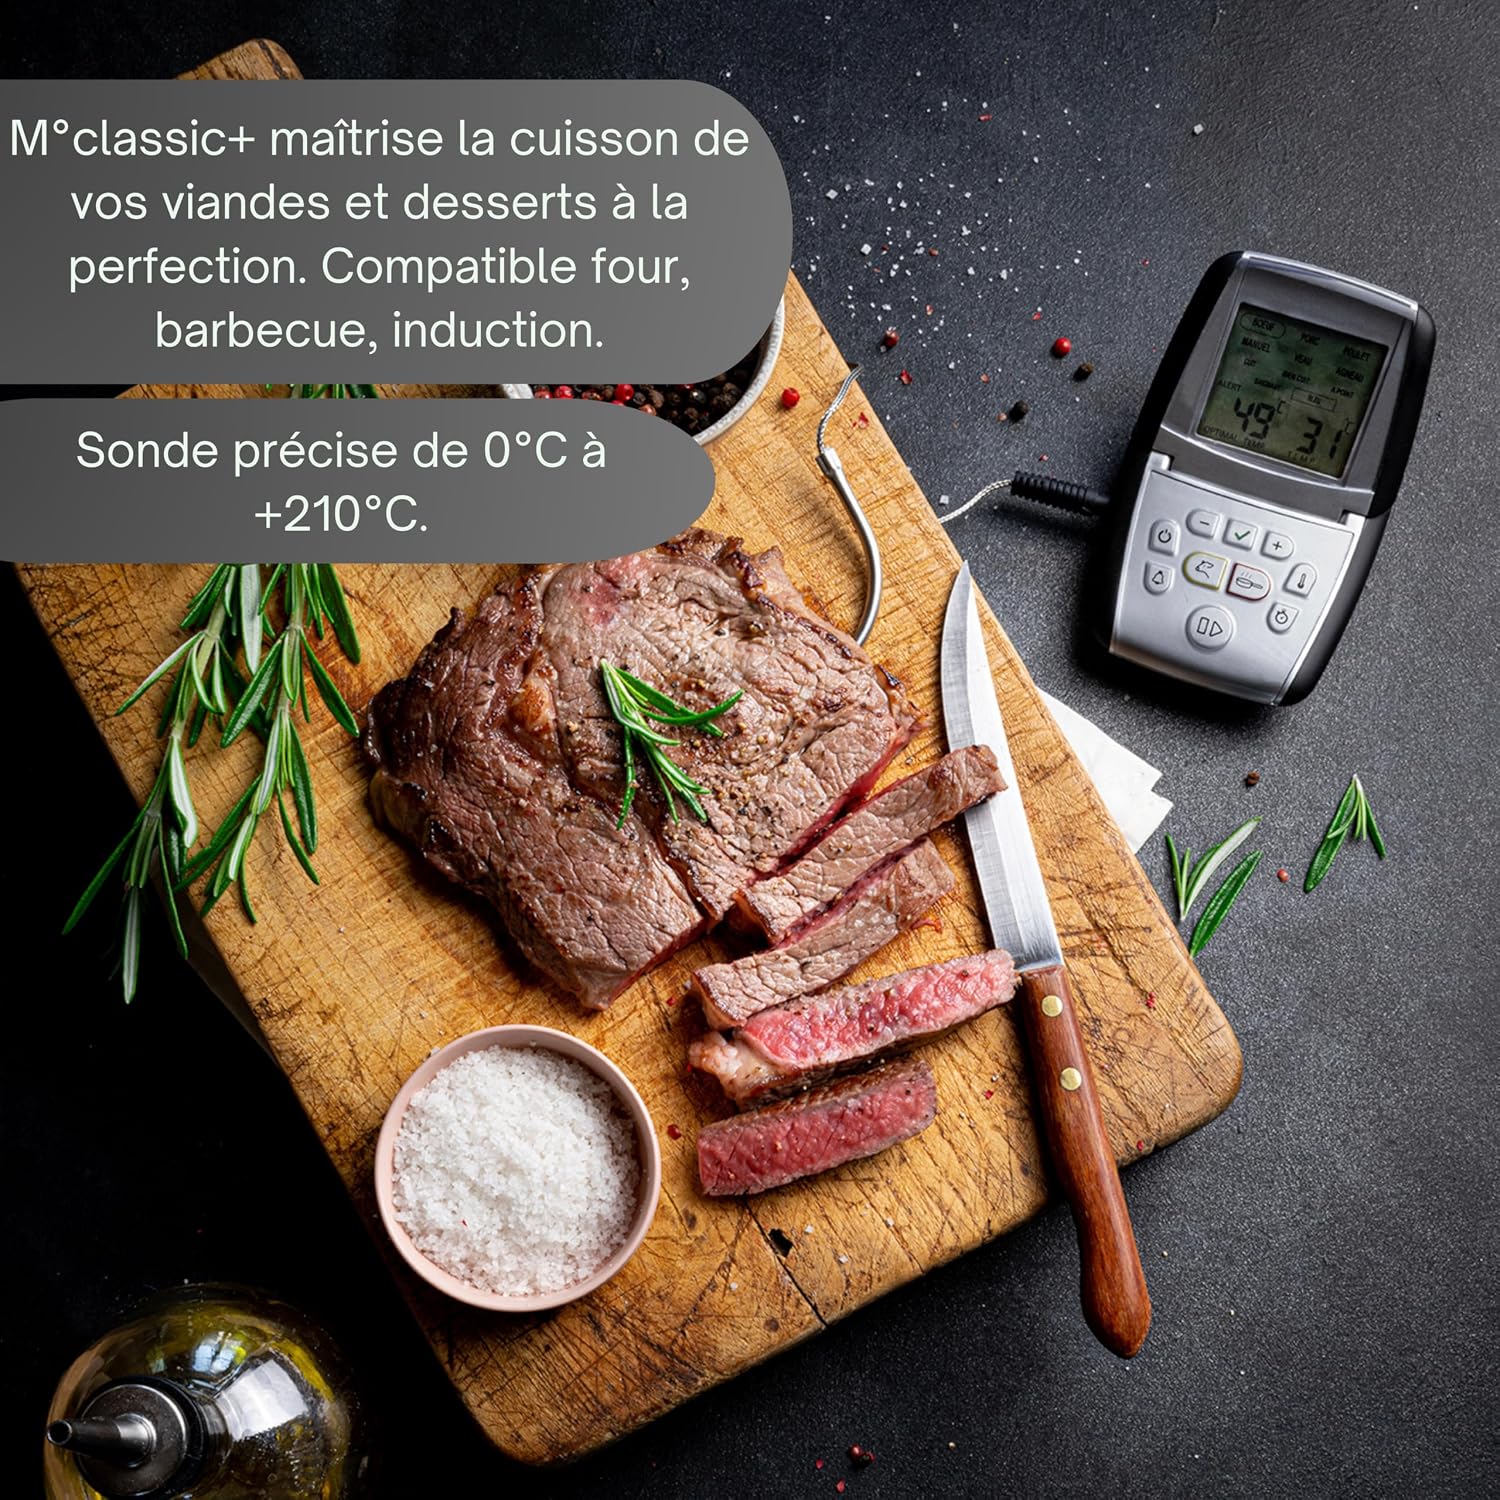
Image: Overview of the Mastrad M°classic+ thermometer, showing its components and features.
Operating Instructions
1. Power On/Off
Press the ON/OFF button (often marked with a power symbol) to turn the thermometer on or off.
2. Temperature Unit Selection (°C/°F)
Locate the °C/°F button (or switch) on the device. Press or toggle it to switch between Celsius and Fahrenheit temperature readings.
3. Using Pre-programmed Modes
The M°classic+ offers intelligent pre-programmed settings for various foods and desired doneness levels:
- Press the MODE button to cycle through different meat types (e.g., Beef, Pork, Chicken, Veal, Lamb).
- Once a meat type is selected, use the LEVEL button (or similar) to choose the desired cooking level (e.g., Rare, Medium, Well-done).
- The target temperature will automatically adjust based on your selection.

Image: The display showing pre-programmed options for meat types and cooking levels.
4. Manual Mode
For custom cooking, select the manual mode:
- Switch to MANUAL mode (if available, or bypass pre-programmed settings).
- Use the UP and DOWN buttons (often marked with + and -) to set your desired target temperature.
5. Inserting the Probe
Carefully insert the stainless steel probe into the thickest part of the food, avoiding bones. Ensure the probe tip is fully embedded for accurate readings.

Image: The thermometer probe inserted into a chicken roasting in an oven.
6. Monitoring Temperature and Alarm
The display unit will show the current internal temperature of your food. When the target temperature is reached, an audible alarm will sound, and the display may flash. Press any button to silence the alarm.

Image: The large digital screen displaying current temperature and remaining time.
7. Timer Function
The M°classic+ also includes a timer function. Refer to the specific button (often marked with a clock icon) to set and start a countdown timer for your cooking needs.

Image: The thermometer display showing the timer function in use while baking.
Maintenance
- Cleaning the Probe: After each use, carefully clean the stainless steel probe with warm, soapy water. Rinse thoroughly and dry completely. Do not immerse the display unit in water.
- Cleaning the Display Unit: Wipe the display unit with a damp cloth. Do not use abrasive cleaners or immerse it in water.
- Storage: Store the thermometer and probe in a clean, dry place when not in use. The magnetic back allows for convenient storage on metallic surfaces.
- Battery Replacement: Replace the AAA battery when the display becomes dim or the device stops functioning correctly.
Troubleshooting
| Problem | Possible Cause | Solution |
|---|---|---|
| No display/Device won't turn on | Dead or incorrectly installed battery. | Replace the AAA battery or ensure it is installed with correct polarity. |
| Inaccurate temperature reading | Probe not fully inserted; probe cable damaged; probe tip touching bone or pan. | Ensure probe is fully inserted into the thickest part of the food, away from bones. Check probe cable for damage. If damaged, contact customer support for a replacement probe. |
| Alarm not sounding | Alarm function disabled; low battery. | Check if the alarm is enabled in the settings. Replace battery if low. |
| Display difficult to read | Low battery. | Replace the AAA battery. |
Specifications
- Model: F73030
- Temperature Range: 0°C to 210°C (32°F to 410°F)
- Probe Material: Stainless Steel
- Cable Length: 1 meter
- Power Source: 1x AAA Battery (included)
- Display Type: Digital
- Special Features: Alarm, High Precision, Timer, Programmable, Magnetic Back
- Compatibility: Oven, Barbecue, Induction
- Immersion Depth: 25 Centimeters
- Care Instructions: Hand wash probe only; wipe display unit clean.
Warranty and Support
The Mastrad M°classic+ Cooking Thermometer Probe comes with a 2-year limited warranty from the date of purchase. This warranty covers manufacturing defects under normal use.
For warranty claims, technical support, or any questions regarding your product, please contact Mastrad customer service through their official website or the retailer where the product was purchased. Please retain your proof of purchase for warranty validation.