
VISSPL H86
Contents
VISSPL H86 Mini Smart Projector User Manual
Model: H86 (ASIN: B0HBWW8TSJ)
1. Product Overview
The VISSPL H86 Mini Smart Projector is a compact and versatile device designed for home cinema and entertainment. It features built-in streaming applications, automatic focus and keystone correction, and advanced connectivity options.

Image 1.1: VISSPL H86 Mini Smart Projector (off white model).
2. Setup Guide
2.1 Unboxing and Components
Before starting, ensure all components are present in the package:
- VISSPL H86 Mini Smart Projector
- Remote Control
- Power Adapter
- HDMI Cable
- Mini Stand
- Cleaning Swab
- User Manual (this document)

Image 2.1: Projector and included accessories.
2.2 Power Connection
- Connect the power adapter to the projector's power input port.
- Plug the power adapter into a wall outlet.
- Press the power button on the projector or remote control to turn on the device.
2.3 Initial Placement and Image Adjustment
The VISSPL H86 features automatic focus and keystone correction for quick setup.
- Automatic Focus: The projector will automatically adjust the image clarity within approximately 3 seconds upon startup or movement.
- Automatic Keystone Correction: The projector automatically corrects image distortion (trapezoid effect) when placed at an angle, ensuring a rectangular projection.
- Manual Adjustment: If needed, fine-tune focus or keystone correction via the settings menu.

Image 2.2: Automatic image adjustment features.
Video 2.1: Demonstration of VISSPL H86 Smart Projector's auto-focus and auto-correction features.
2.4 Network Connection (Wi-Fi 6)
- Navigate to the Settings menu on the projector's interface.
- Select "Network" or "Wi-Fi Settings."
- Choose your Wi-Fi network from the list and enter the password.
- Confirm the connection. The projector supports Wi-Fi 6 for stable streaming.
2.5 Bluetooth Pairing (Bluetooth 5.2)
- Go to the Settings menu and select "Bluetooth."
- Enable Bluetooth on the projector.
- Ensure your Bluetooth device (e.g., speaker, headphones) is in pairing mode.
- Select your device from the list on the projector screen to pair.
3. Operating Instructions
3.1 User Interface Navigation
The projector operates on Whale OS. Use the included remote control to navigate the interface. The remote allows you to select apps, adjust settings, and control media playback.

Image 3.1: Projector and remote control.
3.2 Using Built-in Applications
The projector comes with Netflix, YouTube, and Prime Video pre-installed. Access these applications directly from the home screen.
- From the home screen, select the desired application icon.
- Log in with your account credentials if prompted.
- Begin streaming content.

Image 3.2: Built-in applications interface.
Video 3.1: Short demonstration of Netflix access on the VISSPL Smart Projector.
3.3 Connecting External Devices
The projector supports various external input sources:
- HDMI: Connect gaming consoles, laptops, or streaming sticks (e.g., 4K streaming stick) using the HDMI port. The projector accepts 4K signals and downscales to native 1080P.
- USB: Plug in a USB drive to play supported media files directly.
- AV: Use the provided AV cable for older devices.
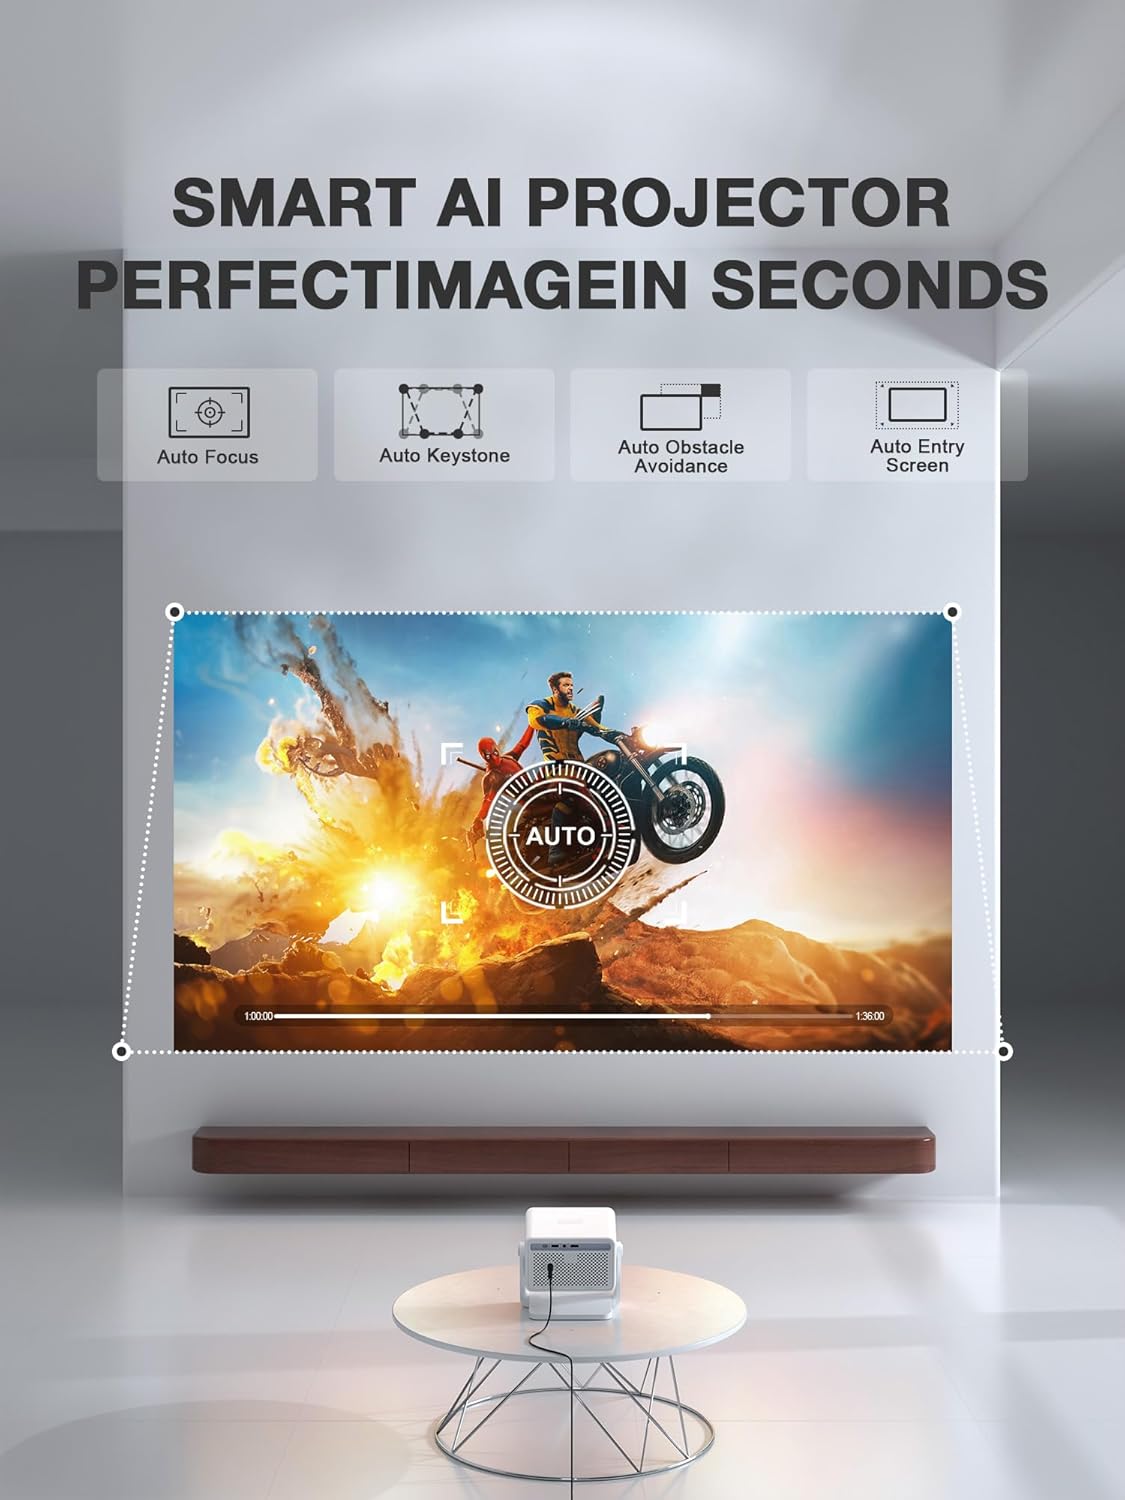
Image 3.3: Projector input/output ports.
3.4 Screen Mirroring/Casting
Wirelessly cast content from your compatible devices (smartphones, tablets) to the projector. Refer to the projector's on-screen instructions for specific casting protocols (e.g., Miracast, AirPlay).
3.5 Audio Output Options
- Built-in Speaker: The projector has an integrated speaker for audio playback.
- Bluetooth Speaker Mode: Connect external Bluetooth speakers or headphones for enhanced audio.
- Line Out: Use the 3.5mm audio jack to connect to external wired audio systems.
3.6 Adjusting Projection Settings
Access the Settings menu to customize your viewing experience:
- Picture Mode: Select from various preset modes (e.g., Standard, Movie, Vivid) or customize brightness, contrast, and color.
- Color Temperature: Adjust the warmth or coolness of the image.
- Zoom: Adjust the projection size from 50% to 100% without moving the projector.
- Projector Direction: Configure for front, rear, ceiling front, or ceiling rear projection.
4. Maintenance
4.1 Cleaning the Lens
Regularly clean the projector lens to maintain optimal image clarity. Use the provided cleaning swab or a soft, lint-free cloth specifically designed for optical lenses. Avoid abrasive materials or harsh chemicals.
4.2 Dust Prevention
To minimize dust accumulation inside the projector, operate it in a clean environment. When not in use, cover the lens with its cap and store the projector in a dust-free area.
4.3 Cooling System
The VISSPL H86 features an ultra-quiet cooling system. Ensure proper ventilation by keeping the projector's vents clear of obstructions. Do not place the projector on soft surfaces that may block airflow.

Image 4.1: Projector's quiet operation due to efficient cooling.
4.4 Software Updates
Periodically check for software updates in the projector's settings menu. Updates can improve performance, add new features, and enhance security.
5. Troubleshooting
If you encounter issues with your VISSPL H86 projector, refer to the following common problems and solutions:
5.1 No Power
- Ensure the power adapter is securely connected to both the projector and a working electrical outlet.
- Verify the power outlet is functional.
5.2 No Image or Blurry Image
- Check if the projector is powered on and the lens cap is removed.
- Allow the automatic focus to complete. If still blurry, manually adjust focus via the settings.
- Ensure the projector is placed within the recommended throw distance for the desired screen size.
- Verify the input source is correctly selected if using an external device.
5.3 No Sound
- Increase the volume on both the projector and the connected source device.
- Check the audio output settings on the projector to ensure the correct output (internal speaker, Bluetooth, or line out) is selected.
- If using Bluetooth, ensure the device is properly paired and connected.
- If using HDMI, verify the audio settings on the source device.
5.4 Black Spots on Screen
Black spots on the screen can indicate dust accumulation inside the optical system. While the provided swab is for the external lens, internal dust requires professional cleaning. If this issue occurs, contact VISSPL customer support for assistance.
5.5 HDMI Input Not Working
- Ensure the HDMI cable is securely connected to both the projector and the source device.
- Try a different HDMI cable.
- Verify the correct HDMI input is selected on the projector.
- Restart both the projector and the HDMI source device.
- Perform a factory reset on the projector (note: this will erase all custom settings).
6. Specifications
| Feature | Specification |
|---|---|
| Brand | VISSPL |
| Model | H86 |
| Native Resolution | 1920 x 1080 (1080P) |
| Supported Resolution | Up to 4K HDR input |
| Brightness | 3500 ANSI Lumens (advertised as 4000 ANSI Lumens in some specs) |
| Operating System | Whale OS |
| RAM | 1.5GB |
| Connectivity | Wi-Fi 6, Bluetooth 5.2, HDMI, USB, AV |
| Special Features | Auto Focus, Auto Keystone, Built-in Netflix/YouTube/Prime Video |
| Light Source Operating Life | 82,000 hours |
| Minimum Image Size | 40 inches |
| Maximum Image Size | 250 inches |
| Minimum Throw Distance | 1 meter (approx. 3.6 feet for 40") |
| Maximum Throw Distance | 4.5 meters |
| Form Factor | Portable |

Image 6.1: Display quality and color performance.
7. Warranty and Support
7.1 Product Warranty
The VISSPL H86 Mini Smart Projector comes with a 2-year protection plan. Please retain your proof of purchase for warranty claims.
7.2 Customer Support
VISSPL offers 24/7 customer support and lifetime customer support for this product. For technical assistance, troubleshooting not covered in this manual, or warranty inquiries, please contact VISSPL customer service through their official website or the contact information provided with your purchase.
You can also visit the VISSPL Store on Amazon for more information and support resources.
Ask a question about this manual
Ask about setup, troubleshooting, compatibility, parts, safety, or missing instructions. Manuals+ will review the question and use this page’s manual context to help answer it.