
1. Product Overview
The ANCHEER Portable Treadmill with Incline is designed for home and office use, offering a compact solution for walking and light jogging. It features a 3.5HP motor, a 12% manual incline, and a foldable design for easy storage. This manual provides essential information for assembly, operation, maintenance, and troubleshooting to ensure safe and optimal performance of your treadmill.
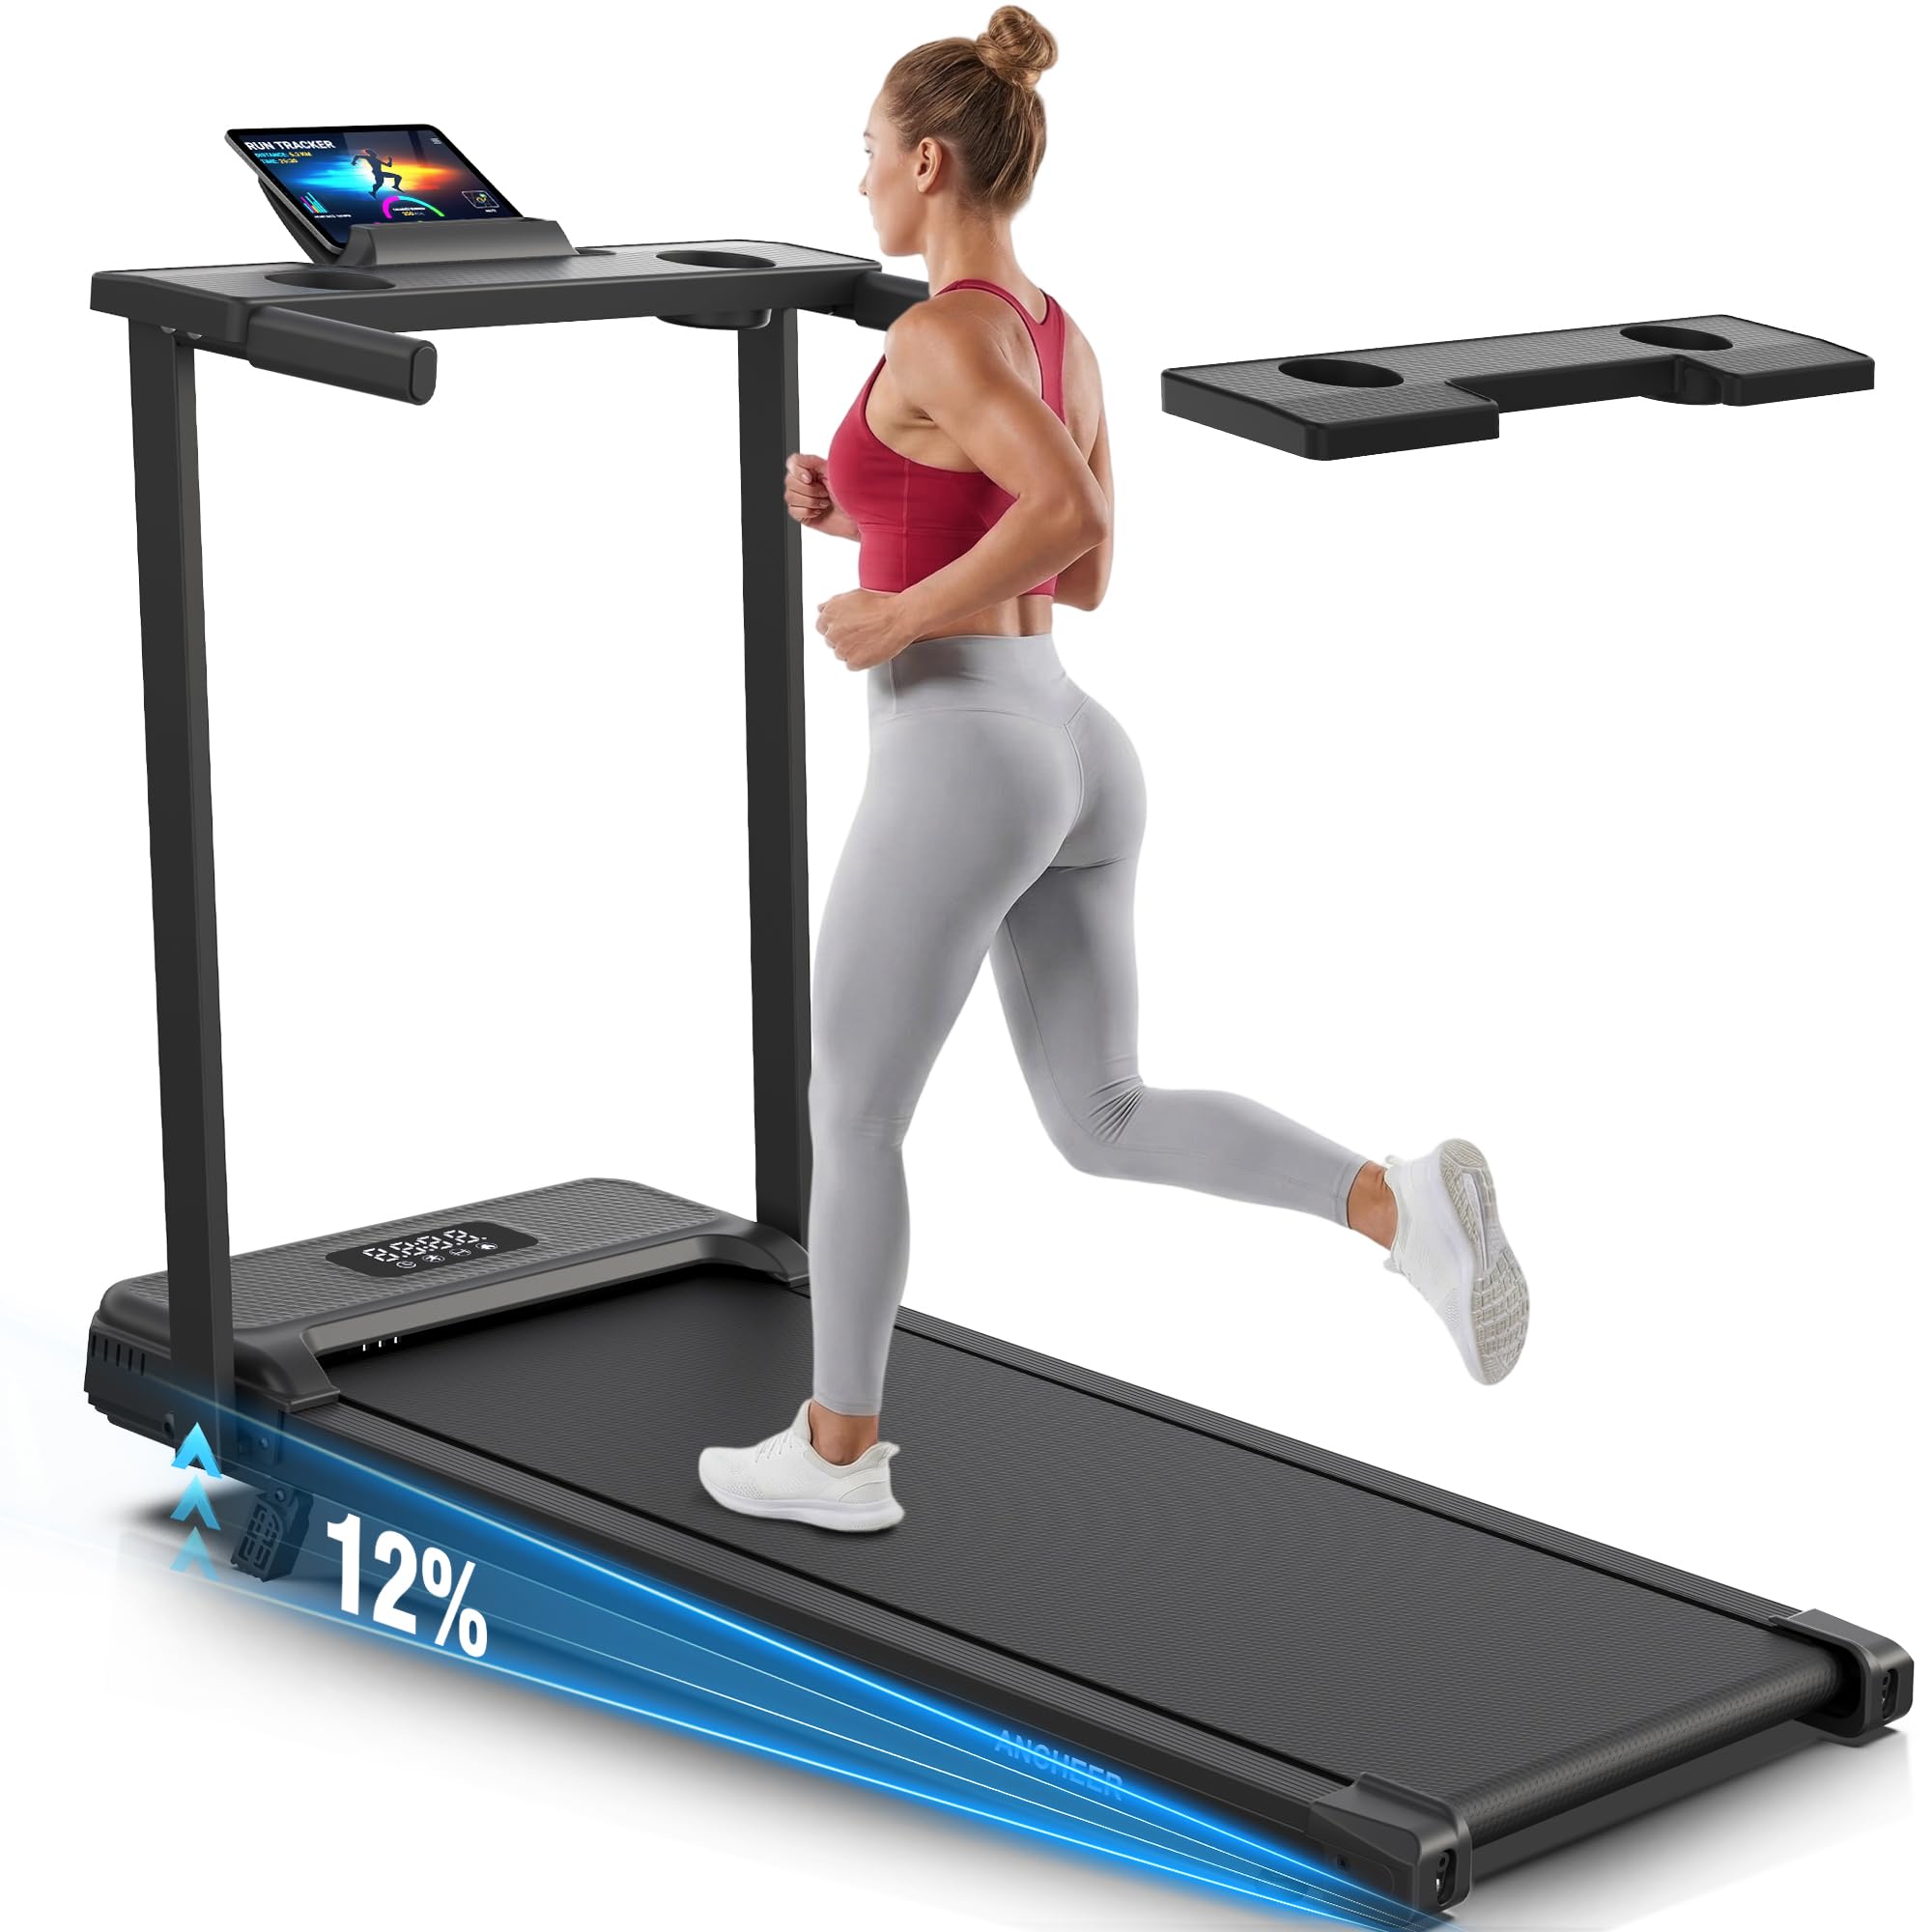
Image: The ANCHEER Portable Treadmill, Black V2 model, in its operational state.
2. Important Safety Instructions
Before using the ANCHEER Portable Treadmill, please read and understand all safety instructions. Failure to follow these instructions may result in injury or damage to the product.
- Consult a Physician: Before starting any exercise program, consult your physician, especially if you have pre-existing health conditions.
- Proper Placement: Place the treadmill on a flat, stable surface. Ensure there is at least 2 meters (6.5 feet) of clear space behind the treadmill and 0.6 meters (2 feet) on each side.
- Power Connection: Connect the treadmill to a properly grounded outlet. Do not use extension cords or adapters.
- Emergency Stop: Familiarize yourself with the emergency stop function. The safety key must be attached to your clothing during operation.
- Children and Pets: Keep children and pets away from the treadmill during operation.
- Weight Capacity: Do not exceed the maximum user weight of 350 pounds (158 kg).
- Footwear: Always wear appropriate athletic footwear while using the treadmill.
- Maintenance: Perform regular maintenance as described in this manual to ensure safe operation.
- Unplug When Not in Use: Always unplug the treadmill from the power outlet when not in use, before cleaning, or before performing maintenance.
- Handlebars: Use the handlebars for balance and stability, especially when starting or stopping the treadmill.
3. What's in the Box
Verify that all components are present before beginning assembly.
- Treadmill Unit
- Lubricant
- Power Cord
- Remote Control
- Tool Kit (L-Shaped Wrench)
- User Manual (this document)

Image: Visual representation of the items included in the product package.
4. Setup and Assembly
The ANCHEER Portable Treadmill is largely pre-assembled, requiring minimal setup.
- Unpacking: Carefully remove the treadmill from its packaging. Retain packaging for future storage or transport.
- Placement: Place the treadmill on a firm, level surface. Ensure adequate clearance around the unit.
- Unfolding (if applicable): If the treadmill is in a folded position, gently lift the handle bar assembly until it locks into the upright position.
- Handlebar Installation: Secure the handlebars if they are not already attached. Use the provided tool kit to tighten any screws as indicated in the quick start guide (refer to the included user manual for detailed diagrams).
- Power Connection: Plug the power cord into the treadmill and then into a grounded electrical outlet.
- Remote Control Battery: Insert the correct battery type (CR2025, typically) into the remote control.

Image: Step-by-step visual guide for the quick installation of the treadmill's handle and desk.

Image: The treadmill shown in both its operational and folded states, highlighting its pre-assembled nature.
5. Operating Instructions
5.1 Powering On and Off
- To Power On: Ensure the treadmill is plugged in. Locate the power switch (usually at the front base) and turn it to the 'ON' position. The LED display will illuminate.
- Safety Key: Attach the safety key clip to your clothing and insert the magnetic end into the designated slot on the treadmill console. The treadmill will not operate without the safety key in place.
- To Power Off: Press the 'STOP' button on the remote control or console. Once the belt has come to a complete stop, remove the safety key and turn the power switch to 'OFF'. Unplug the unit from the wall outlet.
5.2 Using the Remote Control
The wireless remote control allows you to manage your workout settings conveniently.
- Start/Stop: Press the 'START' button to begin the treadmill belt movement. Press 'STOP' to halt the belt.
- Speed Adjustment: Use the '+' and '-' buttons to increase or decrease the belt speed. The speed range is 0.6-4.0 MPH.
- Pause: Some remotes may have a pause function to temporarily stop the belt without ending the workout session.

Image: The ANCHEER treadmill in use, showing the remote control for operation.
5.3 Understanding the LED Display
The clear LED display provides real-time feedback on your workout progress.
- Speed: Displays the current speed of the treadmill belt (MPH).
- Time: Shows the duration of your workout session.
- Distance: Indicates the total distance covered during your workout.
- Calories: Estimates the number of calories burned.

Image: A user on the treadmill, with an overlay highlighting the LED display metrics and the multi-layer running belt construction.
5.4 Adjusting Incline
The treadmill features a 12% manual incline to enhance your workout intensity.
- Manual Adjustment: To adjust the incline, you must manually lift or lower the rear of the treadmill and secure it in the desired incline position. Refer to the detailed instructions in the included user manual for the specific mechanism.
- Benefits: Increasing the incline can help burn more calories and simulate uphill walking or running.
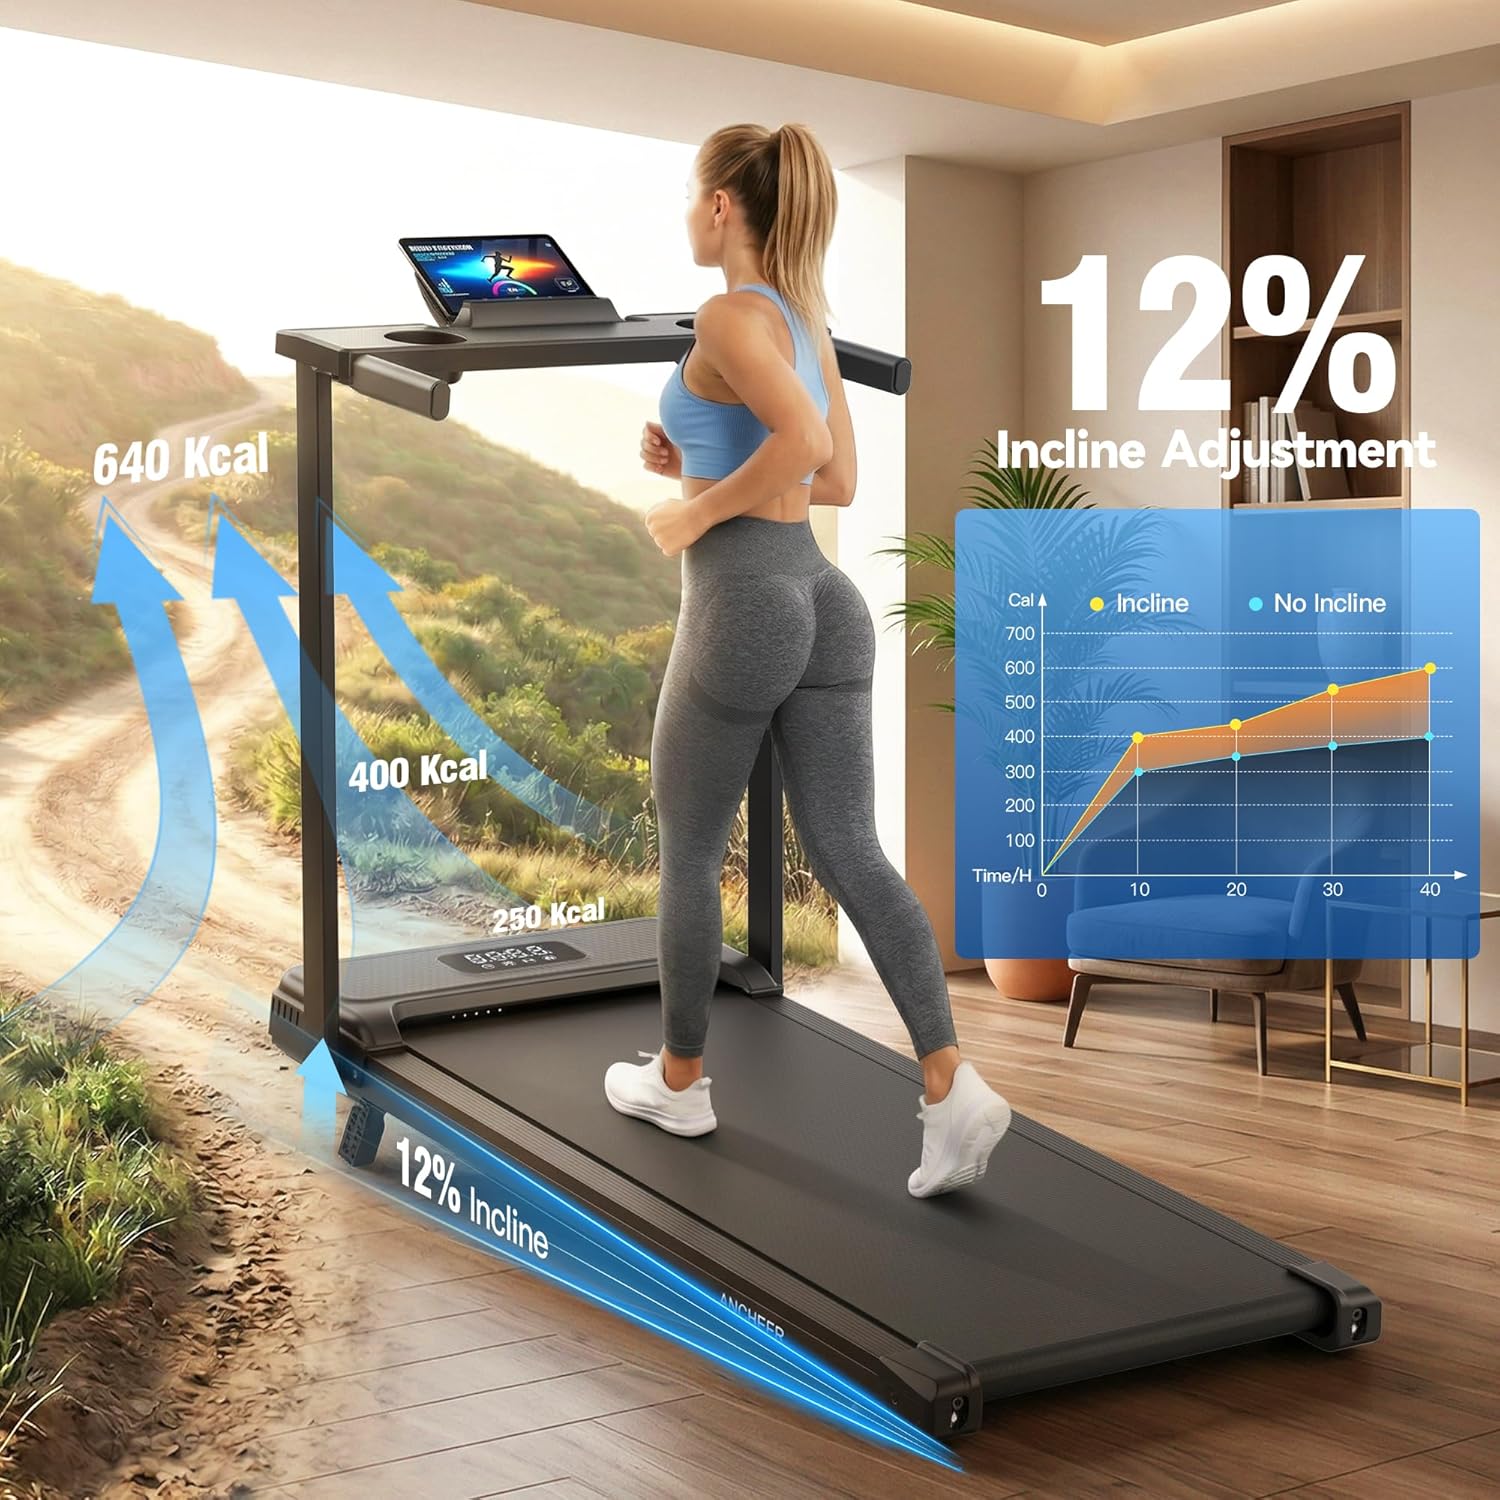
Image: A user exercising on the treadmill with the 12% manual incline engaged, illustrating the increased calorie burn.
5.5 Using the Tablet Holder
The integrated tablet holder provides a secure place for your device during workouts.
- Place your phone or tablet securely in the holder. Ensure it is stable before starting your workout.
6. Maintenance
Regular maintenance ensures the longevity and safe operation of your treadmill.
6.1 Lubrication of the Running Belt
The running belt requires periodic lubrication to reduce friction and extend its lifespan. Use the provided lubricant.
- Frequency: Lubricate the belt every 3-6 months, or after approximately 50 hours of use, depending on usage.
- Procedure:
- Turn off and unplug the treadmill.
- Loosen the rear roller bolts slightly to lift the belt.
- Apply a small amount of silicone lubricant (provided) evenly under the center of the running belt.
- Tighten the rear roller bolts.
- Plug in the treadmill and run it at a low speed (e.g., 1 MPH) for 5 minutes to distribute the lubricant.
6.2 Cleaning
- Wipe down the treadmill surfaces with a damp cloth after each use. Avoid harsh chemicals.
- Periodically vacuum under the treadmill to prevent dust buildup.
6.3 Running Belt Adjustment
If the running belt shifts to one side or slips, it may need adjustment.
- Centering the Belt: If the belt drifts to the left, turn the left rear roller bolt clockwise a quarter turn. If it drifts to the right, turn the right rear roller bolt clockwise a quarter turn. Run the treadmill at a low speed and observe. Repeat adjustments as needed until the belt is centered.
- Tightening the Belt: If the belt slips during use, turn both rear roller bolts clockwise a quarter turn simultaneously. Test for slipping and repeat if necessary. Do not overtighten.
- Always turn off and unplug the treadmill before making adjustments.
7. Troubleshooting
Refer to this section for common issues and their solutions.
| Problem | Possible Cause | Solution |
|---|---|---|
| Treadmill does not power on. | Power cord not plugged in; Power switch off; Safety key not inserted; Circuit breaker tripped. | Ensure power cord is securely plugged in. Turn power switch ON. Insert safety key fully. Check household circuit breaker. |
| Running belt stops or slips. | Belt too loose; Insufficient lubrication; Overload (exceeding weight capacity). | Adjust belt tension (see Maintenance). Lubricate belt (see Maintenance). Ensure user weight is within limits. |
| Running belt drifts to one side. | Belt alignment issue. | Adjust belt alignment (see Maintenance). |
| Remote control not working. | Battery dead or incorrectly inserted; Remote not paired. | Replace battery (CR2025). Ensure battery is inserted with correct polarity. Refer to the main user manual for pairing instructions if applicable. |
| Unusual noise during operation. | Lack of lubrication; Loose components; Foreign object under belt. | Lubricate belt. Check and tighten any loose screws. Turn off and unplug, then carefully inspect under the belt for obstructions. |
8. Product Specifications
| Brand | ANCHEER |
| Model Number | B0H1QZ73V1 |
| Color | Black V2 |
| Product Dimensions (D x W x H) | 47"D x 22"W x 5"H |
| Maximum Speed | 4 miles per hour |
| Maximum Horsepower | 3.5 HP |
| Maximum Incline Percentage | 12% (Manual) |
| Maximum Weight Recommendation | 350 pounds |
| Power Source | Corded Electric |
| Metrics Measured | Calories Burned, Distance, Speed, Time |
| Special Features | Adjustable Speed, Compact Design, Manual Incline, Shock Absorbent |

Image: Illustration of the treadmill's 3.5HP brushless motor, highlighting its quiet operation and 350 lbs weight capacity.
9. Product Video
Watch the official product video for a visual guide on the ANCHEER Portable Treadmill's features and operation.
Video: Official product video showcasing the ANCHEER Portable Treadmill with Incline, including its walking pad and desk features.
10. Warranty Information
The ANCHEER Electric Treadmill comes with a one-year manufacturer's warranty. This warranty covers free replacement of parts during the warranty period for manufacturing defects. Please retain your proof of purchase for warranty claims.
11. Customer Support
For any questions, concerns, or assistance with your ANCHEER Portable Treadmill, please contact our customer support team. We are committed to providing satisfaction and will respond to inquiries within 24 hours.
- Email: Refer to the contact information provided in your purchase documentation or on the official ANCHEER website.
- Online Resources: Visit the ANCHEER store on Amazon for FAQs and additional product information: ANCHEER Store