
1. Introduction
Thank you for choosing the Hoover H-CARE 300 Washing Machine. This appliance is designed to provide efficient and effective laundry care. To ensure safe and optimal performance, please read this manual carefully before installation and use. Keep this manual for future reference.
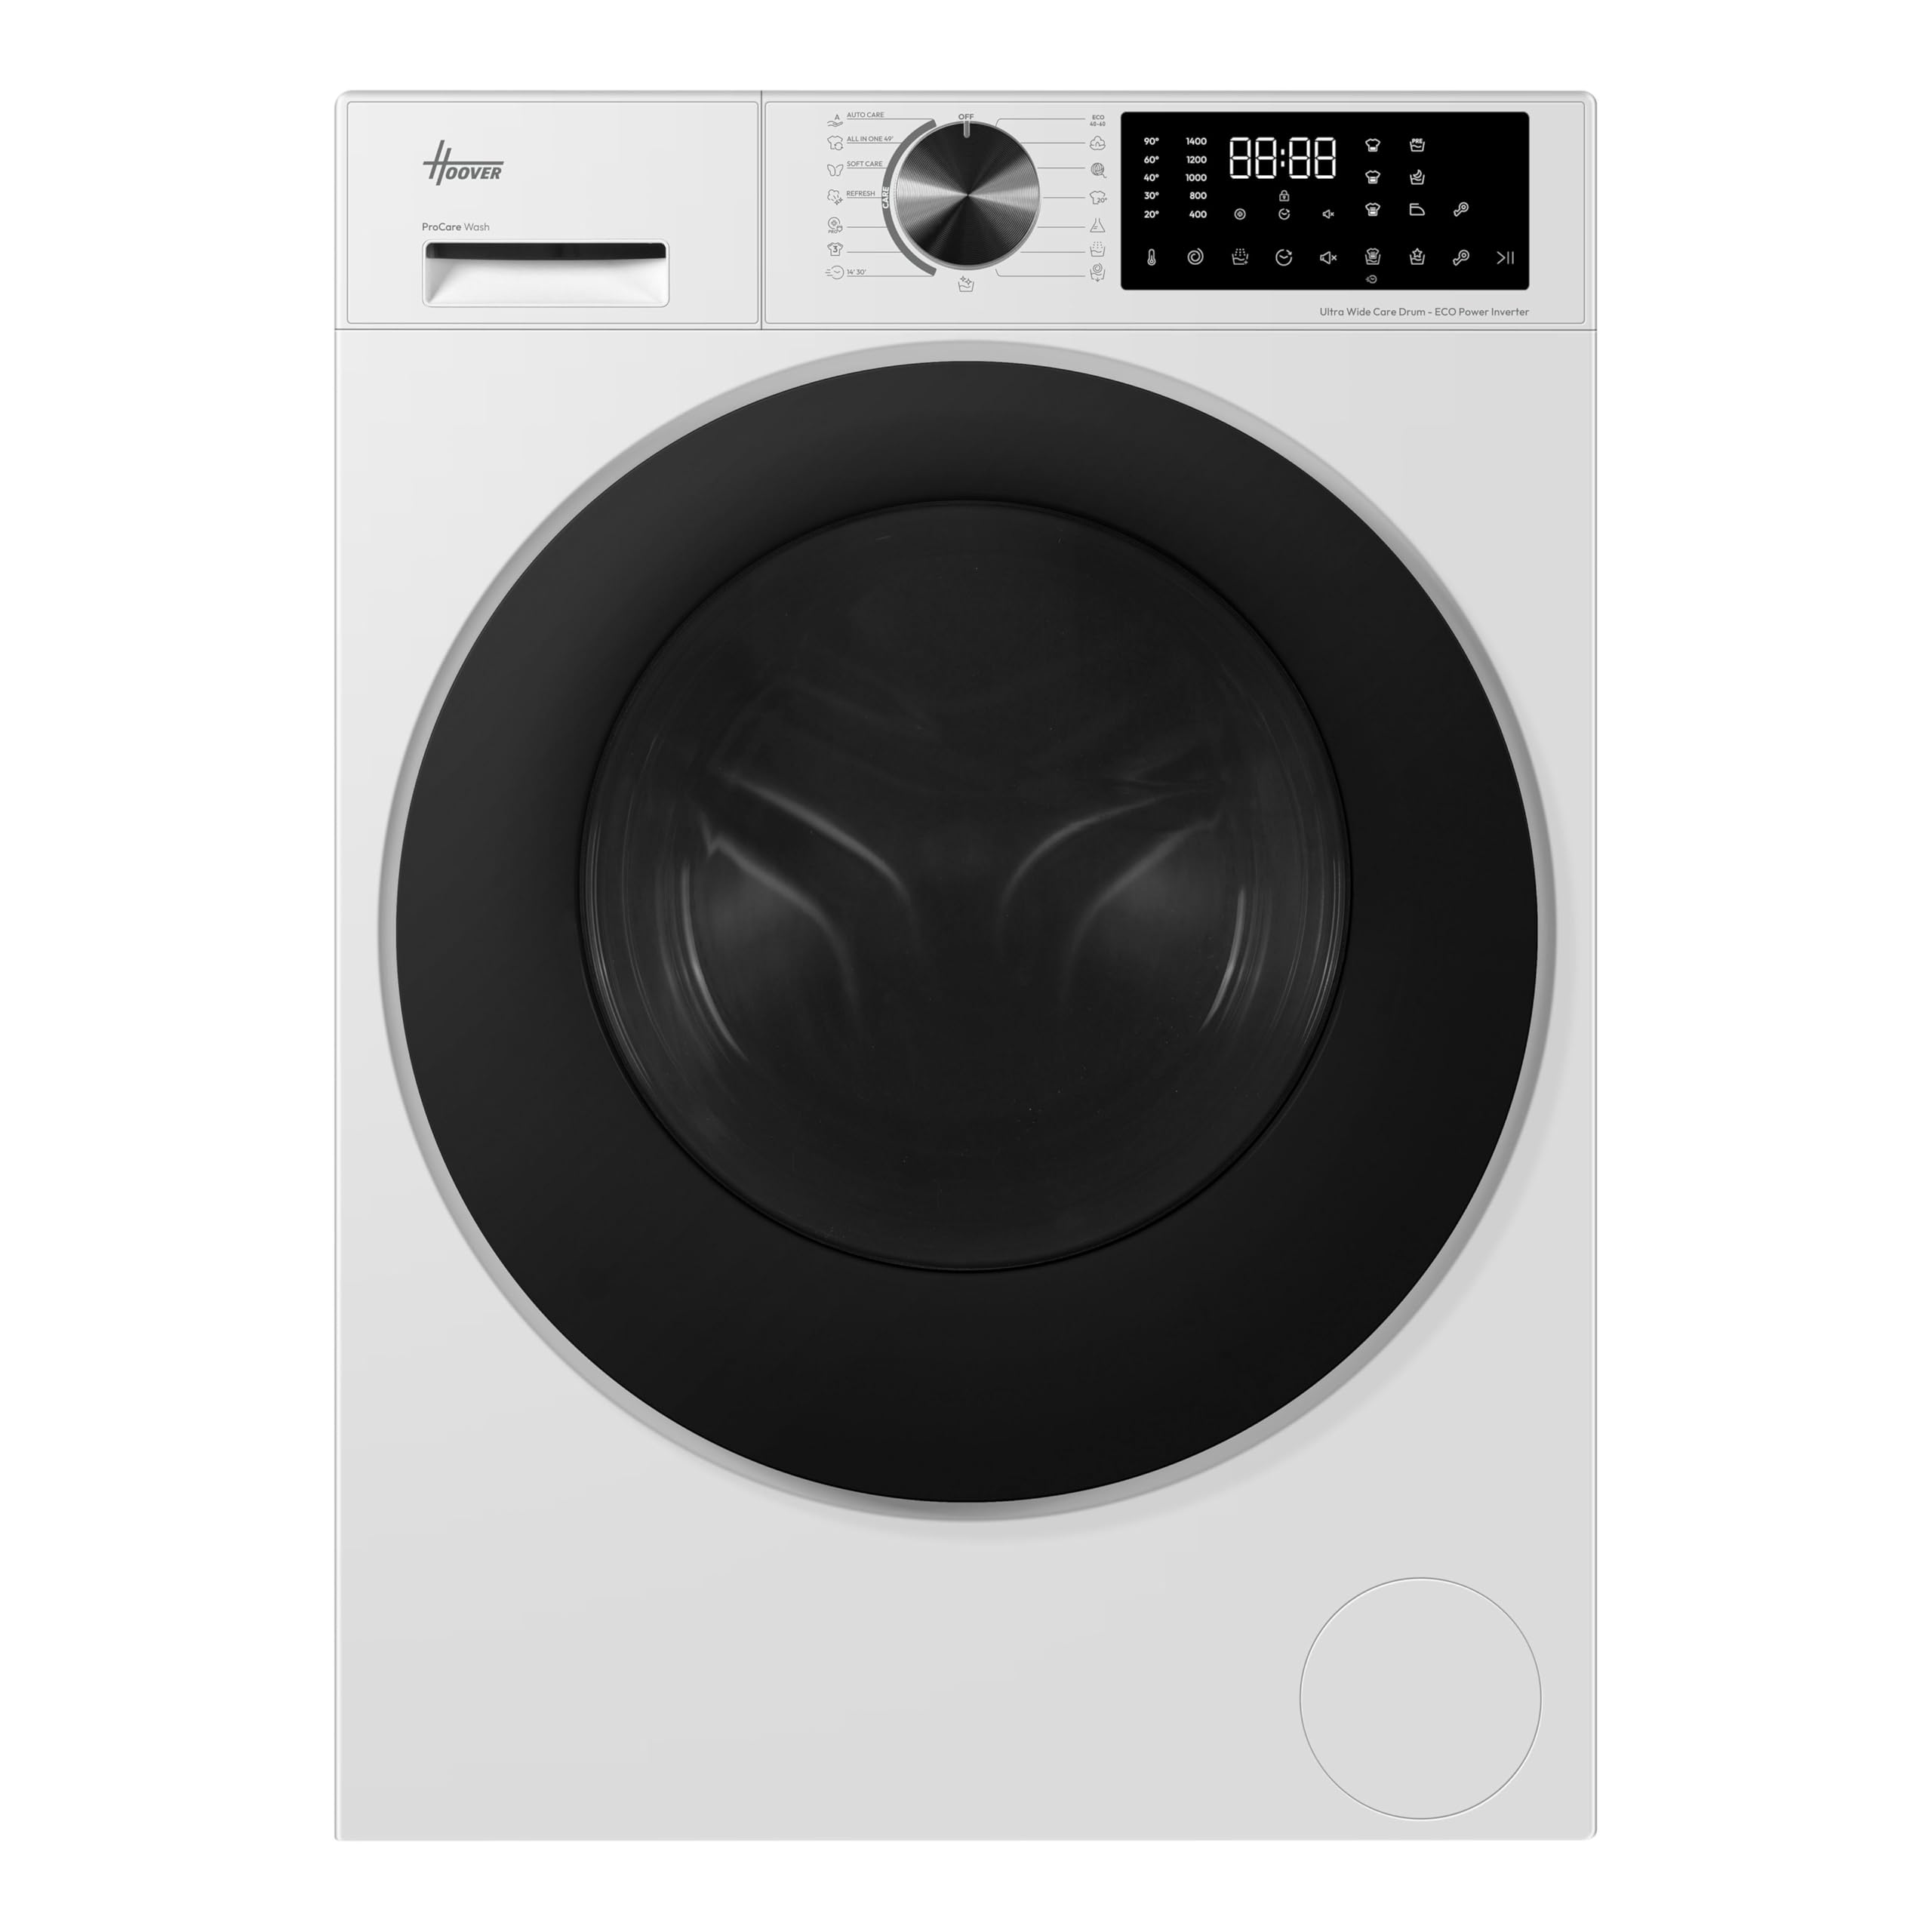
Figure 1.1: Front view of the Hoover H-CARE 300 Washing Machine.
2. Safety Information
Always follow basic safety precautions when using electrical appliances to reduce the risk of fire, electric shock, or injury to persons.
- Ensure the appliance is properly grounded.
- Do not allow children to play on or in the appliance.
- Do not operate the appliance if it is damaged or malfunctioning.
- Unplug the appliance before performing any maintenance or cleaning.
- Do not wash items that have been cleaned in, washed with, soaked in, or spotted with combustible or explosive substances.
3. Setup and Installation
3.1 Unpacking
Carefully remove all packaging materials. Check for any damage during transit. The package includes the power cable, fill hose, and drain hose.
3.2 Placement
Place the washing machine on a firm, level floor. Ensure there is adequate space around the appliance for ventilation and maintenance. This is a free-standing unit.
- Dimensions (Depth x Width x Height): 55.8P x 59.5l x 85H cm

Figure 3.1: Example placement of the washing machine in a bathroom setting.
3.3 Connections
- Water Supply: Connect the fill hose to a cold water tap and to the appliance's water inlet. Ensure connections are tight to prevent leaks.
- Drainage: Securely attach the drain hose to a suitable drain pipe or sink. Ensure the hose is not kinked or blocked.
- Electrical Connection: Plug the power cable into a grounded 230 Volt electrical outlet. Do not use extension cords.
3.4 Leveling
Adjust the appliance's feet to ensure it is perfectly level. A level machine reduces vibration and noise during operation.
4. Operating Instructions
4.1 Control Panel
The washing machine features a touch control panel and touchscreen interface for easy program selection and setting adjustments.

Figure 4.1: The touch control panel and display.
4.2 Loading Laundry
Open the front-loading door and load laundry into the drum. Do not overload the machine; the maximum capacity is 10 kg. The Ultra Wide XL CareDrum is designed to protect fabrics and improve washing results.
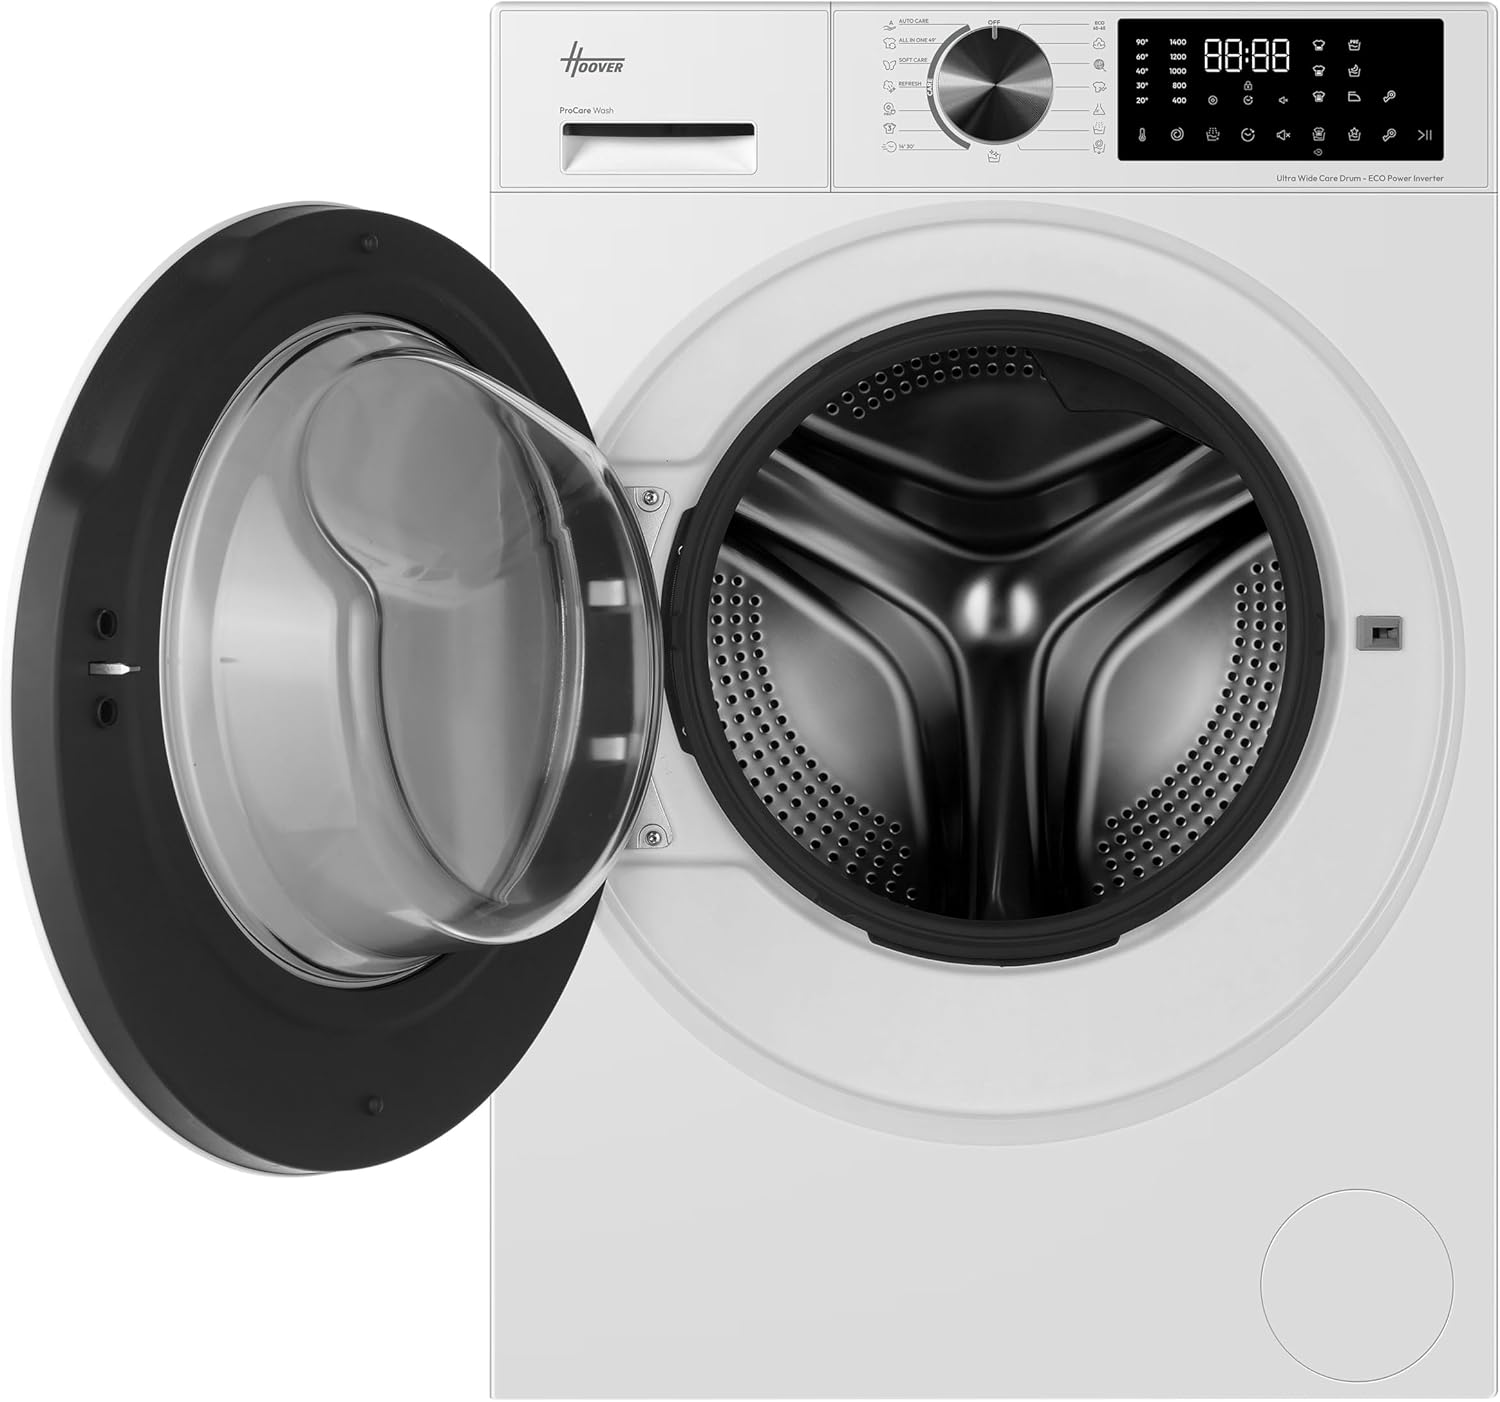
Figure 4.2: The washing machine drum with the door open.
4.3 Detergent Dispenser
Pull out the detergent dispenser drawer. Add appropriate amounts of detergent and fabric softener to the designated compartments. The ProCare Wash technology uses a water injection method for rapid and uniform detergent distribution.

Figure 4.3: The detergent dispenser drawer.
4.4 Selecting a Program
Turn the program selector knob or use the touchscreen to choose one of the 16 standard washing programs. Specialized Care cycles include:
- Auto Care: Automatically detects load and sets optimal washing parameters.
- Allergy Care Pro: Combines steam action and intensive 60°C rinse for deep sanitization.
- All in One 49': A quick program for mixed loads.
- Rapid 14/30 minutes: Fast wash cycles for lightly soiled items.
Available cycle options include Spin, Cotton, Eco, Drum Clean, and Rinse.
4.5 Starting a Cycle
Press the Start/Pause button to begin the selected washing program. The display will show the remaining time.
4.6 End of Cycle
Once the cycle is complete, the machine will signal. Open the door and remove your laundry promptly.
5. Maintenance
Regular maintenance ensures the longevity and efficiency of your washing machine.
5.1 Cleaning the Drum
Utilize the dedicated 60°C drum cleaning cycle periodically to maintain hygiene and prevent odors.
5.2 Cleaning the Detergent Dispenser
Remove the detergent dispenser drawer and rinse it under running water to remove any residue. Clean the housing of the dispenser with a brush.
5.3 Cleaning the Door Seal
The Clean Shield™ antimicrobial treatment helps protect the door seal from mold. Wipe the door seal regularly with a damp cloth to remove lint and residue.
5.4 Cleaning the Porthole Glass
The Smart Spray system with double water injection helps clean the porthole glass. For manual cleaning, wipe the glass with a soft, damp cloth after each wash.
5.5 Filter Cleaning
Consult the full manual for instructions on how to access and clean the drain pump filter, typically located at the bottom front of the machine. This should be done regularly to prevent blockages.
6. Troubleshooting
If you encounter issues with your washing machine, refer to the following common problems and solutions:
- Machine does not start: Ensure the power cable is plugged in, the door is closed properly, and the Start/Pause button has been pressed. Check the circuit breaker.
- Excessive vibration or noise: Verify the machine is level and that all transit bolts have been removed during installation. Ensure the load is balanced. The AI CareDrive system helps manage vibrations for quiet operation (72 dB during spin).
- Water not draining: Check the drain hose for kinks or blockages. Clean the drain pump filter.
- Detergent residue in dispenser: Ensure the dispenser is clean and not blocked. Use the correct amount and type of detergent.
- Unsatisfactory washing results: Check load size, detergent dosage, and program selection. Ensure water supply is adequate.
For more detailed troubleshooting, please refer to the complete user manual or contact customer support.
7. Specifications
| Feature | Specification |
|---|---|
| Brand | Hoover |
| Model Name | Hoover H-CARE 300 Lavatrice 10 kg |
| Model Number | H3W 410BL10H-S |
| Capacity | 10 kg |
| Maximum Spin Speed | 1400 Revolutions per minute |
| Energy Efficiency Class | A-40% (40% more efficient than traditional Class A) |
| Noise Level (Spin) | 72 Decibels |
| Dimensions (D x W x H) | 55.8P x 59.5l x 85H cm |
| Loading Position | Front-load |
| Color | White |
| Material | Metal |
| Controls Type | Touch |
| User Interface Input | Touchscreen |
| Voltage | 230 Volts |
| Number of Standard Cycles | 16 |
| Included Components | Power cable, Fill hose, Drain hose |
8. Warranty Information
This Hoover H-CARE 300 Washing Machine comes with a product warranty of 2 years from the date of purchase. Please retain your proof of purchase for warranty claims. The warranty covers manufacturing defects under normal household use. For full terms and conditions, refer to the warranty card included with your appliance or contact Hoover customer service.
9. Support
For technical assistance, spare parts, or further information regarding your Hoover H-CARE 300 Washing Machine, please contact Hoover customer support. Contact details can typically be found on the Hoover official website or in the documentation provided with your appliance.


