
1. Introduction
This manual provides instructions for the Diyeeni 3 Key Mini Programmable Macro Keypad with Knob. This compact device is designed to enhance productivity and control across various applications, including gaming, office tasks, music production, and media management. It features three programmable keys and a rotary knob, equipped with red mechanical switches for reliable performance and RGB backlighting for visual customization.
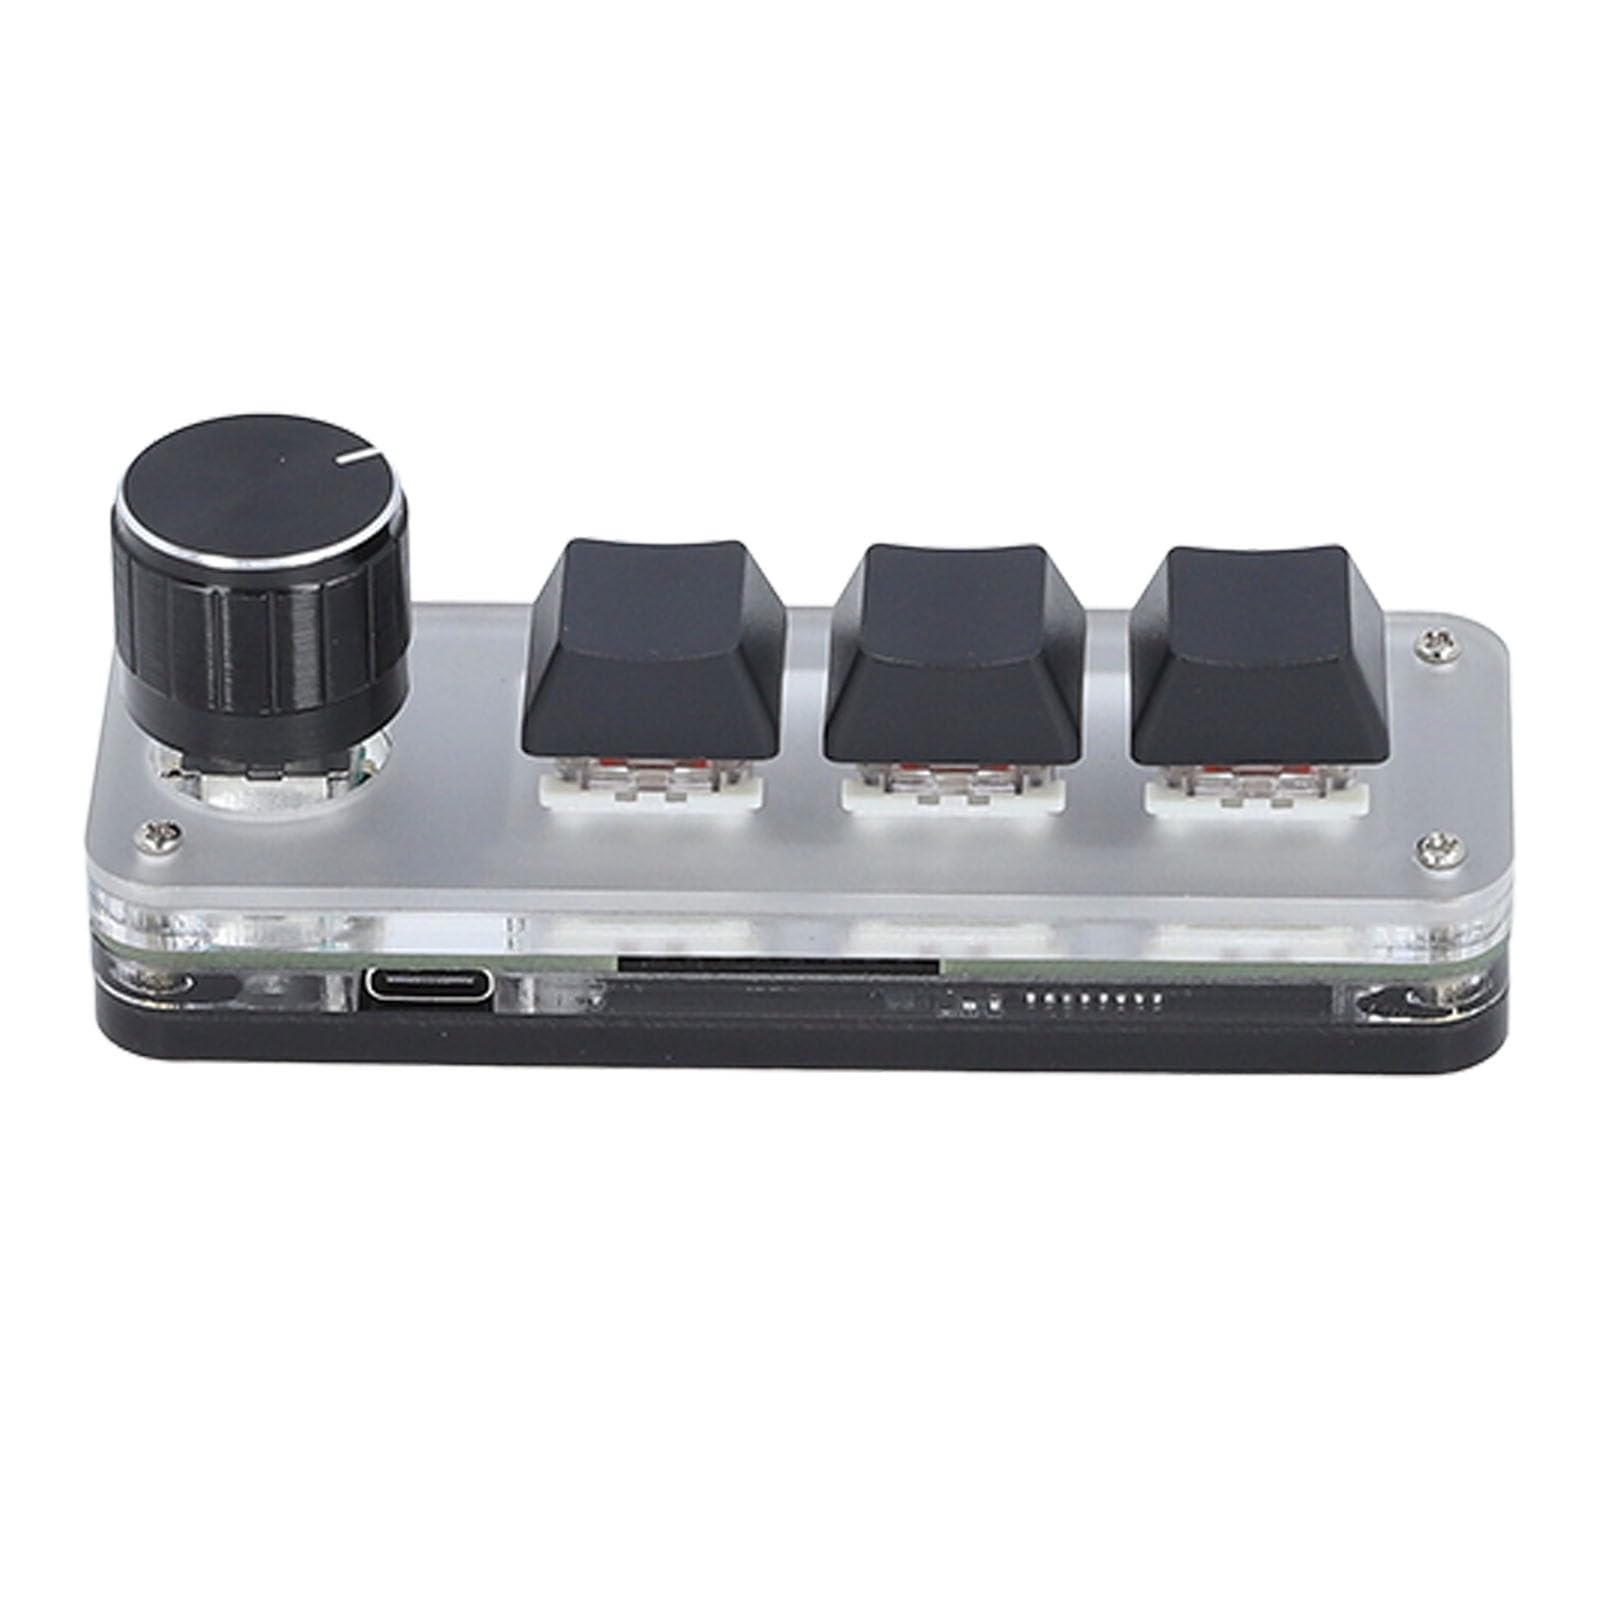
Figure 1: Front view of the Diyeeni 3 Key Mini Programmable Macro Keypad with Knob.
2. Package Contents
Verify that all items are present in the package:
- 1 x Diyeeni Mini Keypad
- 1 x USB Data Cable (Type-C)
- 1 Bag Foot Pad (4 Pieces)
- 1 x User Manual (this document)

Figure 2: Contents included in the Diyeeni Mini Keypad package.
3. Product Features
The Diyeeni Mini Keypad offers the following features:
- Fully Programmable Keys and Knob: Three keys and one rotary knob can be customized for various functions, including macros, media controls, and application shortcuts. Settings are saved directly to onboard storage.
- Red Mechanical Switches: Equipped with red switches for a smooth, linear keystroke, providing consistent and reliable performance.
- USB C Plug-and-Play: Connects via a durable USB C cable, offering stable, low-latency connectivity without requiring driver installation.
- Vibrant RGB Backlighting: Customizable RGB lighting effects enhance the aesthetic appeal of your setup.
- Compact and Durable Design: Measuring approximately 100 x 35mm, crafted from ABS and metal, designed for space-saving and stability. Includes a padded foot pad for enhanced grip.
- Wide Application Compatibility: Suitable for gaming, office productivity, music production, media control, and industrial control systems.
4. Setup
Follow these steps to set up your Diyeeni Mini Keypad:
- Attach Foot Pads: Peel off the protective backing from the four included foot pads and apply them to the designated corners on the bottom of the keypad. This provides stability and prevents slipping.
- Connect USB Cable: Insert the USB-C end of the provided cable into the port on the keypad.
- Connect to Computer: Plug the standard USB-A end of the cable into an available USB port on your computer.
- Automatic Recognition: The keypad is plug-and-play and should be automatically recognized by your operating system without the need for additional drivers.

Figure 3: The Diyeeni Mini Keypad integrated into a desktop setup, demonstrating compatibility.
5. Operating Instructions
The Diyeeni Mini Keypad is designed for customizable functionality. Its keys and knob can be programmed to perform specific actions.
5.1 Key and Knob Customization
To program the keys and knob, you will need to use the dedicated setting program. This software allows you to:
- Assign single key presses or complex macro sequences to each of the three keys.
- Configure the rotary knob for functions such as volume control, scrolling, zooming, or other custom actions (e.g., clockwise rotation, counter-clockwise rotation, press).
- Adjust RGB backlighting effects and colors.
Refer to the software's instructions for detailed guidance on programming. Once programmed, settings are saved directly to the keypad's onboard storage, allowing it to retain custom functions when connected to different devices.
5.2 Basic Operation
After programming, simply press the assigned keys or rotate/press the knob to execute the configured actions. The red mechanical switches provide tactile feedback for each press.

Figure 4: The Diyeeni Mini Keypad being used in a gaming setup, demonstrating its application.
6. Maintenance
To ensure the longevity and optimal performance of your Diyeeni Mini Keypad, follow these maintenance guidelines:
- Cleaning: Use a soft, dry cloth to wipe the surface of the keypad. For stubborn dirt, slightly dampen the cloth with water or a mild, non-abrasive cleaner. Avoid excessive moisture.
- Dust Removal: Use compressed air to remove dust and debris from between the keys and around the knob.
- Avoid Liquids: Do not expose the keypad to liquids. In case of accidental spills, disconnect it immediately and allow it to dry completely before reconnecting.
- Storage: Store the keypad in a cool, dry place away from direct sunlight and extreme temperatures when not in use.

Figure 5: Close-up of the mechanical keys, highlighting the red switches, for cleaning reference.
7. Troubleshooting
If you encounter issues with your Diyeeni Mini Keypad, refer to the following common problems and solutions:
- Keypad Not Recognized:
- Ensure the USB cable is securely connected to both the keypad and your computer.
- Try connecting the keypad to a different USB port on your computer.
- Test the keypad on another computer to rule out system-specific issues.
- Restart your computer.
- Keys or Knob Not Responding:
- Verify that the keypad is properly connected and recognized by your system.
- Check the customization software to ensure the keys/knob are correctly programmed.
- If a specific key is not working, inspect it for any physical obstruction or damage.
- RGB Backlighting Not Working:
- Ensure the keypad is receiving sufficient power from the USB port.
- Check the customization software for lighting settings and ensure they are enabled.
If these steps do not resolve the issue, please contact customer support.
8. Specifications
| Feature | Specification |
|---|---|
| Brand | Diyeeni |
| Model Name | Diyeeniovigqbsz90 |
| Item Type | Mini Keypad |
| Keypad Switch | Red Switch (Mechanical) |
| Material | ABS, Acrylic, Metal |
| Operating Voltage | 5V |
| Operating Current | 1A |
| Connection | USB C Wired |
| Size (Approx.) | 100 x 35mm / 3.9 x 1.4in |
| Compatible Devices | Laptop (Customization under Windows system for Mac OS/iOS/Android) |
9. Warranty Information
This Diyeeni product is covered by a manufacturer warranty for 90 days from the date of purchase. This warranty covers defects in materials and workmanship under normal use. It does not cover damage caused by accident, misuse, abuse, alteration, or improper installation.
Please retain your proof of purchase for warranty claims.
10. Support
For further assistance, technical support, or warranty inquiries, please refer to the contact information provided with your purchase or visit the official Diyeeni support channels.