
Introduction
This manual provides detailed instructions for the installation, operation, and maintenance of your Redodo 12V 40A DC-DC Charger with Integrated MPPT. This advanced charging system is designed to efficiently charge your auxiliary battery from both your vehicle's alternator and solar panels, ensuring reliable power for your RV, caravan, or off-grid setup. Please read this manual thoroughly before use to ensure safe and optimal performance.
Key Features:
- Integrated DC-DC 40A Charger with MPPT: Combines a DC-DC charger and an MPPT solar charge controller into a single unit. It supports charging from both the alternator and solar panels with 99% MPPT tracking efficiency and 93% charging efficiency.
- Compatible with Smart and Conventional Alternators: Includes an ACC cable for automatic detection of smart and traditional alternators, optimizing the charging process.
- Emergency Reverse Charging Function: Allows charging the starter battery from the auxiliary battery for emergency engine starting.
- Multi-Battery Type Compatibility: Supports LiFePO4, AGM, Gel, Lead-Acid, and Calcium batteries. Features automatic parameter adjustment and configuration memory.
- Comprehensive Protection and Robust Construction: Includes protection against reverse polarity, overvoltage, overtemperature, and Battery Management System (BMS) integration. Features a durable aluminum casing for extended lifespan.
Safety Information
Always observe the following safety precautions to prevent personal injury or damage to the charger or other equipment:
- Read all instructions before operating the charger.
- Do not expose the charger to rain, moisture, or excessive heat.
- Ensure proper ventilation around the charger to prevent overheating.
- Always disconnect power before making or breaking connections to the battery.
- Wear appropriate personal protective equipment, including eye protection, when working with batteries.
- Do not attempt to disassemble or repair the charger yourself. Contact qualified service personnel.
- Ensure all wiring connections are secure and correctly polarized to avoid short circuits or damage.
- This device is intended for 12V battery systems only. Do not connect to other voltage systems.

Product Overview
Component Layout:

What's in the Box:

- Redodo 12V 40A DC-DC Charger (x1)
- User Manual (x1)
- Mounting Screws (x6)
- Anderson Connectors (x3)
- Crimp Terminals (x6)
Setup and Installation
Proper installation is crucial for the safe and efficient operation of your DC-DC charger. Follow these steps carefully.
Mounting the Charger:
- Choose a dry, well-ventilated location, away from direct sunlight and heat sources.
- Ensure there is sufficient space around the charger for airflow.
- Use the provided mounting screws to secure the charger to a stable surface. Refer to Figure 2 for mounting hole locations.
Wiring Diagram and Connections:
Refer to the wiring diagrams below for correct connection procedures. Ensure all connections are tight and secure.


- Connect to Starter Battery: Connect the DC input terminal of the charger to your vehicle's starter battery. Ensure proper polarity (positive to positive, negative to negative).
- Connect to Service Battery: Connect the DC output terminal of the charger to your auxiliary (service) battery. Maintain correct polarity.
- Connect Solar Panels (Optional): If using solar panels, connect them to the solar input terminal of the charger. Ensure the solar panel voltage is within the charger's specified input range.
- Connect ACC Cable: For smart alternators, connect the ACC cable to a switched ignition source (e.g., ACC terminal) that provides 12V when the engine is running. This allows the charger to detect when the engine is on and optimize charging. For conventional alternators, this connection may not be strictly necessary as the charger can detect voltage rise, but it is recommended for optimal performance.
- Verify Connections: Double-check all wiring for correct polarity and secure connections before applying power.
Operating Instructions
Selecting Battery Type:
The charger is compatible with various battery types. It is crucial to select the correct battery type for optimal charging and battery lifespan.
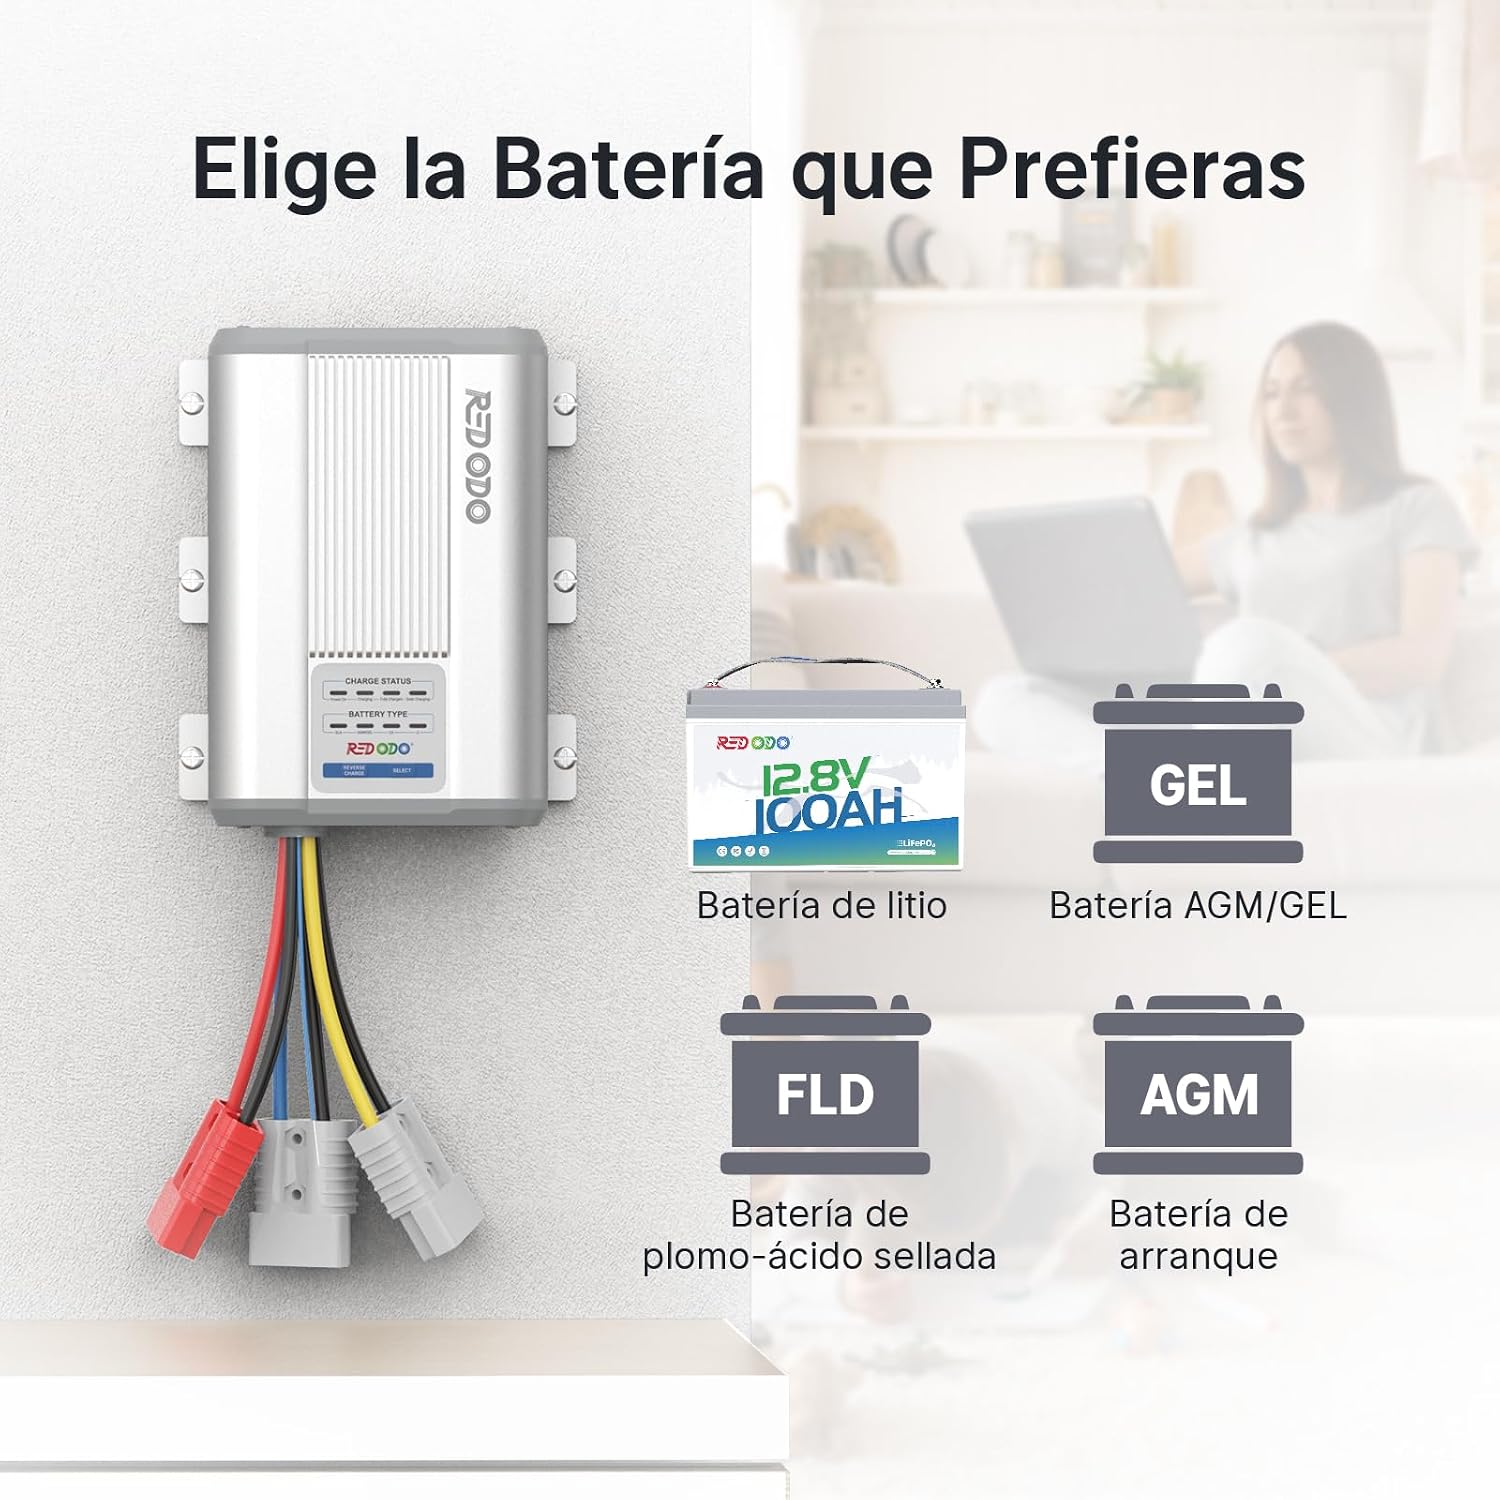
- Press the "SELECT" button on the charger to cycle through the available battery types.
- The corresponding LED indicator for the selected battery type (SLA, AGM/GEL, CA, LI) will illuminate.
- Ensure the selected type matches your auxiliary battery. The charger will automatically adjust charging parameters.
LED Indicators:
The intuitive LED indicators provide real-time status of the charging process.

- Power On: Indicates the charger is receiving power.
- Charging: Indicates the auxiliary battery is currently being charged.
- Fully Charged: Indicates the auxiliary battery has reached full charge.
- Solar Charging: Indicates that solar input is actively contributing to the charging process.
- Battery Type Indicators (SLA, AGM/GEL, CA, LI): Illuminates to show the currently selected battery chemistry.
Emergency Reverse Charging:
In an emergency, if your vehicle's starter battery is depleted, you can use the reverse charging function to draw power from your auxiliary battery to start the engine.
- Ensure the auxiliary battery has sufficient charge.
- Press and hold the "REVERSE CHARGE" button on the charger.
- Attempt to start the vehicle's engine. Release the button once the engine starts.
Maintenance
Regular maintenance ensures the longevity and optimal performance of your Redodo DC-DC Charger.
- Cleaning: Keep the charger clean and free from dust and debris. Use a dry, soft cloth for cleaning. Do not use harsh chemicals or abrasive cleaners.
- Connections: Periodically check all wiring connections for tightness and corrosion. Loose or corroded connections can lead to poor performance or damage.
- Ventilation: Ensure the ventilation openings are not blocked. Proper airflow is essential to prevent overheating.
- Storage: If storing the charger for an extended period, disconnect it from all power sources and store it in a dry, cool place.
Troubleshooting
If you encounter issues with your charger, refer to the following common problems and solutions:
| Problem | Possible Cause | Solution |
|---|---|---|
| Charger not turning on / No LEDs illuminated. | No input power from starter battery or solar panel; loose connections; blown fuse. | Check all input connections. Verify the starter battery voltage is above the minimum operating threshold. Check for any inline fuses. |
| Auxiliary battery not charging. | Incorrect battery type selected; loose output connections; auxiliary battery fault; engine not running (if relying on alternator). | Ensure the correct battery type is selected. Check output connections. Test the auxiliary battery. Ensure the engine is running or solar panels are receiving sufficient sunlight. |
| Overheating indication. | Insufficient ventilation; excessive load; high ambient temperature. | Ensure the charger has adequate airflow. Reduce load if possible. Allow the unit to cool down. Relocate to a cooler area if necessary. |
| Reverse charging not working. | Auxiliary battery too low; incorrect procedure. | Ensure the auxiliary battery has sufficient charge. Follow the emergency reverse charging steps precisely. |
If the problem persists after attempting these solutions, please contact Redodo customer support.
Specifications

| Feature | Detail |
|---|---|
| Model Number | R12V40A-DC-Z |
| Brand | Redodo |
| Dimensions (L x W x H) | 18.9 x 14.8 x 4.8 cm (7.44 x 5.83 x 1.89 inches) |
| Weight | 1.54 kg (3.4 lbs) |
| Rated Current | 40 Amperes |
| Input Voltage (Alternator) | 12V (compatible with 24V systems via ACC cable detection) |
| Input Voltage (Solar) | Up to 24 Volts (Max. 25V) |
| Output Voltage | 15.4 Volts (Max. charging voltage, varies by battery type) |
| MPPT Efficiency | 99% |
| Charging Efficiency | 93% |
| Compatible Battery Types | LiFePO4, AGM, Gel, Lead-Acid, Calcium |
| Connector Type | Anderson |
| Certifications | CE, FCC, RoHS |
| Compatible Devices | RVs, off-grid cabins, caravans, marine applications |
Warranty and Support
Warranty Information:
The Redodo 12V 40A DC-DC Charger comes with a 2-year warranty from the date of purchase. This warranty covers defects in materials and workmanship under normal use. It does not cover damage caused by misuse, accident, unauthorized modification, or improper installation.
Please retain your proof of purchase for warranty claims.
Customer Support:
For technical assistance, troubleshooting, or warranty inquiries, please contact Redodo customer support through the following channels:
- Website: Visit the official Redodo website for FAQs and support resources.
- Email: Contact our support team via email (refer to your product packaging or Redodo website for the specific email address).
- Online Contact Form: Use the contact form available on the Redodo brand store page on Amazon or the official website.
When contacting support, please have your product model number (R12V40A-DC-Z) and purchase date available.


