
Introduction
This manual provides comprehensive instructions for the safe and efficient use of your Cuifati FM Transmitter. Please read this manual thoroughly before operating the device and retain it for future reference.
Important Notes:
- This device is an FM transmitter, designed to broadcast audio signals. It is not an FM receiver.
- The transmitter cannot be directly connected to a microphone for voice input.
- The device does not contain a built-in battery and requires an external power source via its USB Type C interface.
Safety Information
- Ensure the device is connected to a stable power source within the specified voltage range.
- Do not expose the device to water, moisture, or extreme temperatures.
- Avoid dropping or subjecting the device to strong impacts.
- Do not attempt to disassemble or repair the device yourself. Contact qualified personnel for service.
- Keep the device away from strong magnetic fields.
Package Contents
Verify that all items listed below are included in your package:
- 1 x Cuifati FM Transmitter
- 1 x Telescopic Antenna
- 1 x USB Type C Power Cable
- 1 x 3.5mm Audio Cable

Image: All components included in the Cuifati FM Transmitter package.
Product Overview
The Cuifati FM Transmitter is a compact device designed to broadcast audio signals over FM frequencies. It features an LCD display for frequency and power settings, a 3.5mm Aux input for audio sources, and a USB Type C port for power.

Image: The Cuifati FM Transmitter shown alongside a vintage radio and headphones, illustrating its purpose.
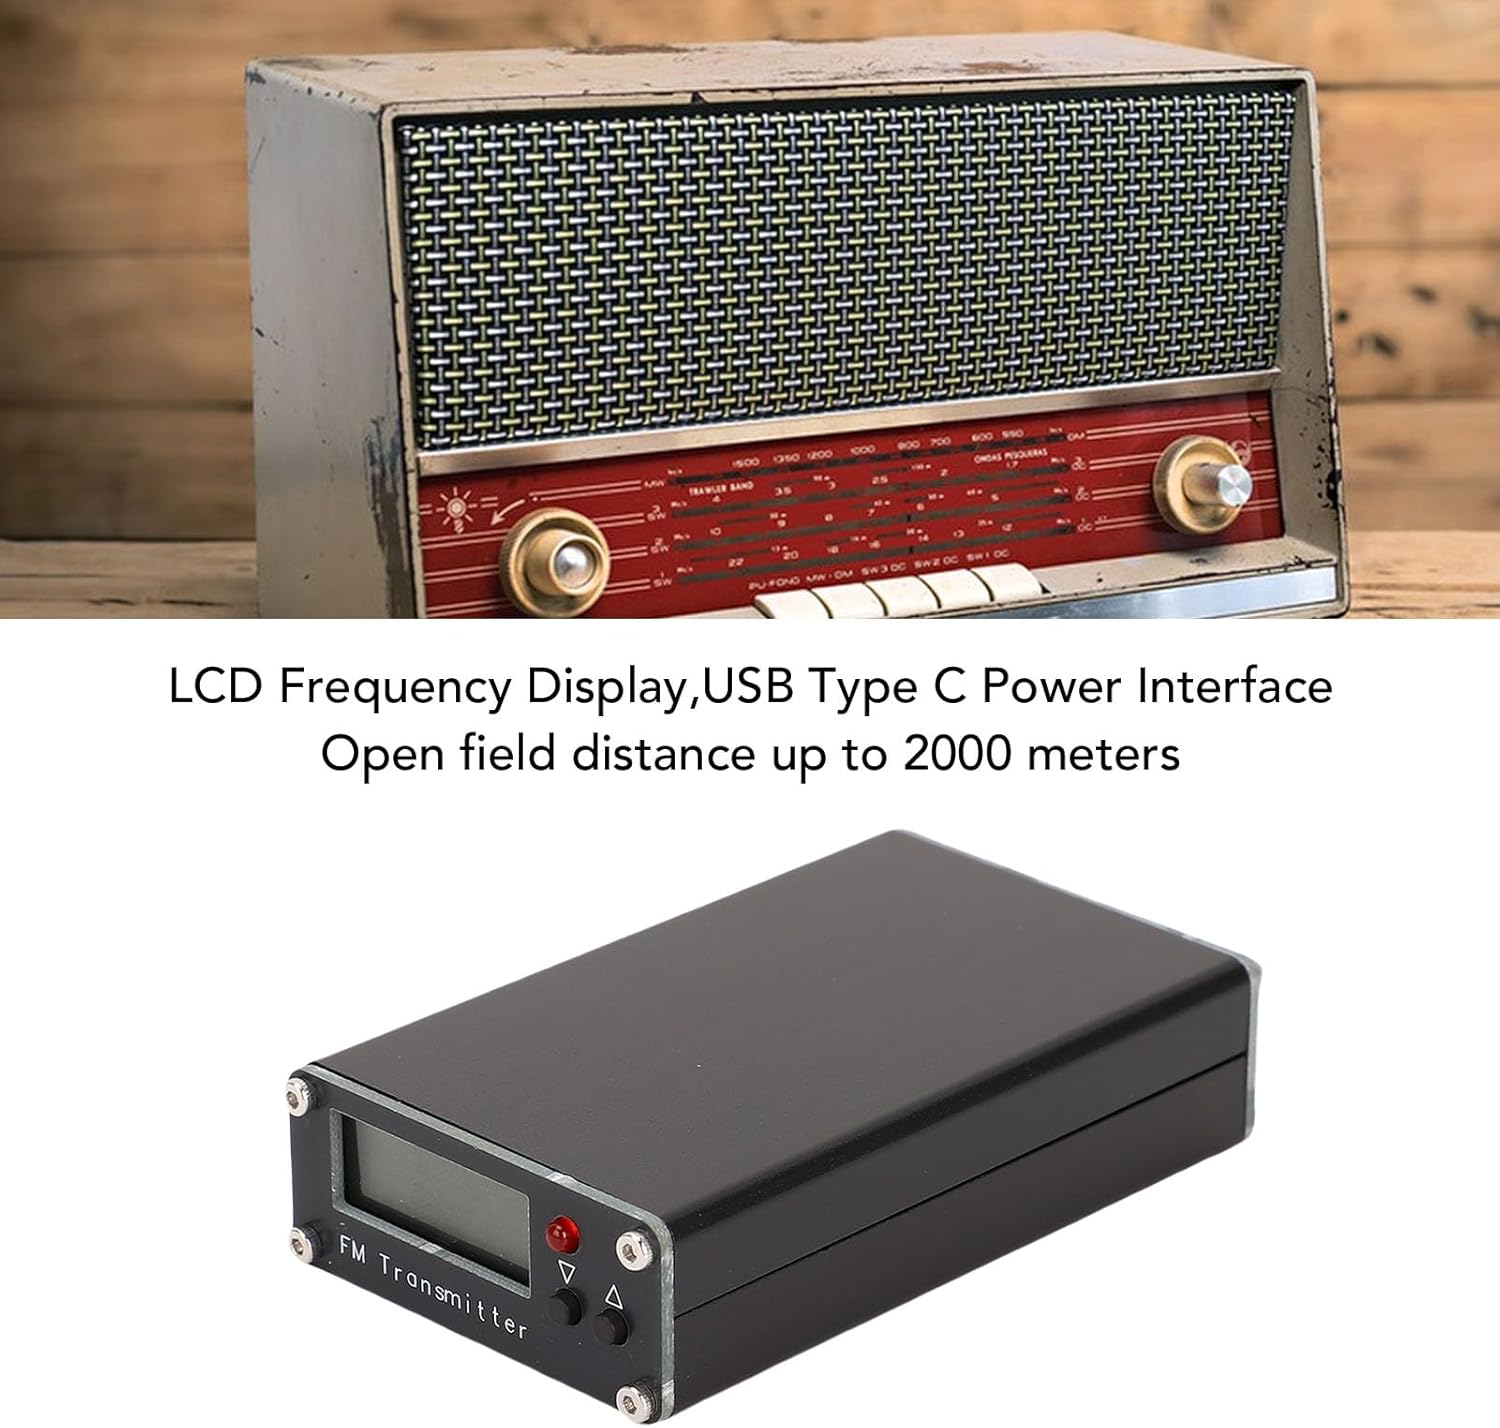
Image: Front view of the Cuifati FM Transmitter, highlighting its LCD frequency display and USB Type C power interface.

Image: The Cuifati FM Transmitter with its telescopic antenna extended, indicating its 76-108MHz transmit frequency range.

Image: Rear view of the Cuifati FM Transmitter, detailing the Audio input, USB-C power port, and Antenna connector.
Setup
- Connect the Antenna: Screw the telescopic antenna securely into the "ANT" port on the transmitter.

Image: The FM Transmitter with its telescopic antenna fully attached and extended.
- Connect Audio Source: Use the provided 3.5mm audio cable to connect your audio source (e.g., smartphone, MP3 player, computer) to the "Audio" input port on the transmitter.
- Connect Power: Connect the USB Type C power cable to the "USB-C" port on the transmitter and plug the other end into a standard USB power adapter (not included), power bank, or car USB port. The device will power on automatically.

Image: Detailed view of the Audio, USB-C, and Antenna connection ports on the transmitter.
Operating Instructions
- Power On: The transmitter powers on automatically when connected to a USB Type C power source. The LCD display will illuminate.
- Adjust Frequency:
- Use the Up (▲) and Down (▼) buttons to adjust the transmitting frequency.
- The frequency range is 76-108MHz.
- The frequency step can be 0.1MHz or 1MHz. Select a clear frequency that is not currently in use by local radio stations to avoid interference.

Image: The LCD display showing the current frequency and the Up/Down control buttons.
- Adjust Transmitting Power:
- The transmitter offers 11 power levels, from P01 (10mW) to P10 (500mW).
- Refer to the display for the current power setting.
- Higher power settings increase transmission range but may also increase interference with other devices or consume more power. Adjust as needed for your environment.
- Tune FM Receiver: Tune your FM radio (car radio, home stereo, portable radio) to the exact frequency displayed on the transmitter's LCD screen.
- Play Audio: Start playing audio from your connected source. The audio will now be broadcast through your FM receiver.
Specifications
| Feature | Detail |
|---|---|
| Item Type | FM Transmitter |
| Material | Aluminum Alloy |
| Transmitting Power | Max 0.5W (Standard), 11 levels (P01-P10, 10mW-500mW) |
| Display Mode | LCD Frequency Display |
| Transmitting Frequency | 76-108MHz |
| Frequency Step | 0.1MHz and 1MHz |
| Input Mode | Aux (3.5mm Stereo) |
| Power Interface | USB Type C |
| Current Consumption | Approx. 500mA |
| Antenna Type | Telescopic Antenna |
| Antenna Length | Approx. 1 meter / 3.3 feet (extended) |
Troubleshooting
- No Audio Output:
-
- Ensure the 3.5mm audio cable is securely connected to both the transmitter's "Audio" input and your audio source's output.
- Check the volume level on your audio source.
- Verify that your FM receiver is tuned to the exact frequency displayed on the transmitter.
- Try a different audio cable.
- Poor Audio Quality / Static:
-
- Adjust the transmitter's frequency to find a clearer channel with less interference.
- Extend the telescopic antenna fully and adjust its position for optimal signal.
- Ensure the transmitter and receiver are within effective range (up to 2000 meters in open areas, less indoors).
- Increase the transmitting power level (P01-P10) if necessary, but be mindful of local regulations.
- Move away from other electronic devices that might cause interference.
- Transmitter Not Powering On:
-
- Confirm the USB Type C power cable is properly connected to a functional power source.
- Try a different USB power adapter or cable.
- Remember, the device requires external power and does not have an internal battery.
Maintenance
- Clean the device with a soft, dry cloth. Do not use liquid cleaners or solvents.
- Store the device in a cool, dry place when not in use.
- Avoid bending or damaging the antenna.
- Ensure all cables are free from kinks or damage.
Warranty and Support
The Cuifati FM Transmitter comes with a 1-year warranty from the date of purchase, covering manufacturing defects. This warranty does not cover damage caused by misuse, accidents, unauthorized modifications, or normal wear and tear.
For technical support, warranty claims, or further assistance, please contact your retailer or visit the official Cuifati support website (if available). Please have your model number (Cuifalvjpdiqekz) and proof of purchase ready.