
Introduction
The LAUNCH CR329 OBD2 Scanner is a diagnostic tool designed to help users identify and resolve issues indicated by the Check Engine Light (CEL) or Malfunction Indicator Lamp (MIL). This device supports all 10 modes of OBD2 protocols, enabling comprehensive vehicle diagnostics. It allows for reading and clearing Diagnostic Trouble Codes (DTCs), monitoring live data, checking I/M readiness status, and performing various system tests.
This manual provides detailed instructions on how to set up and operate your CR329 scanner, interpret diagnostic information, and perform basic troubleshooting. Please read this manual thoroughly before using the device.
Product Overview
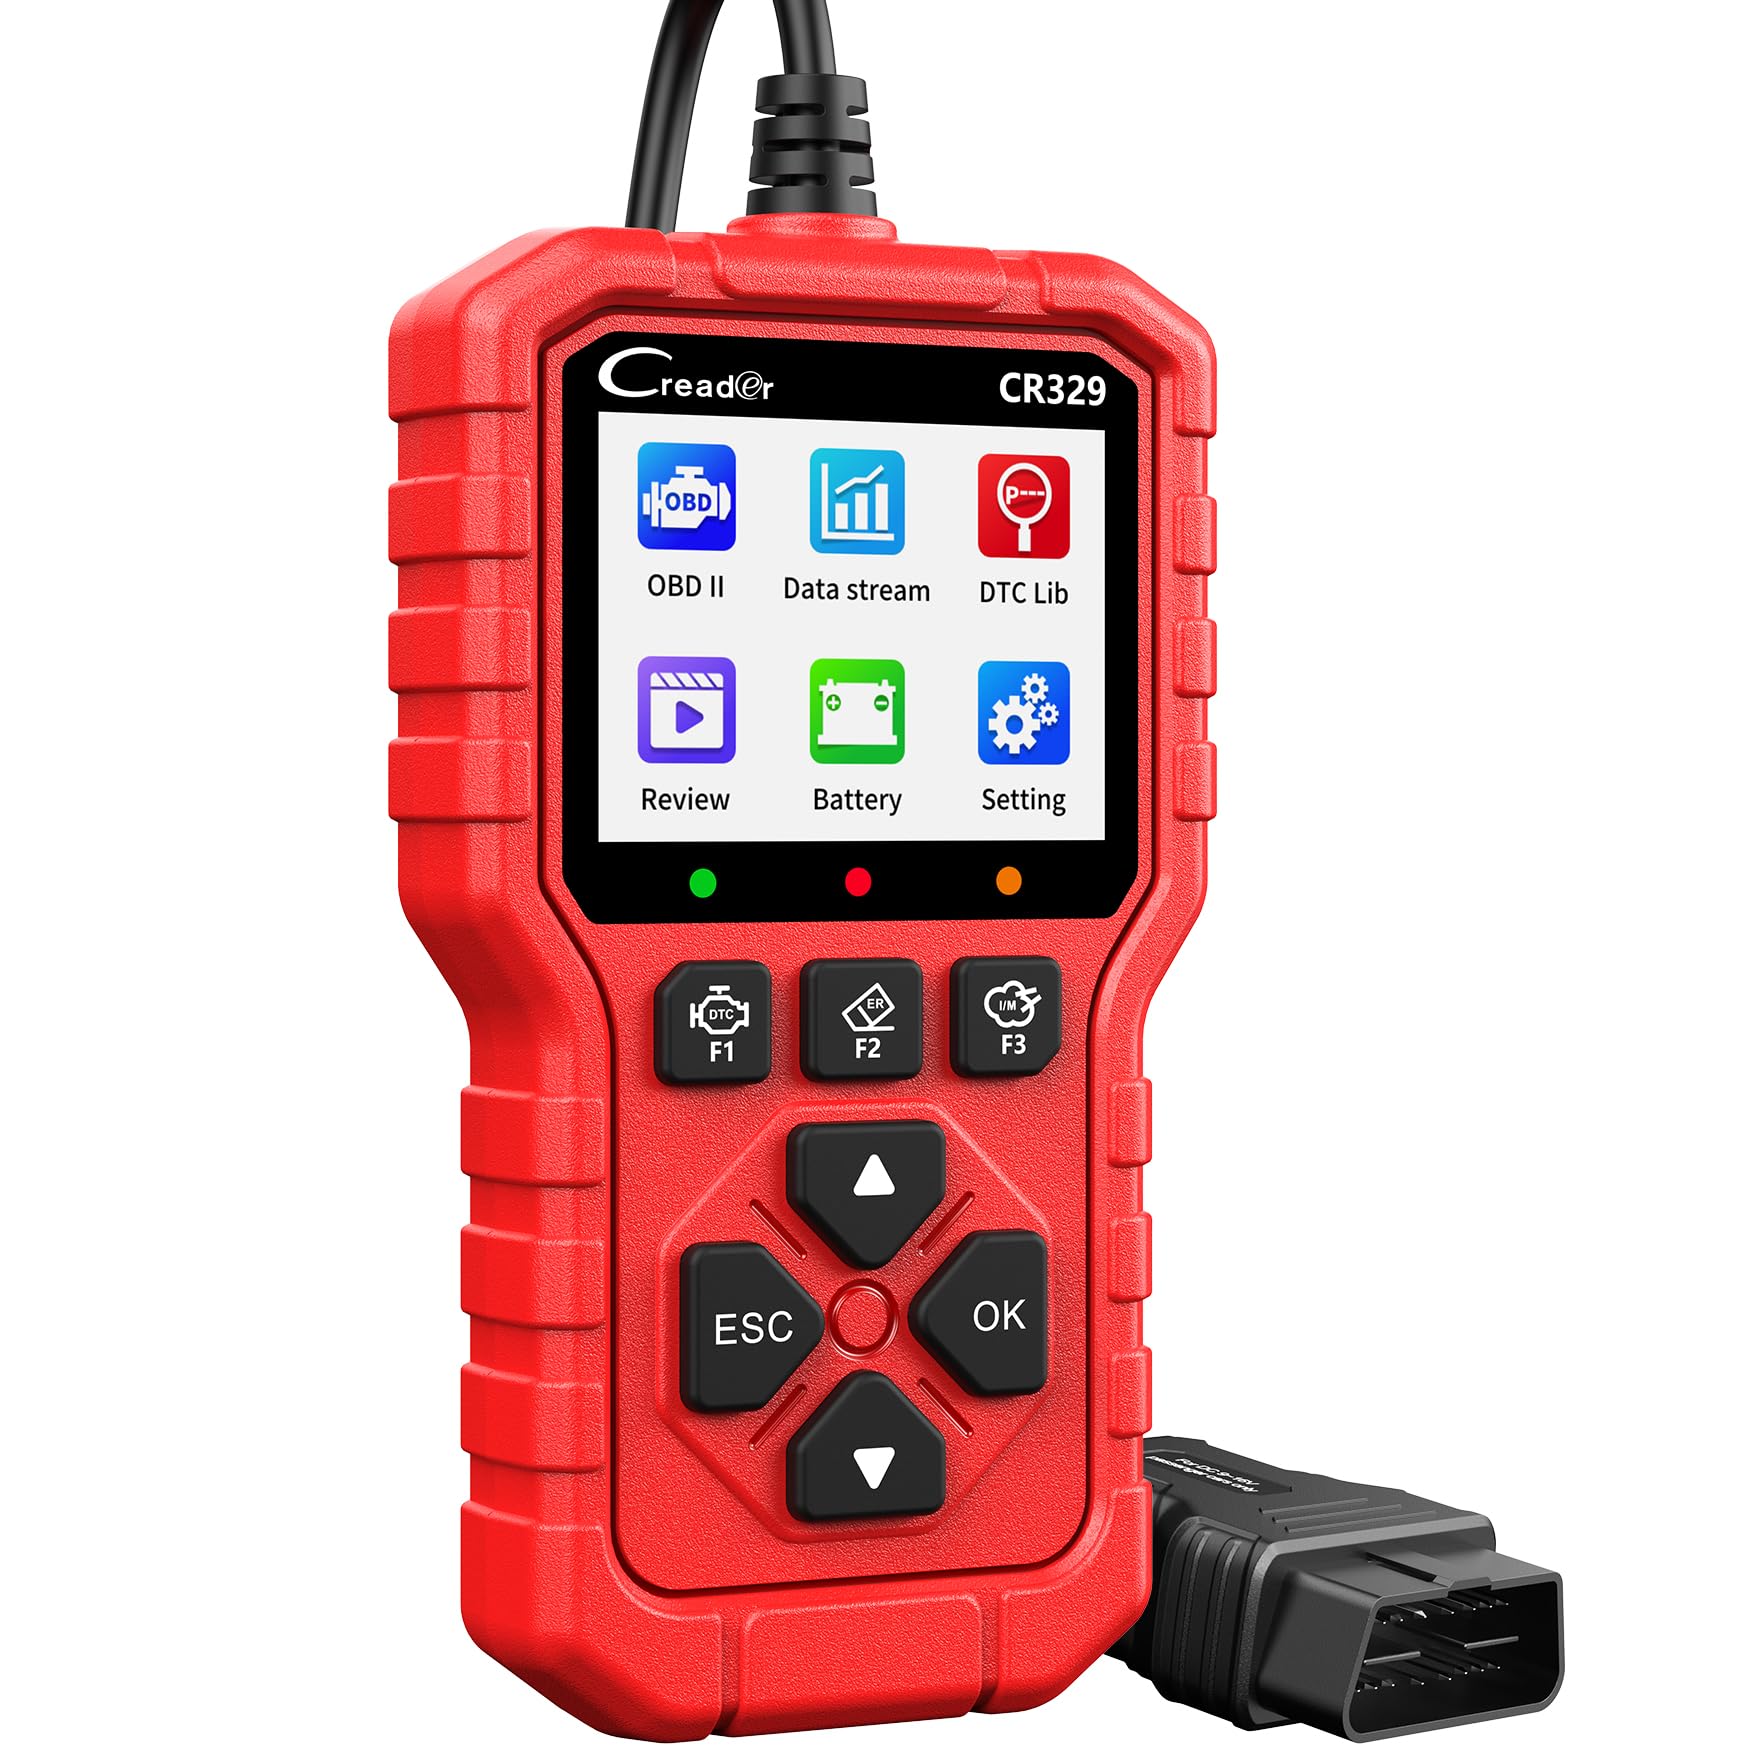
Figure 1: LAUNCH CR329 OBD2 Scanner. This image shows the compact, handheld diagnostic tool with its display and control buttons.
The LAUNCH CR329 is a plug-and-play device that does not require batteries or complex setup. It draws power directly from the vehicle's OBDII port. Its 2.8-inch HD color screen provides clear display of diagnostic information.
Setup
- Locate the OBDII Port: The OBDII port is typically located under the dashboard on the driver's side of the vehicle. Refer to your vehicle's owner's manual if you cannot locate it.
- Connect the Scanner: With the vehicle's ignition turned off, firmly plug the CR329's diagnostic cable into the vehicle's OBDII port.
- Turn on Ignition: Turn the vehicle's ignition to the "ON" position (do not start the engine). The scanner will automatically power on and establish communication with the vehicle's onboard computer.
- Language Selection (if applicable): If prompted, select your preferred language from the menu.

Figure 2: Connecting the CR329 scanner. The image illustrates the process of plugging the scanner into the vehicle's OBDII port, and how it can help diagnose issues like poor fuel economy or engine misfires.
Operating Instructions
1. Reading Diagnostic Trouble Codes (DTCs)
This function allows you to retrieve stored, pending, and permanent diagnostic trouble codes from the vehicle's ECU. These codes indicate specific issues detected by the vehicle's system.
- From the main menu, select "Read Codes".
- The scanner will display a list of detected DTCs. Each code will have a brief description.
- Use the navigation buttons to scroll through the codes and their descriptions.

Figure 3: DTC Lookup feature. The image shows the CR329 displaying various fault codes and their definitions, indicating a comprehensive built-in fault code library.
2. Clearing Diagnostic Trouble Codes (DTCs)
After addressing the underlying issue that caused the DTCs, you can clear the codes and turn off the Check Engine Light (MIL). Clearing codes will also erase freeze frame data.
- From the main menu, select "Clear Codes".
- Confirm your action when prompted.
- The Check Engine Light should turn off. If the underlying issue is not resolved, the light may reappear.
3. Live Data Stream
This function displays real-time operational parameters from the vehicle's sensors and components. This data can be viewed in numerical or graphical format, aiding in diagnosing intermittent issues.
- From the main menu, select "Live Data Stream".
- Choose the parameters you wish to monitor (e.g., RPM, coolant temperature, O2 sensor activity, battery voltage, vehicle speed).
- The data will be displayed in real-time. You can record, graph, and playback data for detailed analysis.

Figure 4: Real-time live data display. The image shows the CR329 screen displaying various engine parameters in a graphical format, such as RPM, coolant temperature, and O2 sensor activity.
4. I/M Readiness Status
The I/M Readiness function checks if the various emissions-related systems on the vehicle are operating correctly and have completed their diagnostic tests. This is useful for emissions inspections.
- From the main menu, select "I/M Readiness Status".
- The scanner will display the status of various monitors (e.g., Misfire Monitor, Fuel System Monitor, Catalyst Monitor).
- A "Ready" status indicates the monitor has completed its test cycle. "Not Ready" means the test has not been completed.

Figure 5: I/M Readiness Status check. The image shows the CR329 displaying the readiness status of various vehicle monitors, indicating whether emissions-related systems are ready for testing.
5. Battery Health Monitor
This feature allows you to check the real-time voltage of your vehicle's 12V battery, providing a quick assessment of its health.
- From the main menu, select "Battery Test".
- The scanner will display the current battery voltage and a trend analysis.
- This helps in identifying potential battery issues.

Figure 6: Battery Health Monitor. The image shows the CR329 displaying real-time battery voltage and a trend graph, indicating the battery's health status.
6. O2 Sensor Test
The O2 Sensor Test monitors the functionality of the oxygen sensors, which are crucial for fuel efficiency and emissions control.
- From the main menu, select "O2 Sensor Test".
- The scanner will display the results of the O2 sensor monitoring tests.
7. EVAP System Test
The EVAP System Test checks for leaks in the Evaporative Emission Control System, which prevents fuel vapors from escaping into the atmosphere.
- From the main menu, select "EVAP System Test".
- The scanner will initiate and display the results of the EVAP system test.
8. Vehicle Information
This function retrieves the Vehicle Identification Number (VIN), Calibration ID (CALID), and Calibration Verification Number (CVN) from the vehicle's ECU.
- From the main menu, select "Vehicle Information".
- The scanner will display the relevant vehicle identification data.
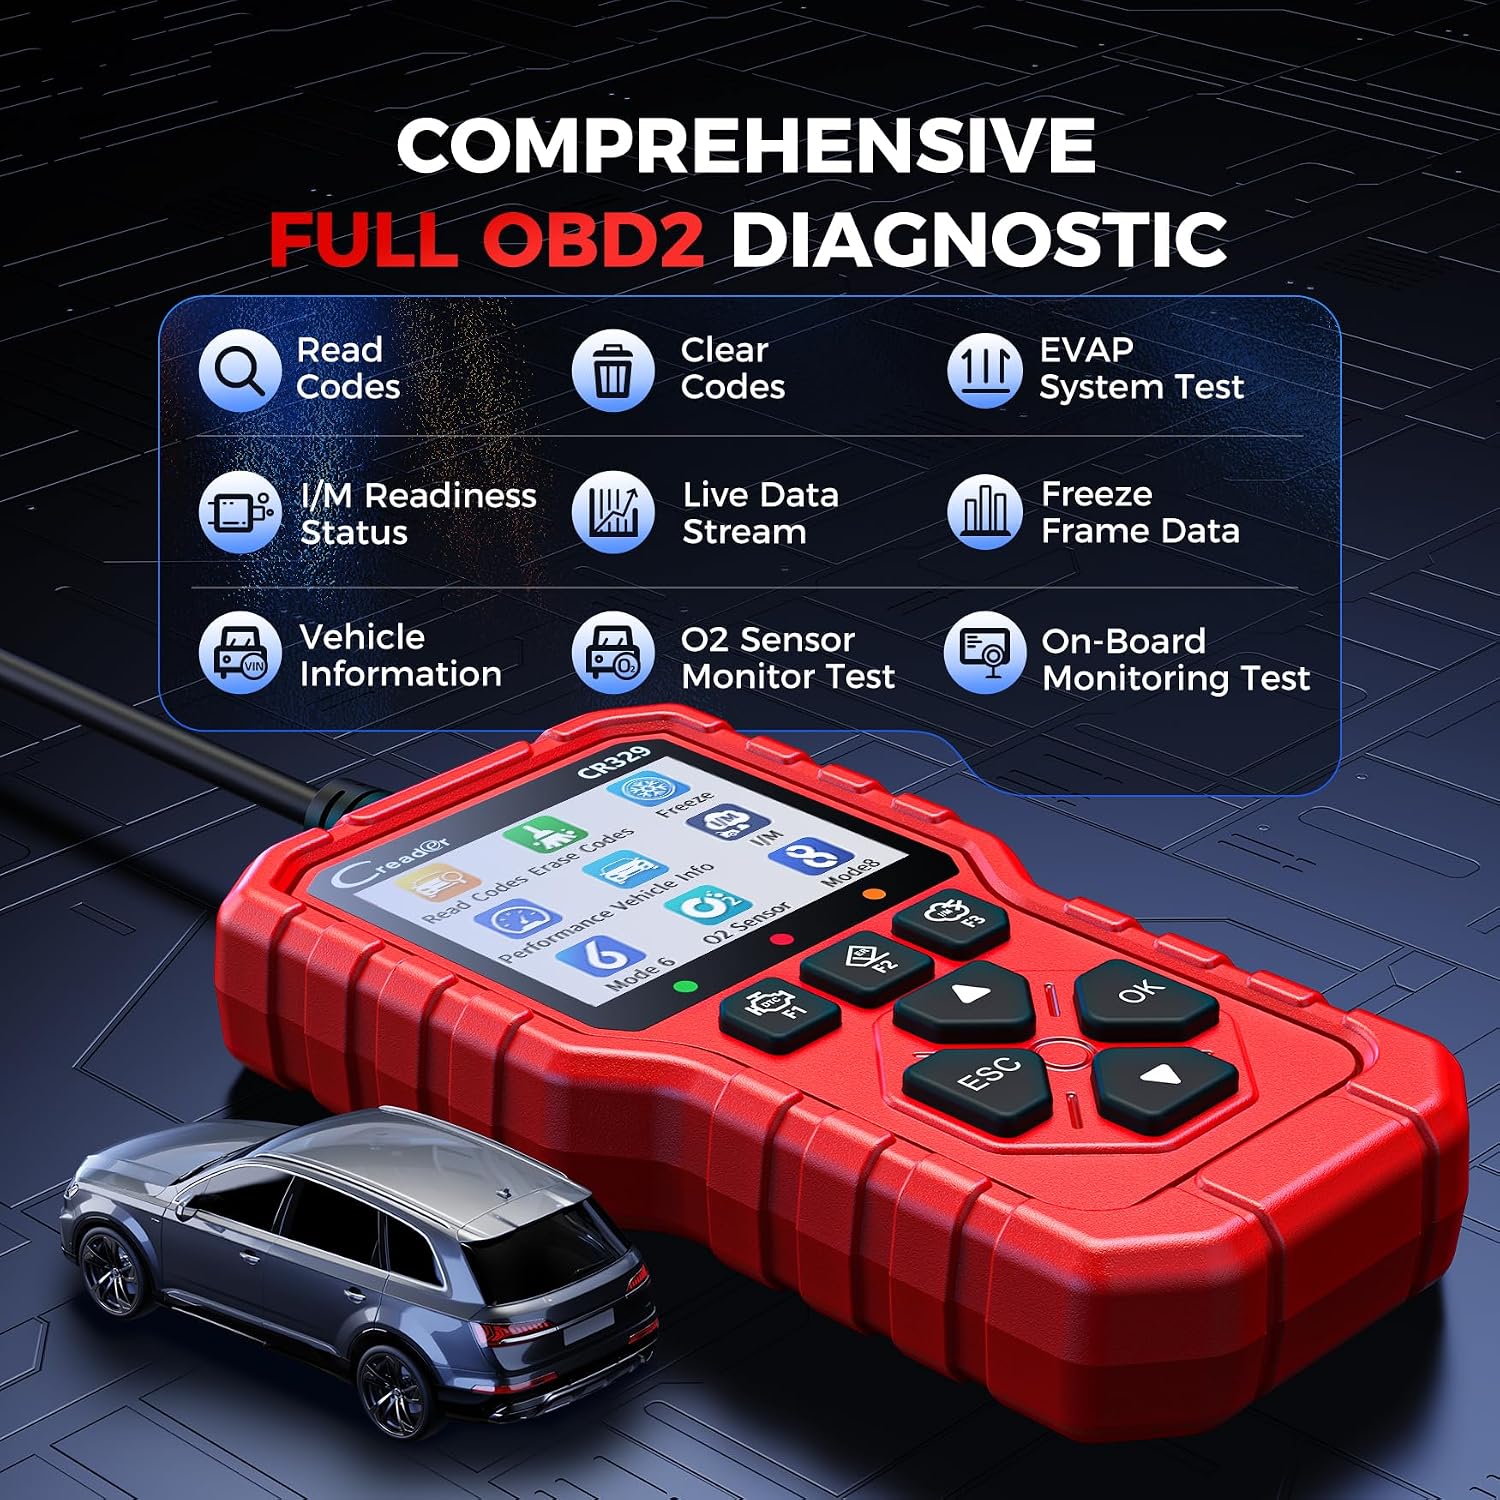
Figure 7: Comprehensive OBD2 Diagnostic functions. This image highlights the various diagnostic capabilities of the CR329, including Read Codes, Clear Codes, EVAP System Test, I/M Readiness Status, Live Data Stream, Freeze Frame Data, Vehicle Information, O2 Sensor Monitor Test, and On-Board Monitoring Test.
Troubleshooting
- Scanner does not power on:
- Ensure the scanner is firmly connected to the vehicle's OBDII port.
- Verify the vehicle's ignition is in the "ON" position.
- Check the vehicle's fuse for the OBDII port (refer to your vehicle's manual).
- "Link Error" or "Communication Error" message:
- Confirm the vehicle supports the OBDII protocol (most vehicles from 1996 onwards in the US, 2001 in Europe, and 2008 in Asia).
- Ensure the connection is secure.
- Turn off the ignition, disconnect the scanner, wait 10 seconds, then reconnect and try again.
- If possible, test the scanner on another OBDII-compliant vehicle to rule out scanner malfunction.
- Check Engine Light reappears after clearing codes:
- Clearing codes only turns off the light; it does not fix the underlying problem. The light will reappear if the fault is still present.
- Diagnose and repair the root cause of the DTCs before clearing them again.
- Cannot read non-emission related codes:
- The CR329 is designed to diagnose emission-related issues only. It cannot read codes related to ABS, SRS, transmission, or other non-emission systems.
Specifications
| Brand | LAUNCH |
| Model | CR329 |
| Power Source | Corded Electric (via OBDII port) |
| Display Size | 2.8 inches |
| Supported Protocols | CAN, ISO9141, KWP2000, J1850 VPW, J1850 PW |
| Vehicle Coverage | Most 1996 and newer US vehicles, 2001 and newer European vehicles, 2008 and newer Asian vehicles. |
| Features | Read/Clear DTCs, Live Data Stream, I/M Readiness, O2 Sensor Test, EVAP System Test, Battery Test, DTC Lookup, Vehicle Info. |
| UPC | 810139304913 |

Figure 8: Global compatibility and supported protocols. This image illustrates the CR329's compatibility with vehicles from different regions (US, EU, Asia) and lists the supported OBDII communication protocols.
Maintenance
- Cleaning: Use a soft, damp cloth to clean the scanner's exterior. Do not use abrasive cleaners or solvents.
- Storage: Store the device in a clean, dry environment away from extreme temperatures and direct sunlight.
- Cable Care: Avoid bending or twisting the diagnostic cable excessively to prevent damage.
Warranty and Support
For warranty information and technical support, please refer to the official LAUNCH website or contact your retailer. Keep your purchase receipt as proof of purchase for warranty claims.
Online Resources: For additional information, FAQs, and software updates (if applicable), visit the official LAUNCH support page. The device also supports cloud printing of diagnostic reports, which can be accessed via a QR code on the device screen.

Figure 9: Diagnostic Report and Cloud Print. The image shows the CR329 displaying a diagnostic report and a QR code for cloud printing, indicating instant access to reports without an app.


